The crochet granny ripple stitch is a lovely stitch for blankets, shawls and more! It shows off colors beautifully and it is super fun to do! Grab your hook and let’s go!
Check out my full video tutorial too that walks you through the crochet granny ripple stitch step by step!
Starting chain multiple is 18,

Row 1:
Work 3 dc in the 5th ch from the hook,

skip the next 2 ch, then work 3 dc into the next chain,
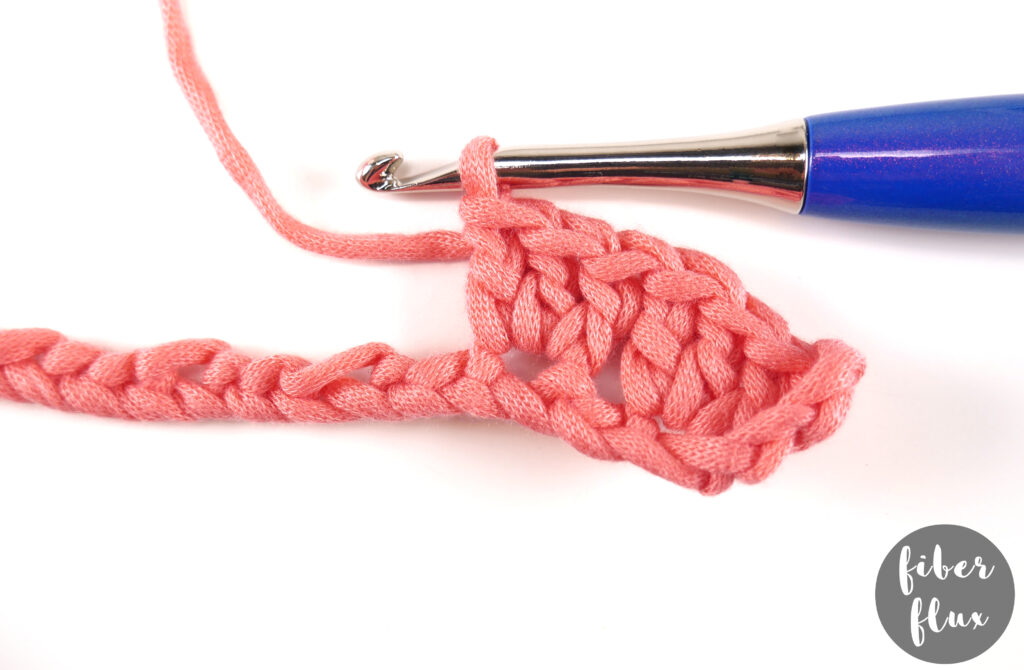
Skip next 2 ch, then *work 3 dc
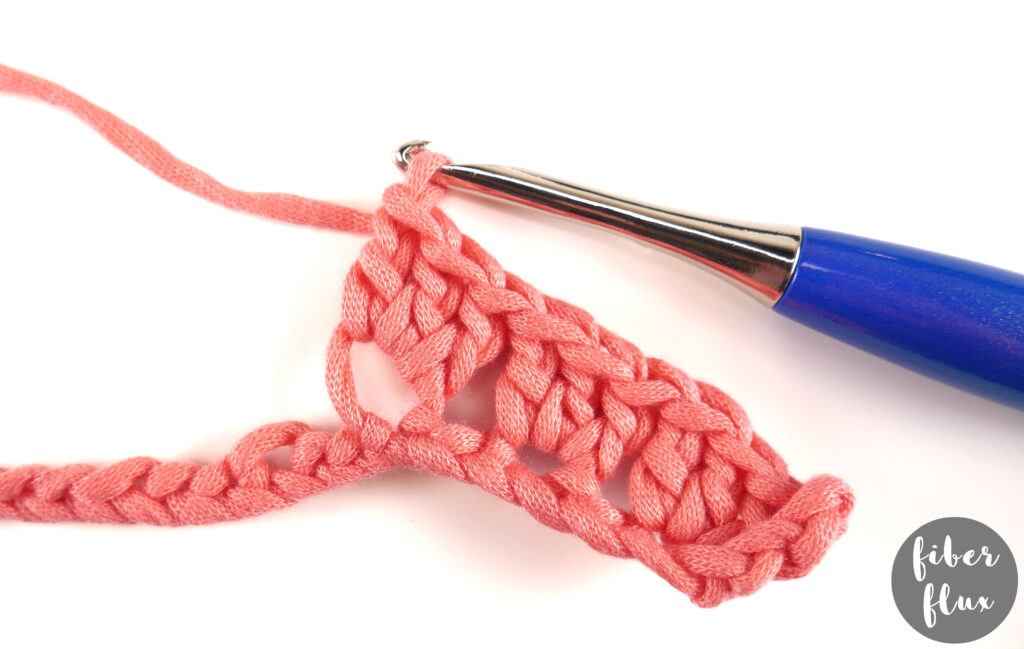
then ch 3,
then 3 dc all in the same chain-this creates the “peak” of the ripple.

Skip the next 2 ch, then work 3 dc into the next ch.
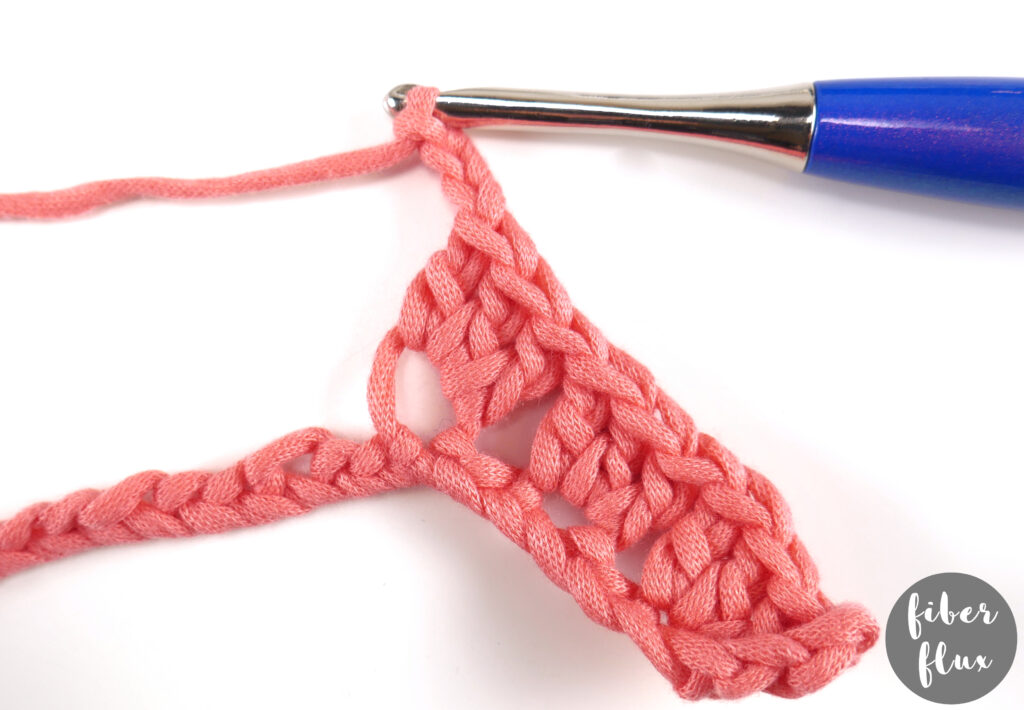
Next, skip the next 2 ch, 3 dc into the next ch.
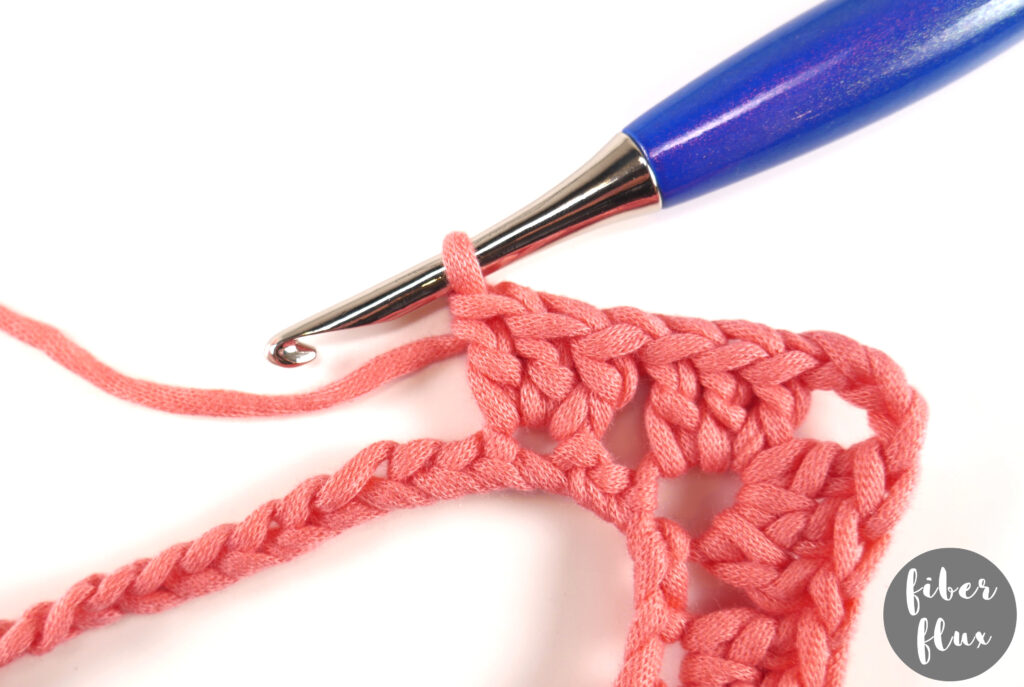
Skip the next 5 chains-this creates the “valley” of the ripple), then work 3 dc into the next chain,

After that, skip next 2 ch then 3 dc in next ch,
skip next 2 ch. Repeat from * across to the end until just 1 ch remains.
Work a dc into the last ch.
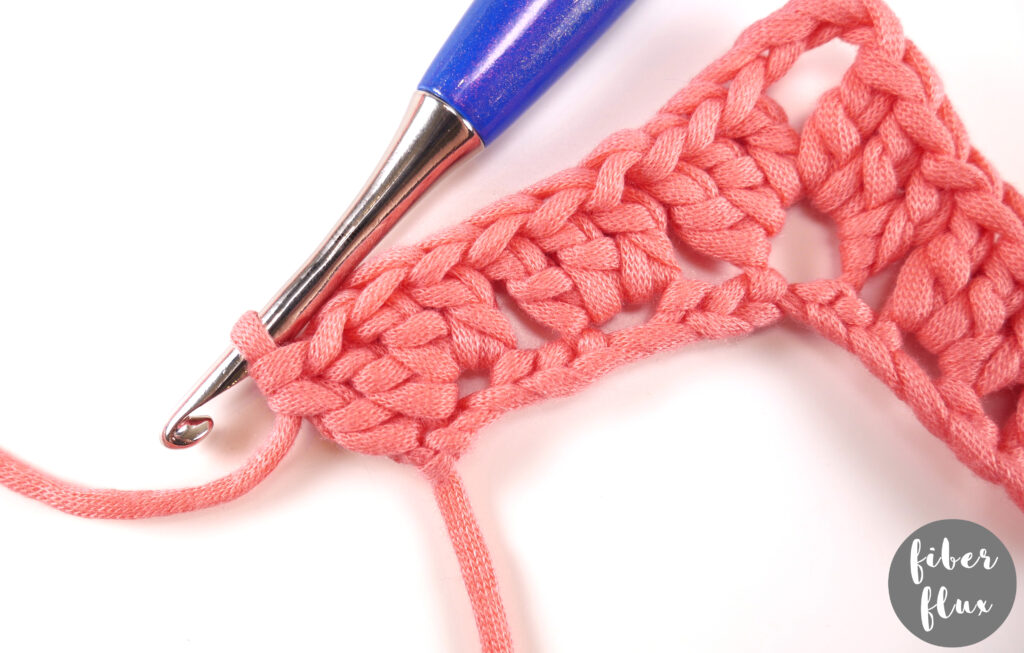
Row 2:
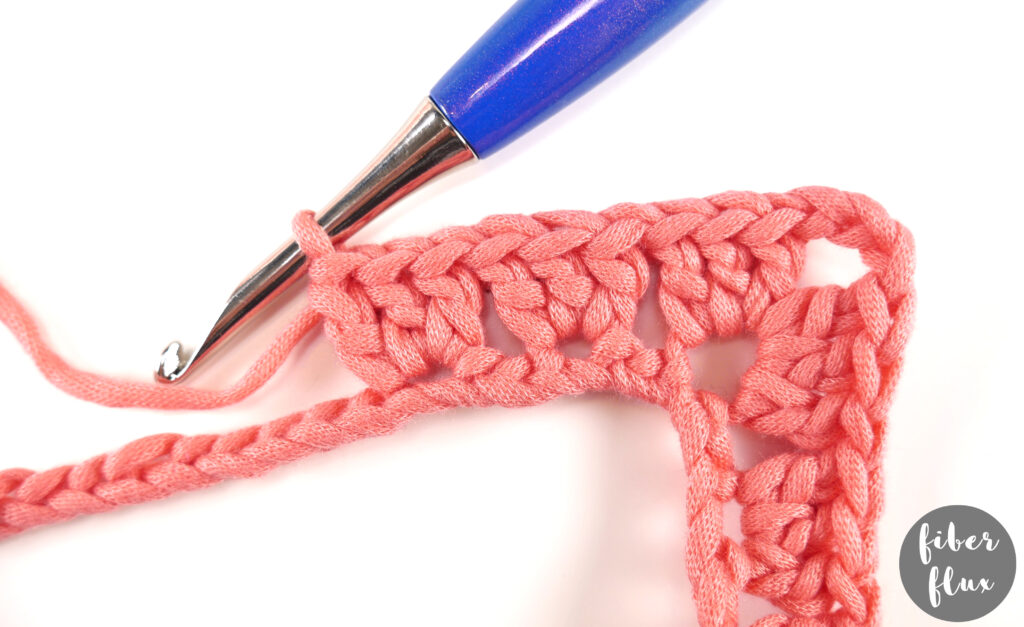
Ch 4 and turn.
Work 3 dc in between the first and second dc groupings/clusters.
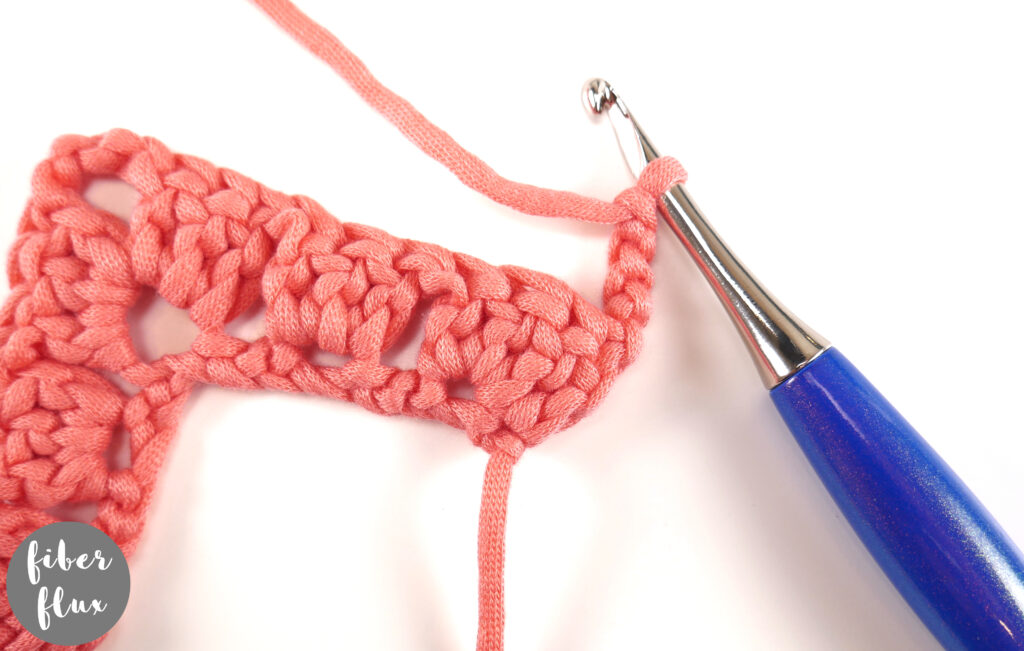
Work 3 dc in the space between the next two groupings.
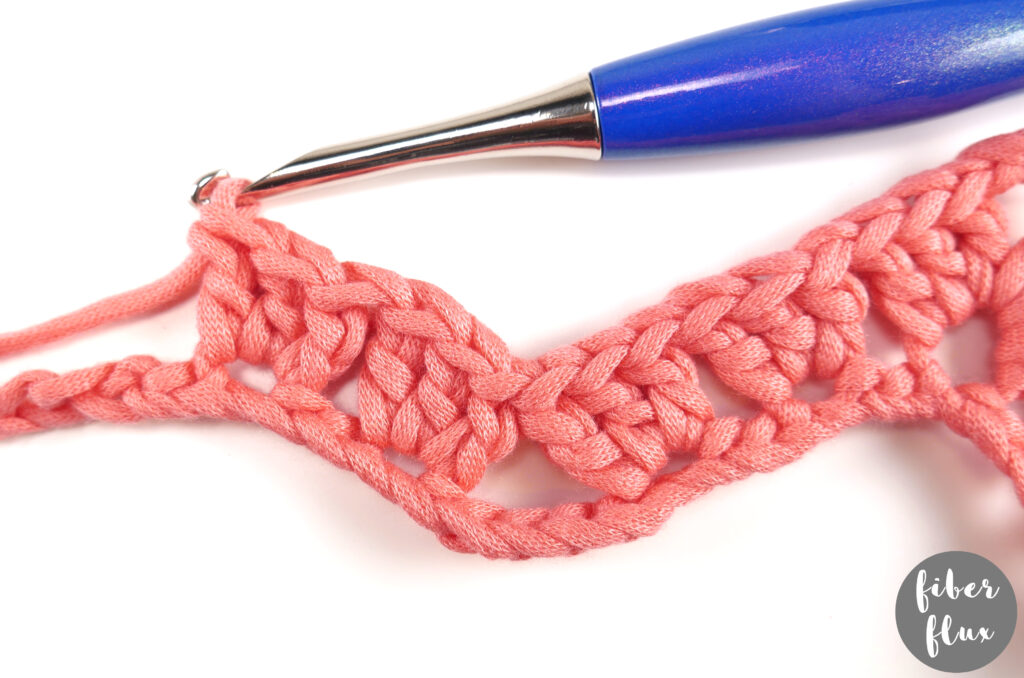
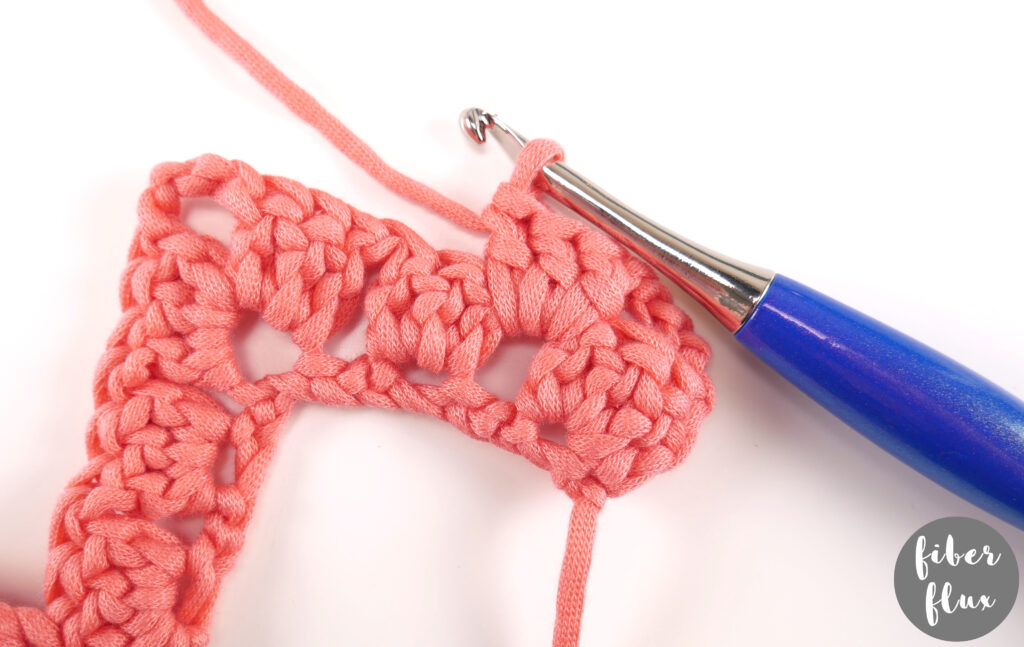
*Work (3 dc, ch 3, 3 dc) in next ch 3 space (top of the “peak”).

Work 3 dc in between the next two dc groupings/clusters.

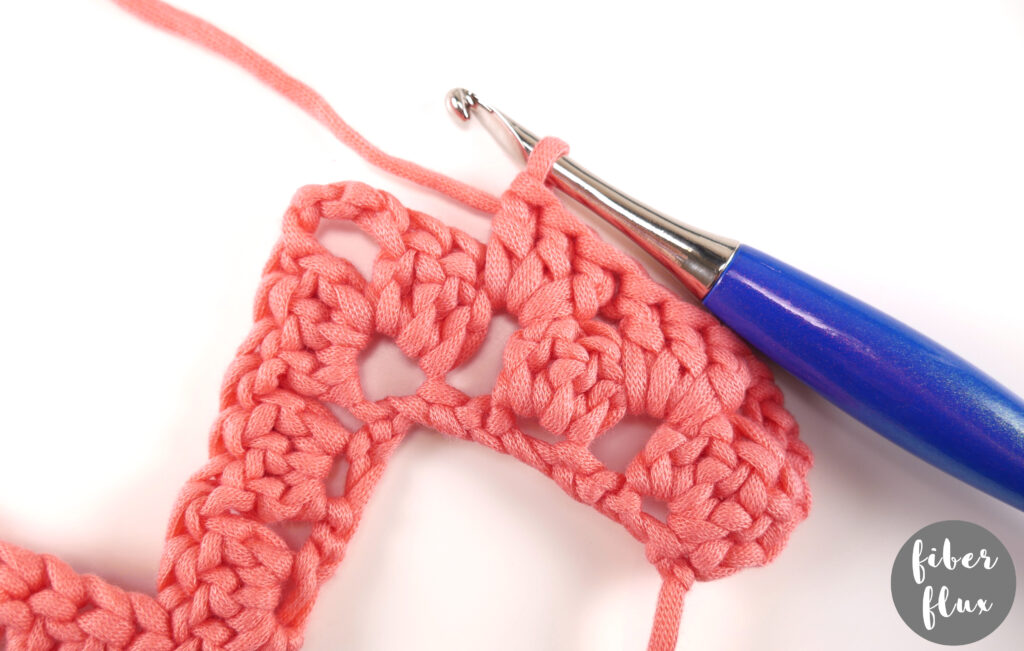
Work 3 dc in between the space between the next two groupings.

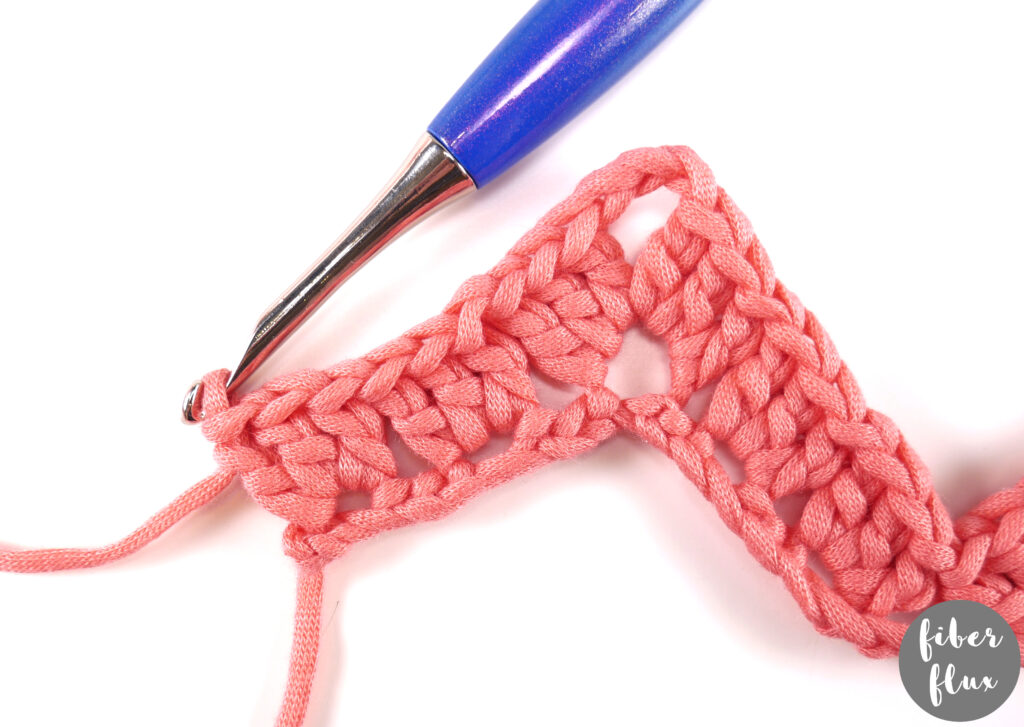
Skip the ch 5 space (the “valley” of the ripple), then work 3 dc in between the next two dc groupings/clusters.

Work 3 dc in between the space between the next two groupings.

Repeat from * to the end of the row.

To finish the row, work a dc in to the top chain of the turning chain.

Repeat row 2 for as tall as you want it to be!

Happy crocheting lovelies!
Looking for more crochet stitch tutorials? Check out my Crochet Stitch Tutorial Library here!