
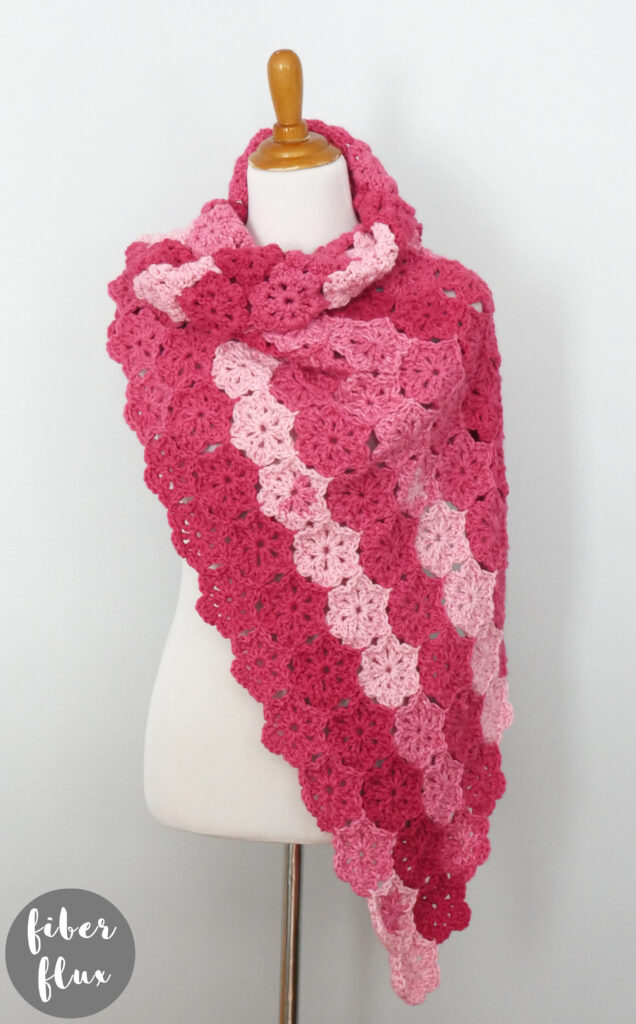
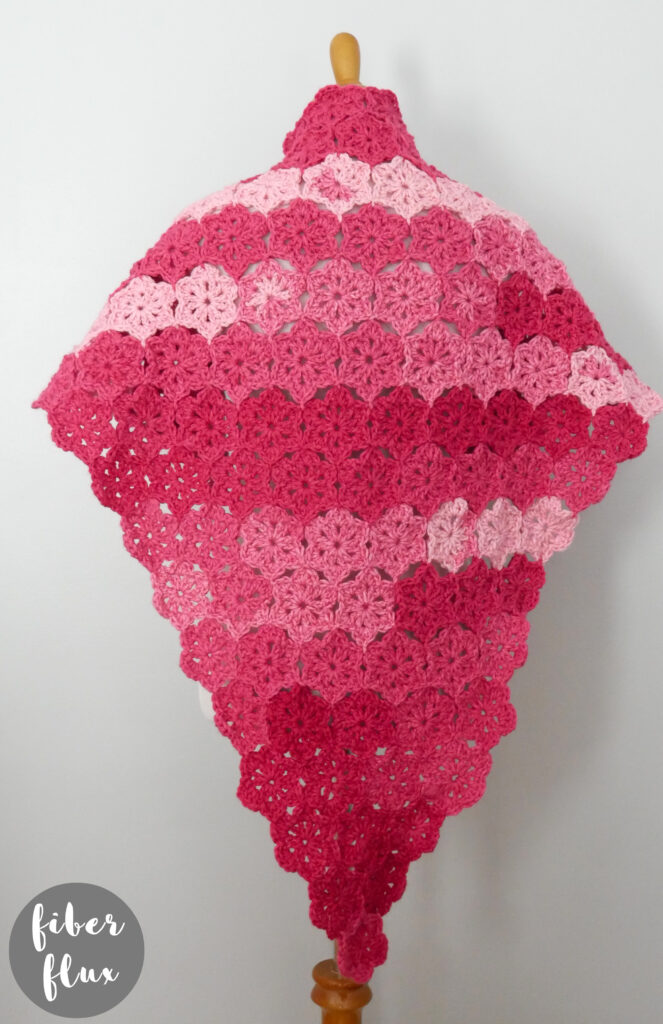
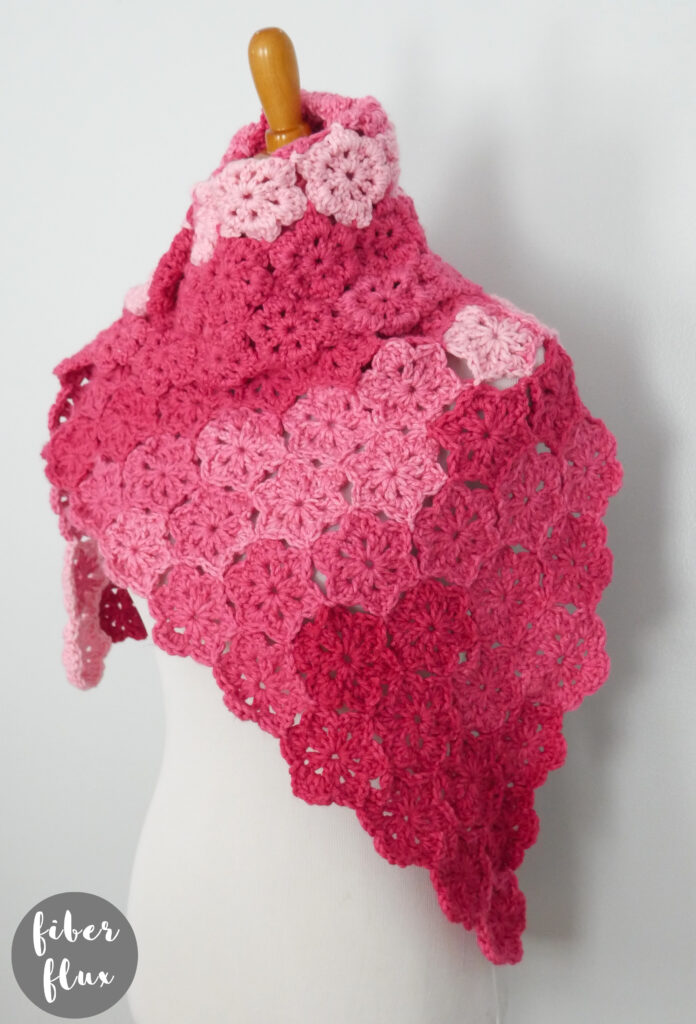
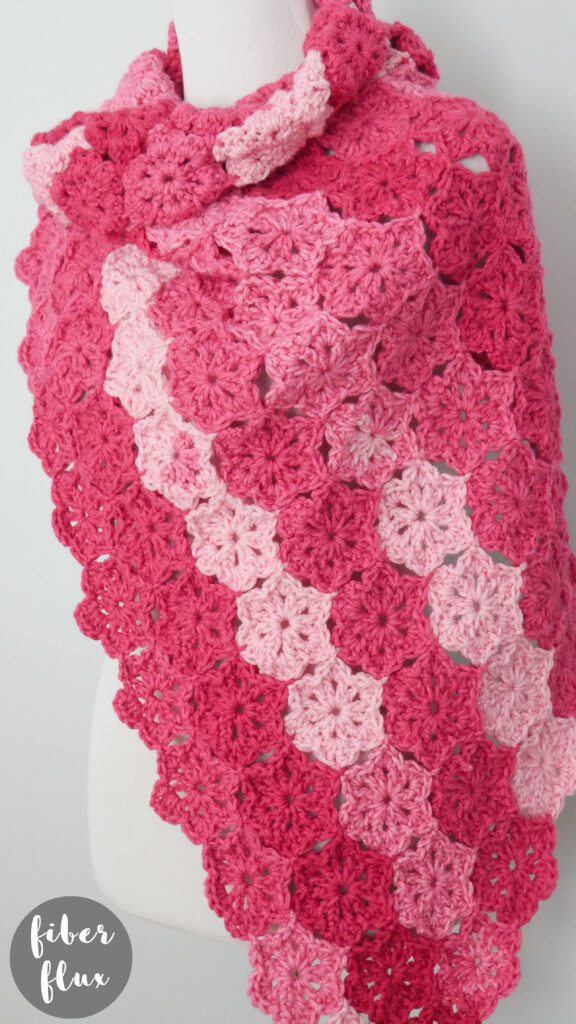
The Tropical Blossom Shawl is a gorgeous, easy to crochet wrap. Simple flower motifs in easy stitches are connected together using the join as you go technique. You can easily make this any size too, just keep adding on flowers as you go!
👉Get the ad free pattern PDF from my shop here!👈
Click below to watch a full video tutorial on how to make this project:
(Can’t see the video? Get it here!)
Love video tutorials? Subscribe to the Fiber Flux YouTube channel for more stitchy fun!
Materials:
- I (5.5 mm) crochet hook
- 964 yards of worsted weight yarn (I used 2 skeins of Red Heart Super Saver Ombre in the “Jazzy” colorway)
- Yarn/tapestry needle
- Scissors
- Measuring Tape
Sizing:
- Bottom point straight up: 38 inches.
- Bottom point over to the side point: 45 inches.
- Top edge of the triangle from point to point: 44 inches.
- Top edge has 16 flower motifs across.
Pattern Notes:
- You can easily change the triangle dimensions (both width and height) by working more or less rows by adding flowers to the pattern.
- Get the ad-free pattern PDF and queue up this project on Ravelry here!
- Love free crochet shawl patterns? Get more here!
Instructions For Flower Motif:
Note: you’ll make the first flower in its entirety, then joining the other flower onto that first one and so on. After you make the first flower, move onto the joining part for the next flowers.
Ch 4, join in the furthest ch from the hook with a sl st to create a ring.
Round 1:
ch 4, then work (dc, ch 1) 11 times into the center of the ring.
Round 2:
Slip stitch into the first space to get to the right spot, then ch 3. In the space work (3 dc, ch 1). *Slip stitch in the next space, then work (4 dc, ch 1) in the next space. Repeat from * to end of round and join to close round with a slip stitch in the chain at the base of the first petal.
Instructions For Joining The Flowers Together:
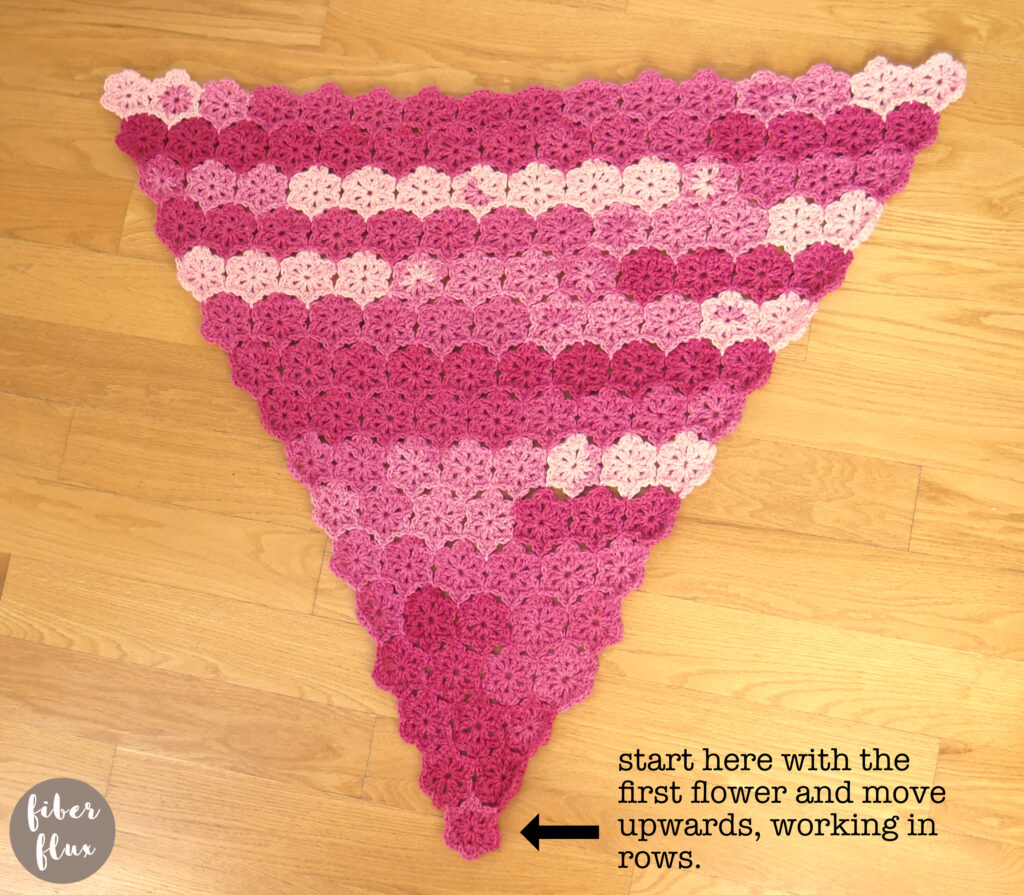
After your first flower is complete, you’re ready to join the next flowers of your shawl. It is easiest to think of them in terms of rows, so row 1 has one flower, row 2 has two flowers, and so on.
Ch 4, then join in the furthest ch from the hook with a sl st to create a ring.
Round 1:
ch 4, then work (dc, ch 1) 11 times into the center of the ring.
Round 2:
You’ll make your flower as normal, but where you need to make a join, you’ll work a slip stitch to join them in the center of the petal as you are making it. So you’ll work 2 dc, then slip stitch into other flower to connect them, then 2 dc to finish making the petal.
When you make joins, many of them are just one petal into another petal. However, in some instances, you need to make a join into an area to go in between a petal instead. In this case you’ll go in between the petals into a space. When doing this, just make sure you go in between both flowers in this instance into their center space. This will allow things to stay centered and lay nice and flat. See the diagram below of where to join each flower and how they all are placed together.
If you have never done a slip stitch join or the join as you go technique, I highly recommend the video, so you can crochet along with me!
Weave in any ends that remain and your Tropical Blossom Shawl is complete!
