

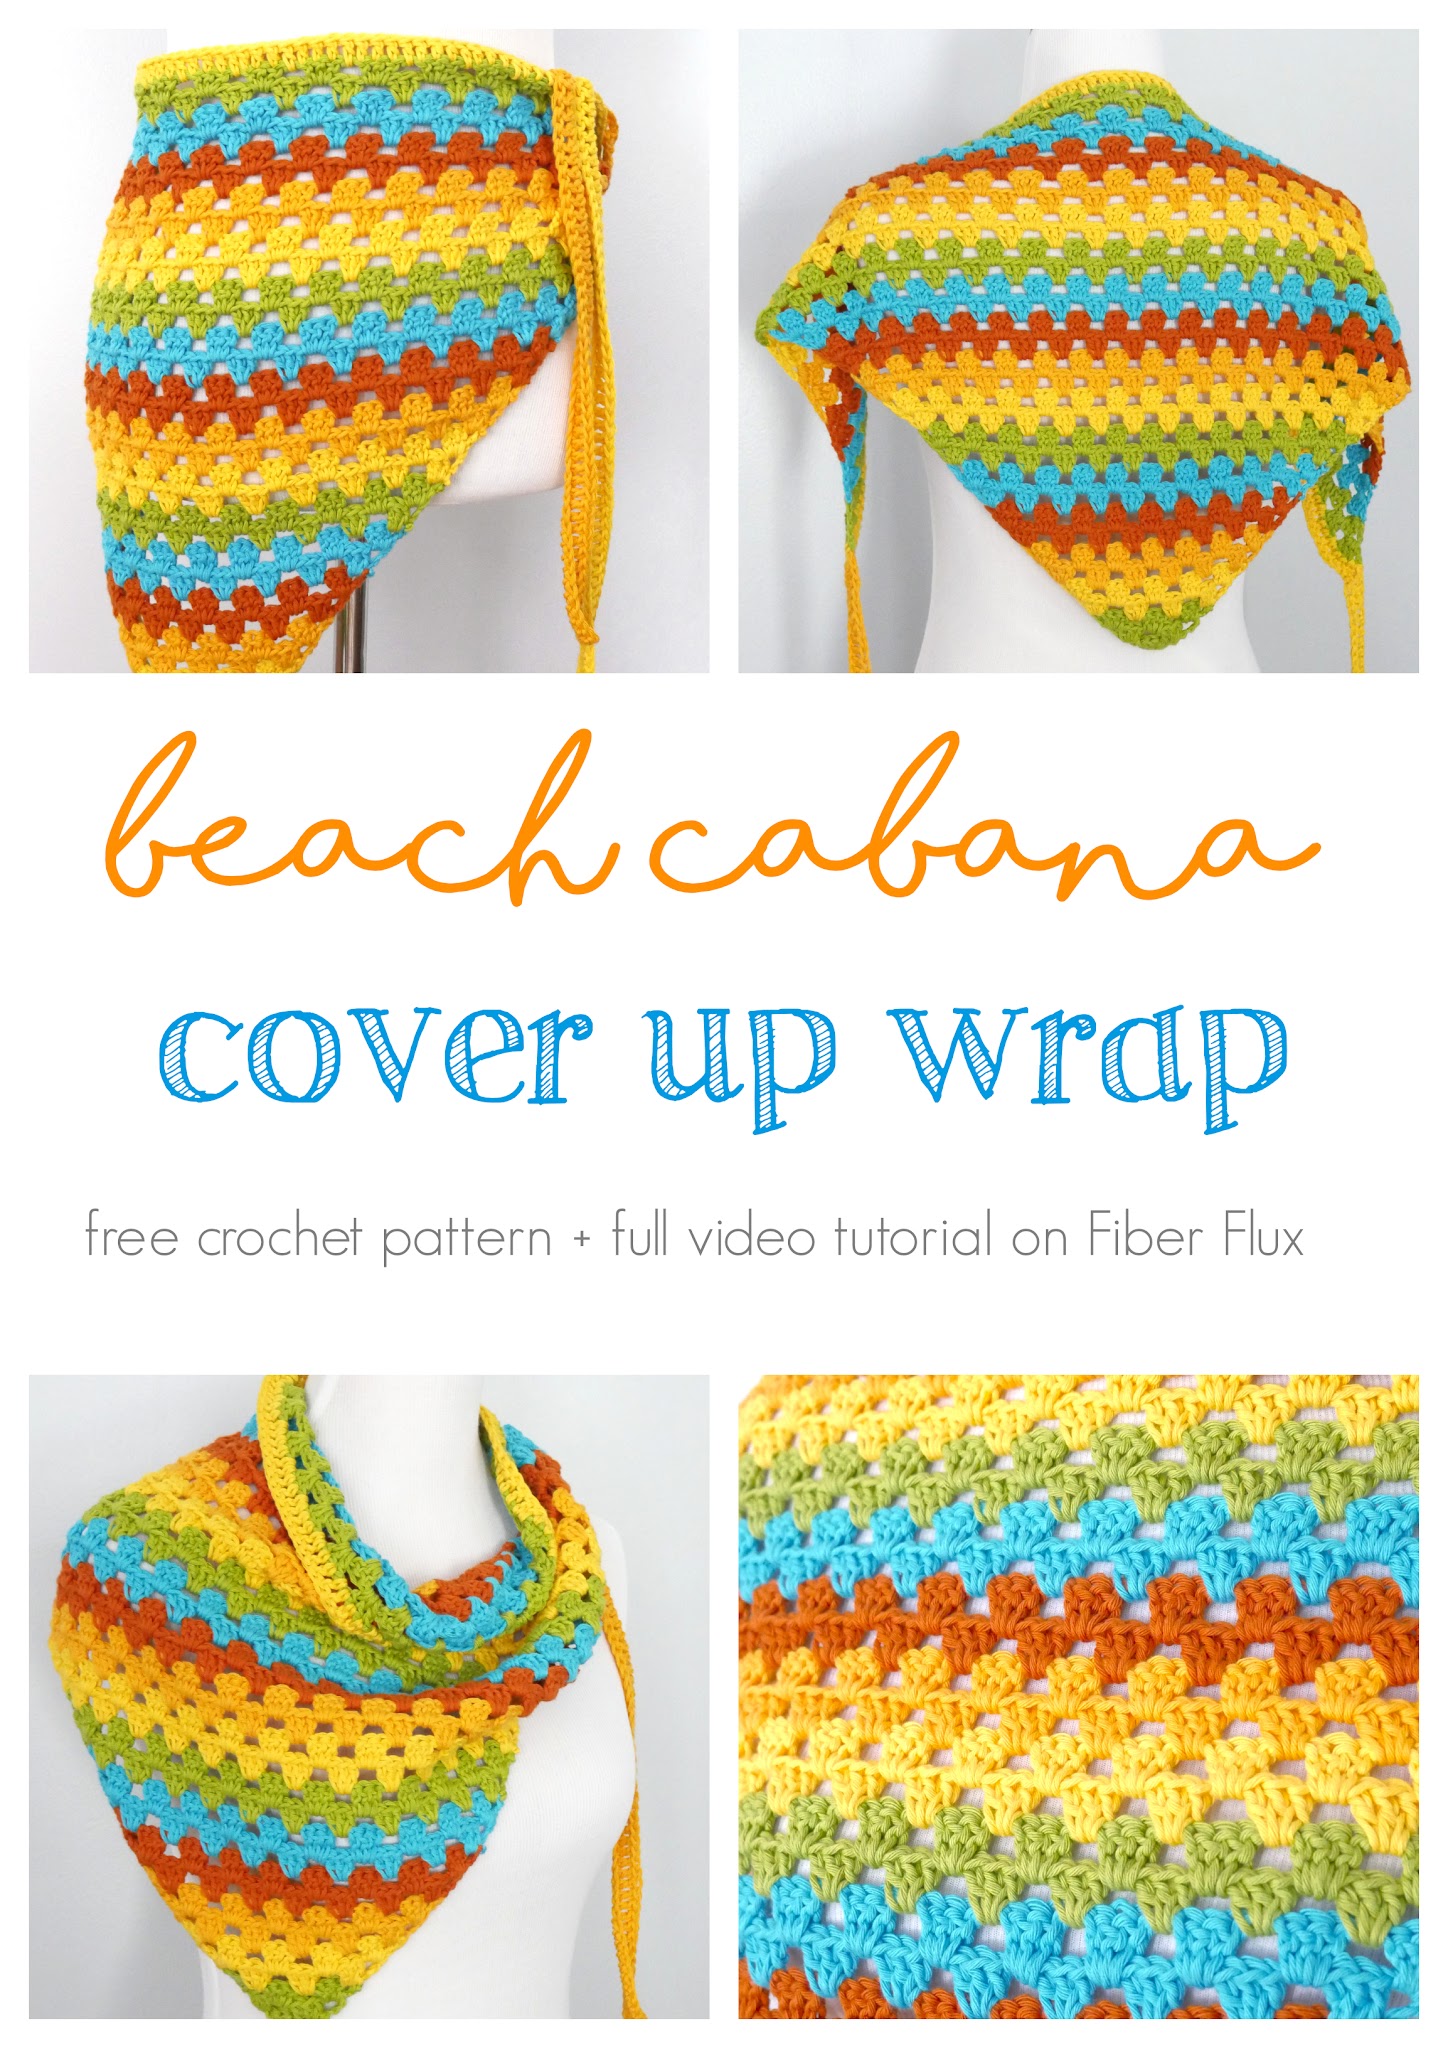
The Beach Cabana Cover Up Wrap is a beautiful and super versatile warm weather wrap that is so super handy! Crocheted in cool cotton yarn in fun bright stripes, it can be worn around the waist, around the shoulders, or even slung over one shoulder for a unique look. Scroll down to see all the different ways you can wear this wrap!
👉Get the ad free pattern PDF from my shop here!👈
Click below to watch a full video tutorial on how to make this project:
(Can’t see the video? Click here!)
Love video tutorials? Subscribe to the Fiber Flux YouTube channel for more stitchy fun!

Materials:
- H (5.0 mm) crochet hook
- 410 yards of #3/light weight cotton yarn (I used 5 balls of Friends 8/8 cotton yarn by Hobbii in Pistachio, Sunflower, Dark Yellow, Whiskey, and Capri Blue)
- Yarn/tapestry needle
- Scissors
- Measuring Tape

Sizing:
- Bottom point of the triangle straight up to the top middle is 17 inches tall.
- Bottom point up the side of the triangle to either the left or right side points is 23 inches.
- Top edge of the triangle is 37 inches wide.
- total length of the tie from one end to the other is 79 inches long.

Pattern Notes:
- To make the triangle part bigger, work more rows of the granny stripe pattern.
- To make the ties longer, work more chains (no special stitch count for these!

Triangle Instructions:
Ch 5
Row 1: In the 5th ch from the hook, work 3 dc. Ch 1, then work a dc (all in the same chain).
Row 2: Ch 4 and turn. Then work (3 dc, ch 1) in the first space (the ch 1 space from the previous row). Then work (3 dc, ch 1, 1 dc) into the turning ch space.
Row 3: Ch 4 and turn. Then work (3 dc, ch 1) in the first space (the ch 1 space from the previous row). Work (3 dc, ch 1) into each ch 1 space across (note: there will be one to work the first time, but then as your wrap grows, you do more and more (3 dc, ch 1) across). Then work (3 dc, ch 1, 1 dc) into the turning ch space.
Repeat row 2 until your wrap has a height of 17 inches across the top edge OR desired width/height. Note: As your triangle grows in width, it will also grow in height as well. Do not fasten off yarn and continue below to the tie section of the instructions.
Instructions for Top Tie of Wrap:
After completing the last stitch of the final row of the triangle, ch 65 (totally ok to do more than this for a longer tie, but just make sure you duplicate this number on the other side too!).
In the 4th ch from the hook, work a dc. Work a dc in each chain until you work back to the triangle again.
When you get back to the top edge of the triangle, work a dc in each stitch and space across. When you reach the end of the top edge of the triangle, ch 65. Work a dc in the 4th ch from the hook and work a dc in each chain. When you reach the triangle again at the end of the chains, it will look like this:

To avoid the “stair step look” simply flip the triangle over so it looks like this,

Then slip stitch into the space where the arrow is pointing:

Done! Now it looks like a continuous tie!

Weave in all ends and it is ready to wear!


![]()
![]()
![]()

![]()
![]()


© Fiber Flux LLC 2023

