
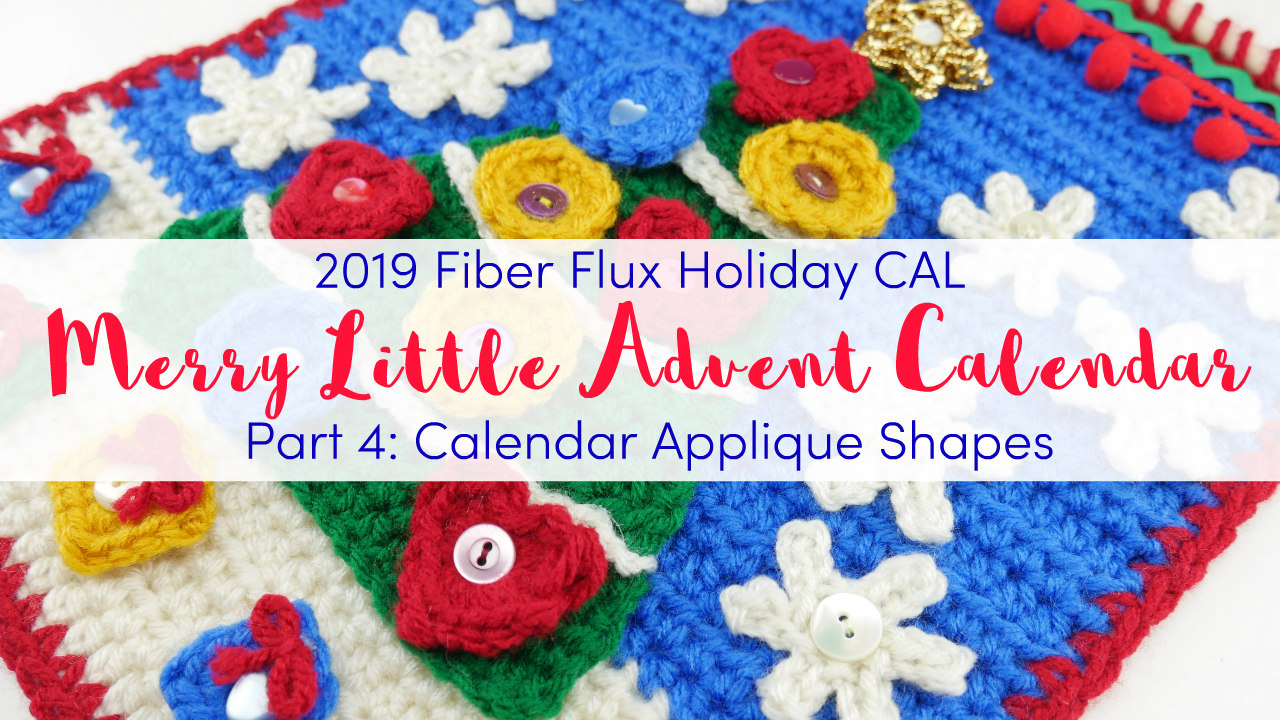
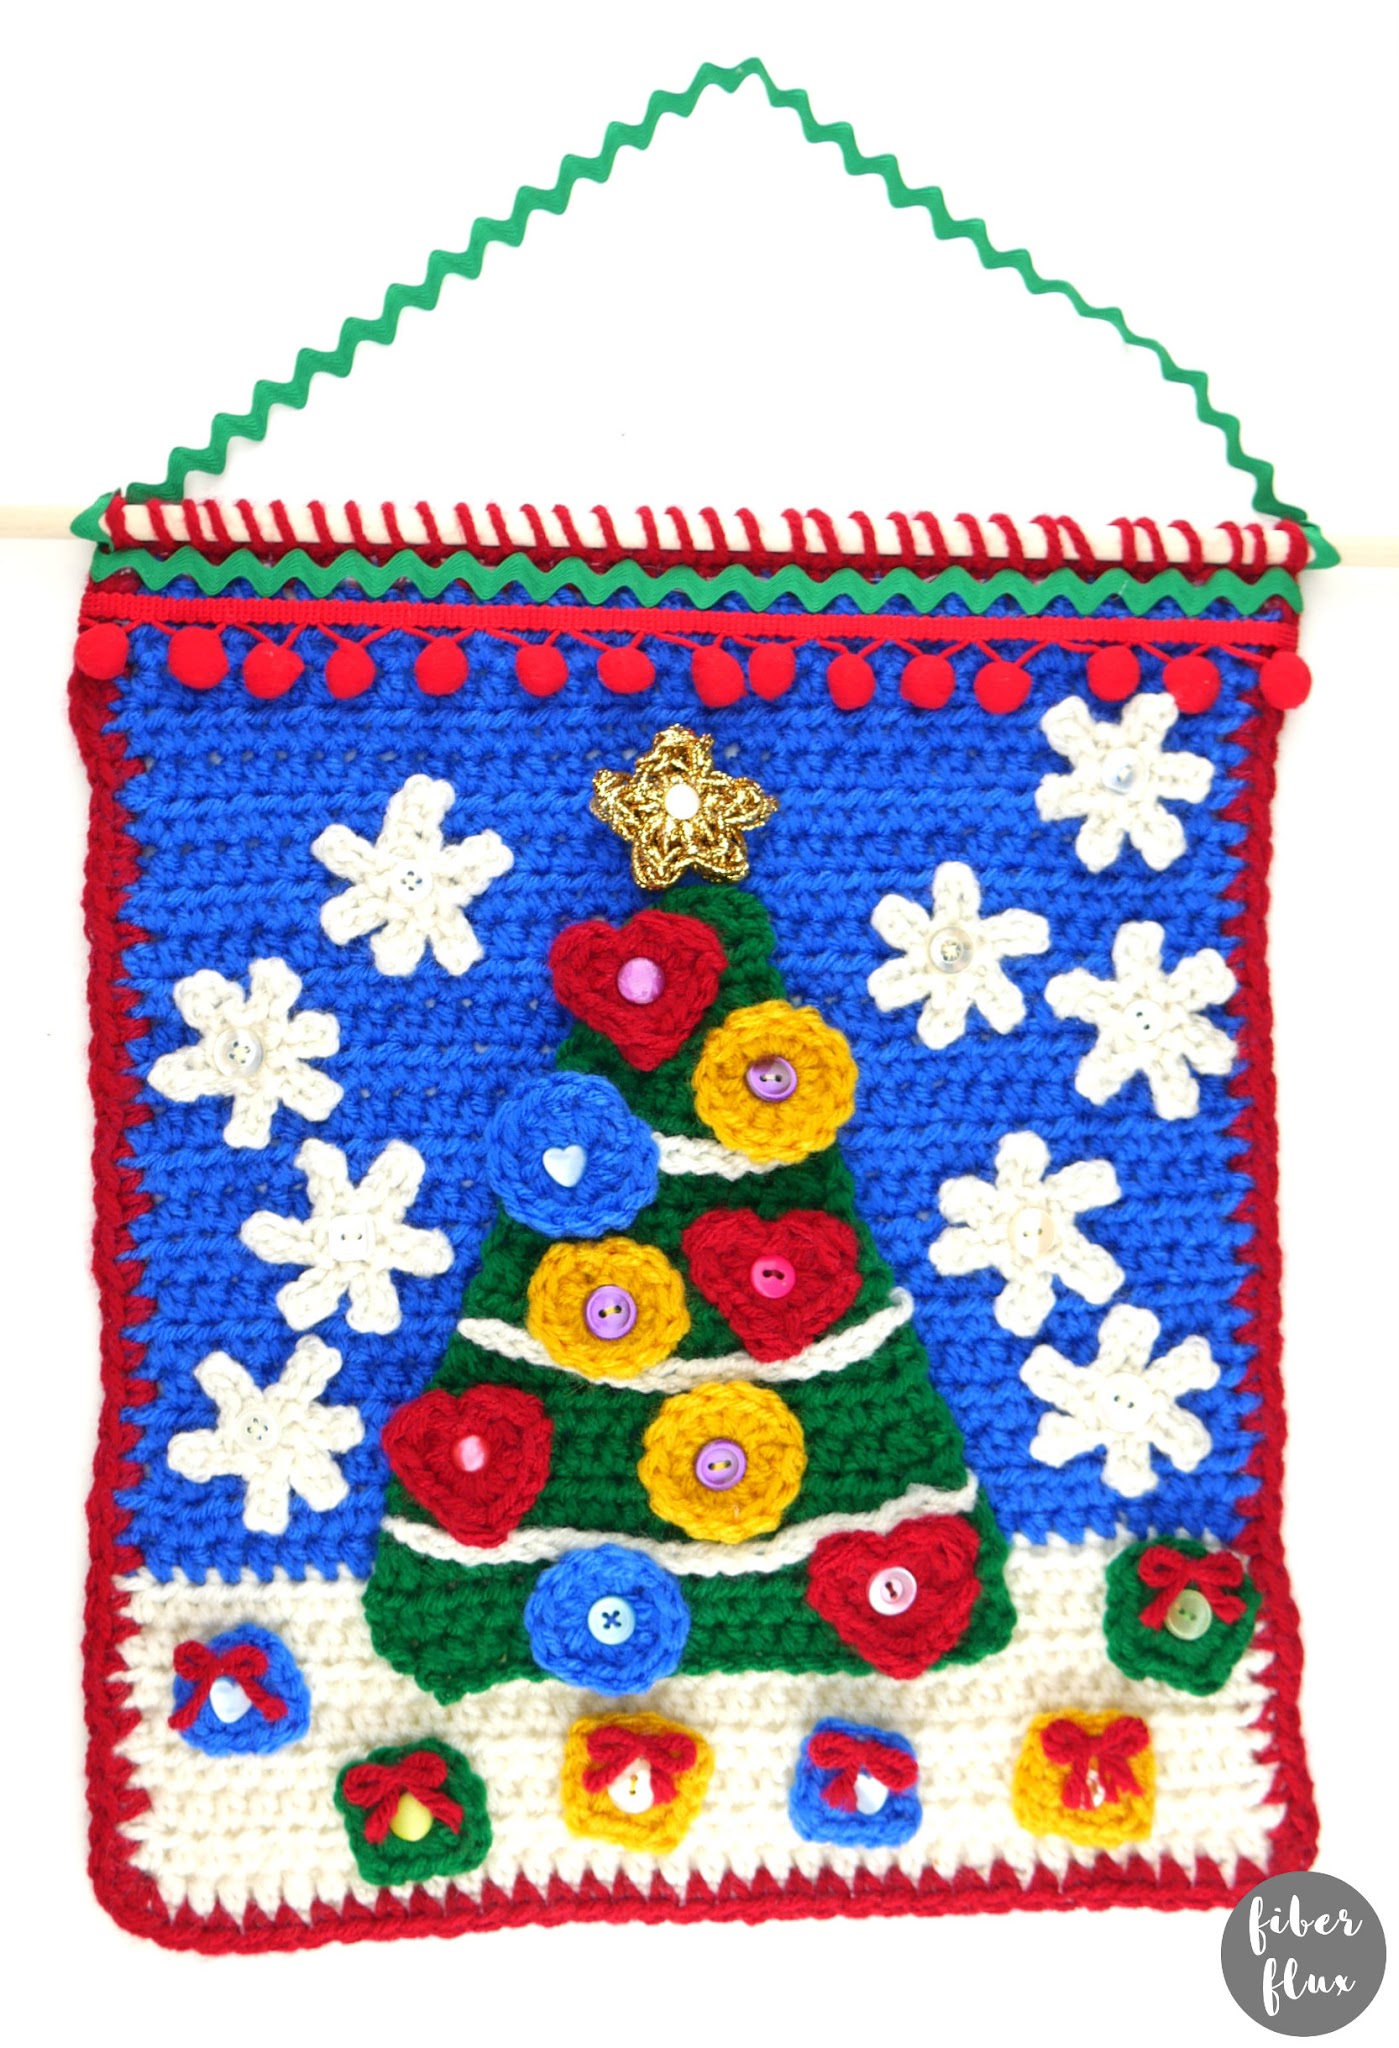
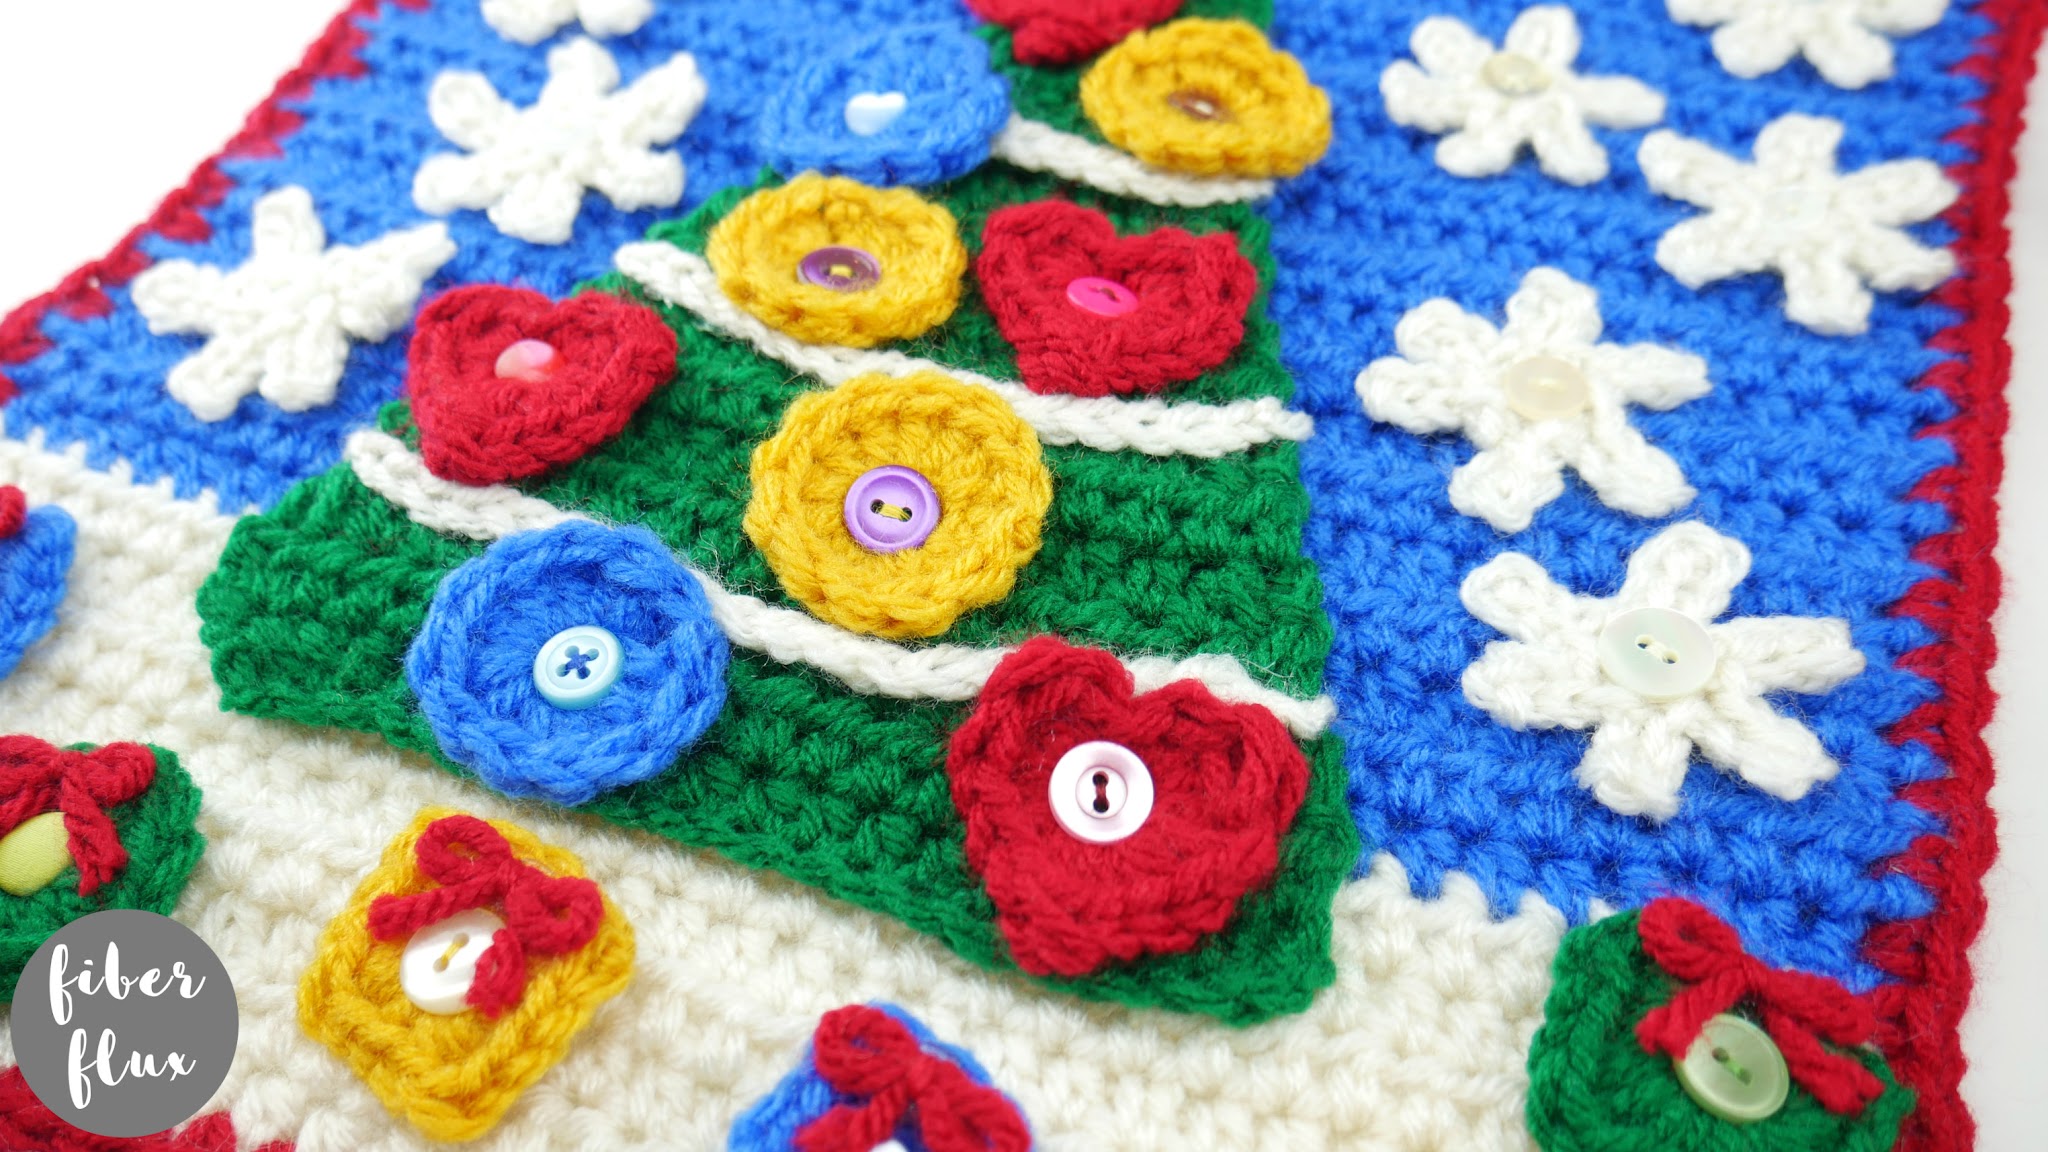
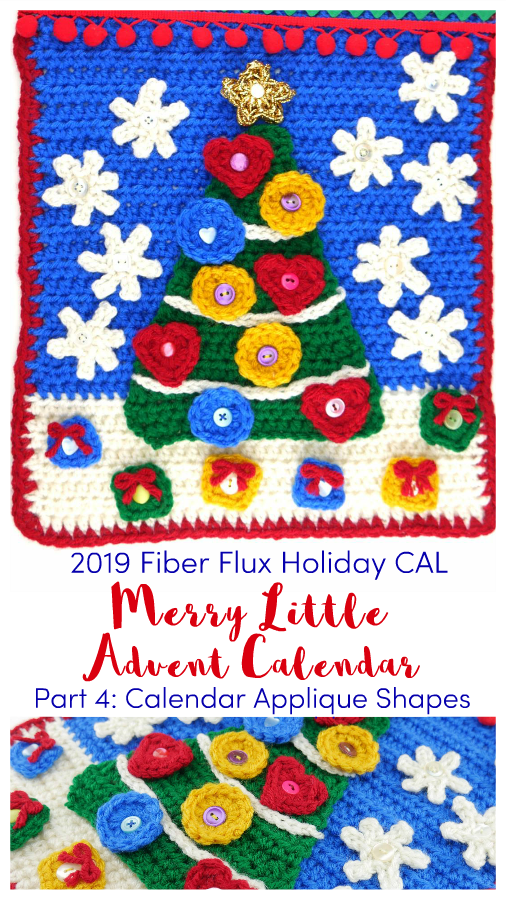
Welcome back to the 2019 Fiber Flux Holiday Crochet Along! Today marks part 4 of the CAL and we’ll be learning about the special project we’ll be making…the Merry Little Advent Calendar! This project is a lovely seasonal project and makes a wonderful keepsake. We will be going over a few things today for part 4:
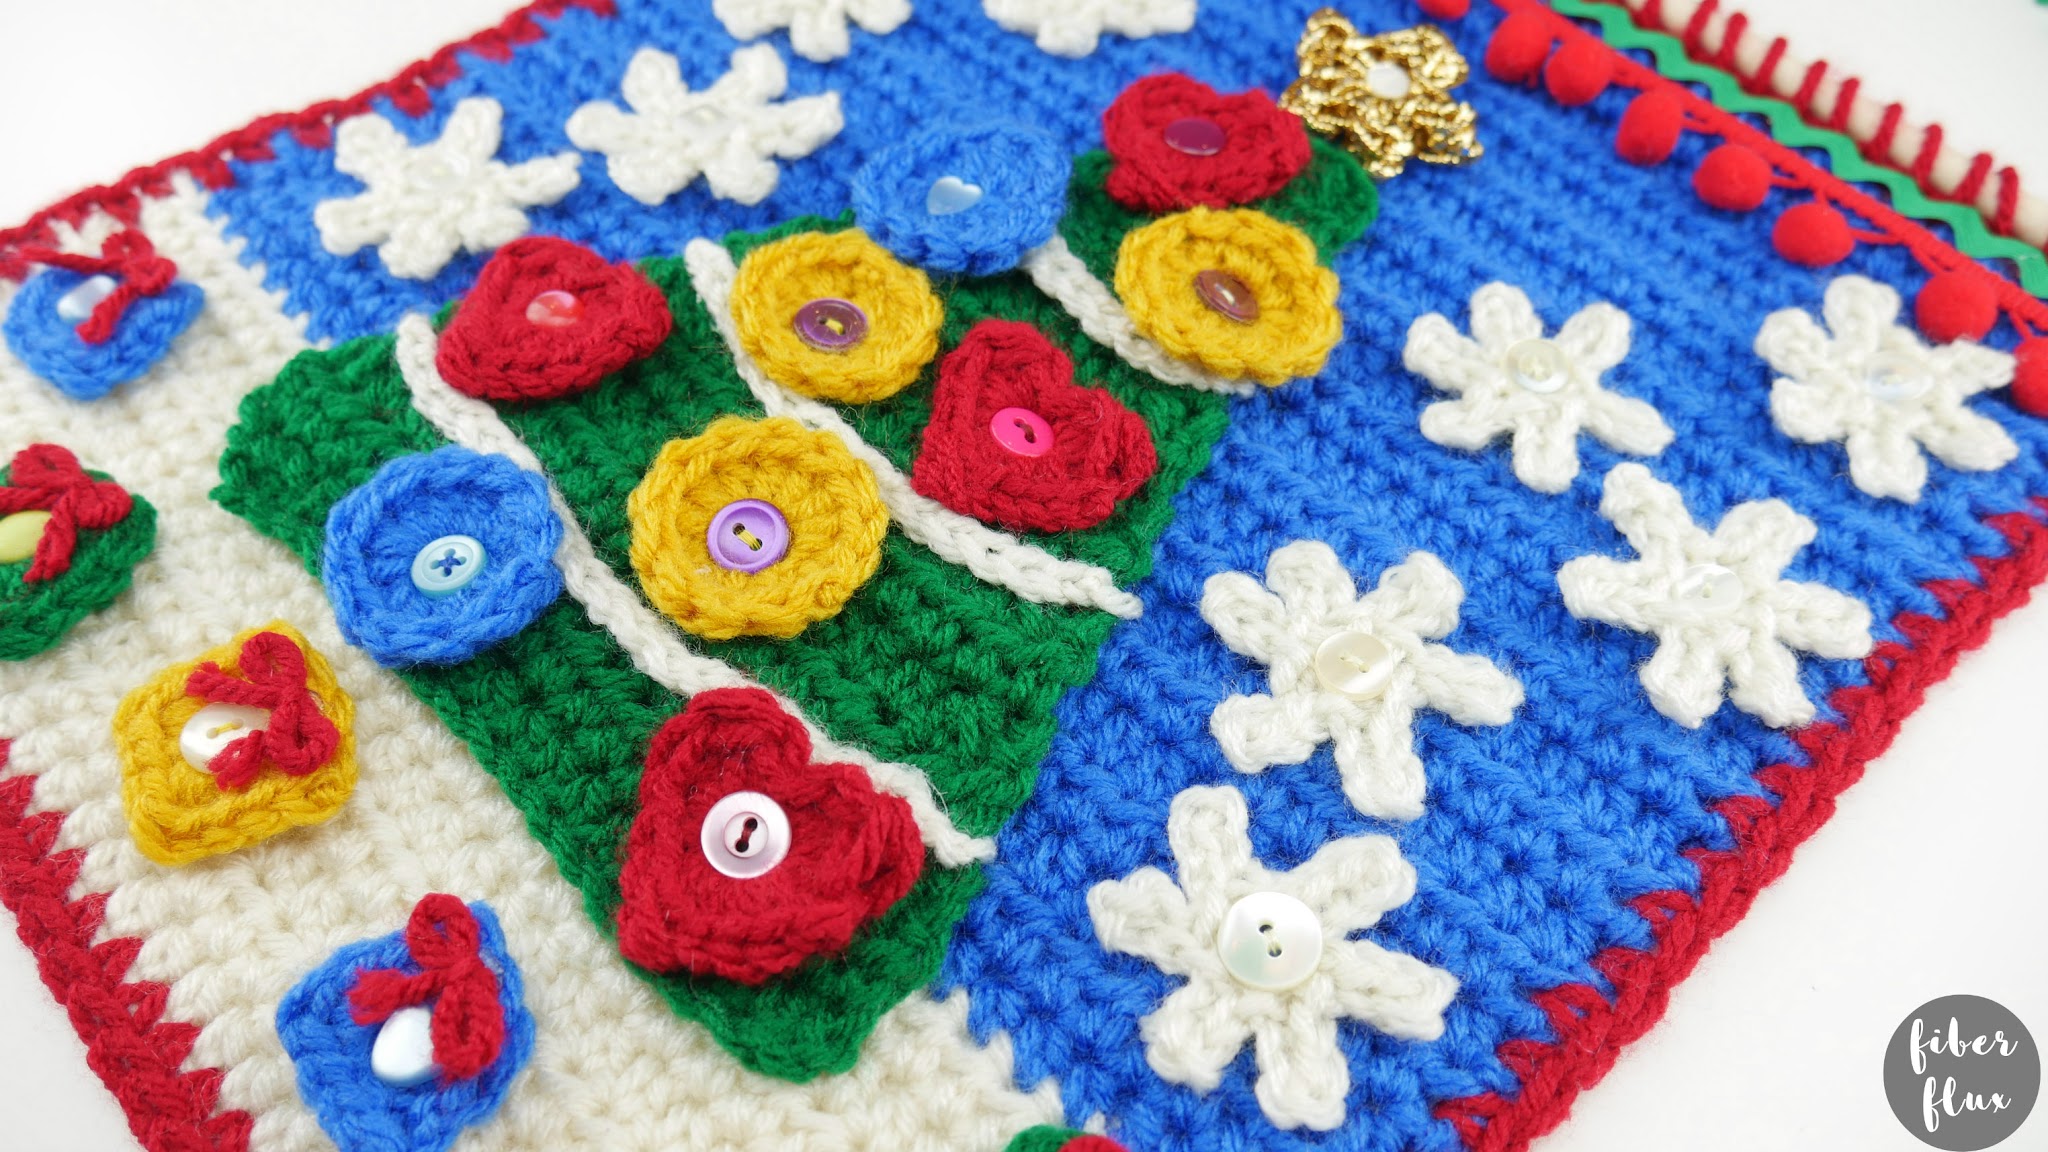
- How to crochet the star, circle, heart, snowflake, and square shapes for the calendar
- Where to connect with other makers
The CAL will be going on through out the month of November so that the calendar will be useable when December arrives, so keep checking back for more CAL updates!
*This is a self-paced project, so definitely go at the speed you feel most comfortable. The instructional videos and posts will be up forever and you will always be able to go back and watch again and again!
Here is a quick video for the tutorial + more information:
Add this project to your Ravelry queue by clicking on the button below:

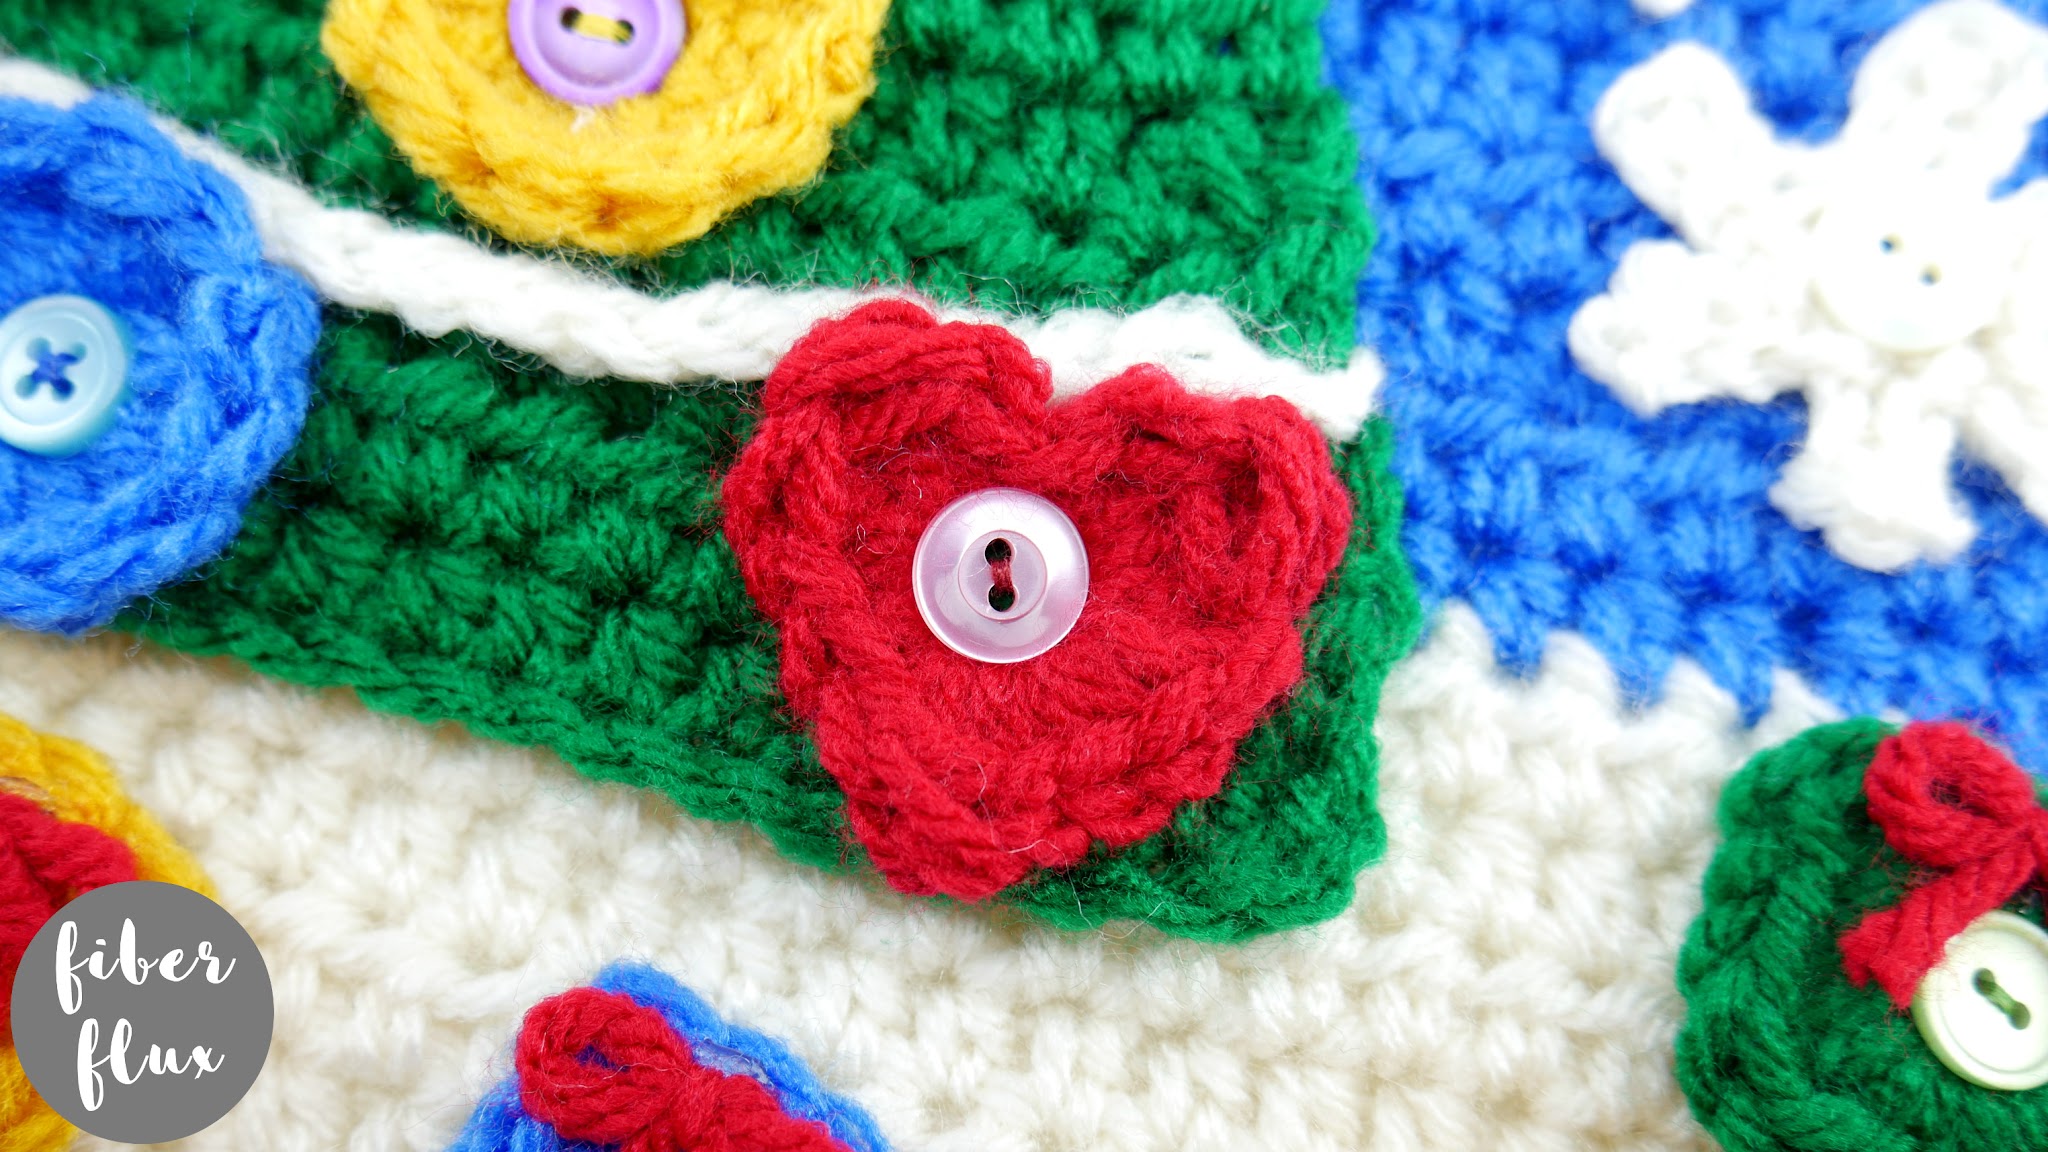
Instructions for Heart Ornaments:
(Make 4, I used the red yarn)
Ch 4, then join in furthest ch from the hook to create a ring.
Round 1 (work all stitches into the ring): dc, tr, dc, sl st, dc, tr, dc, 3 sc, tr, 3 sc, join to close heart with a sl st and fasten off.
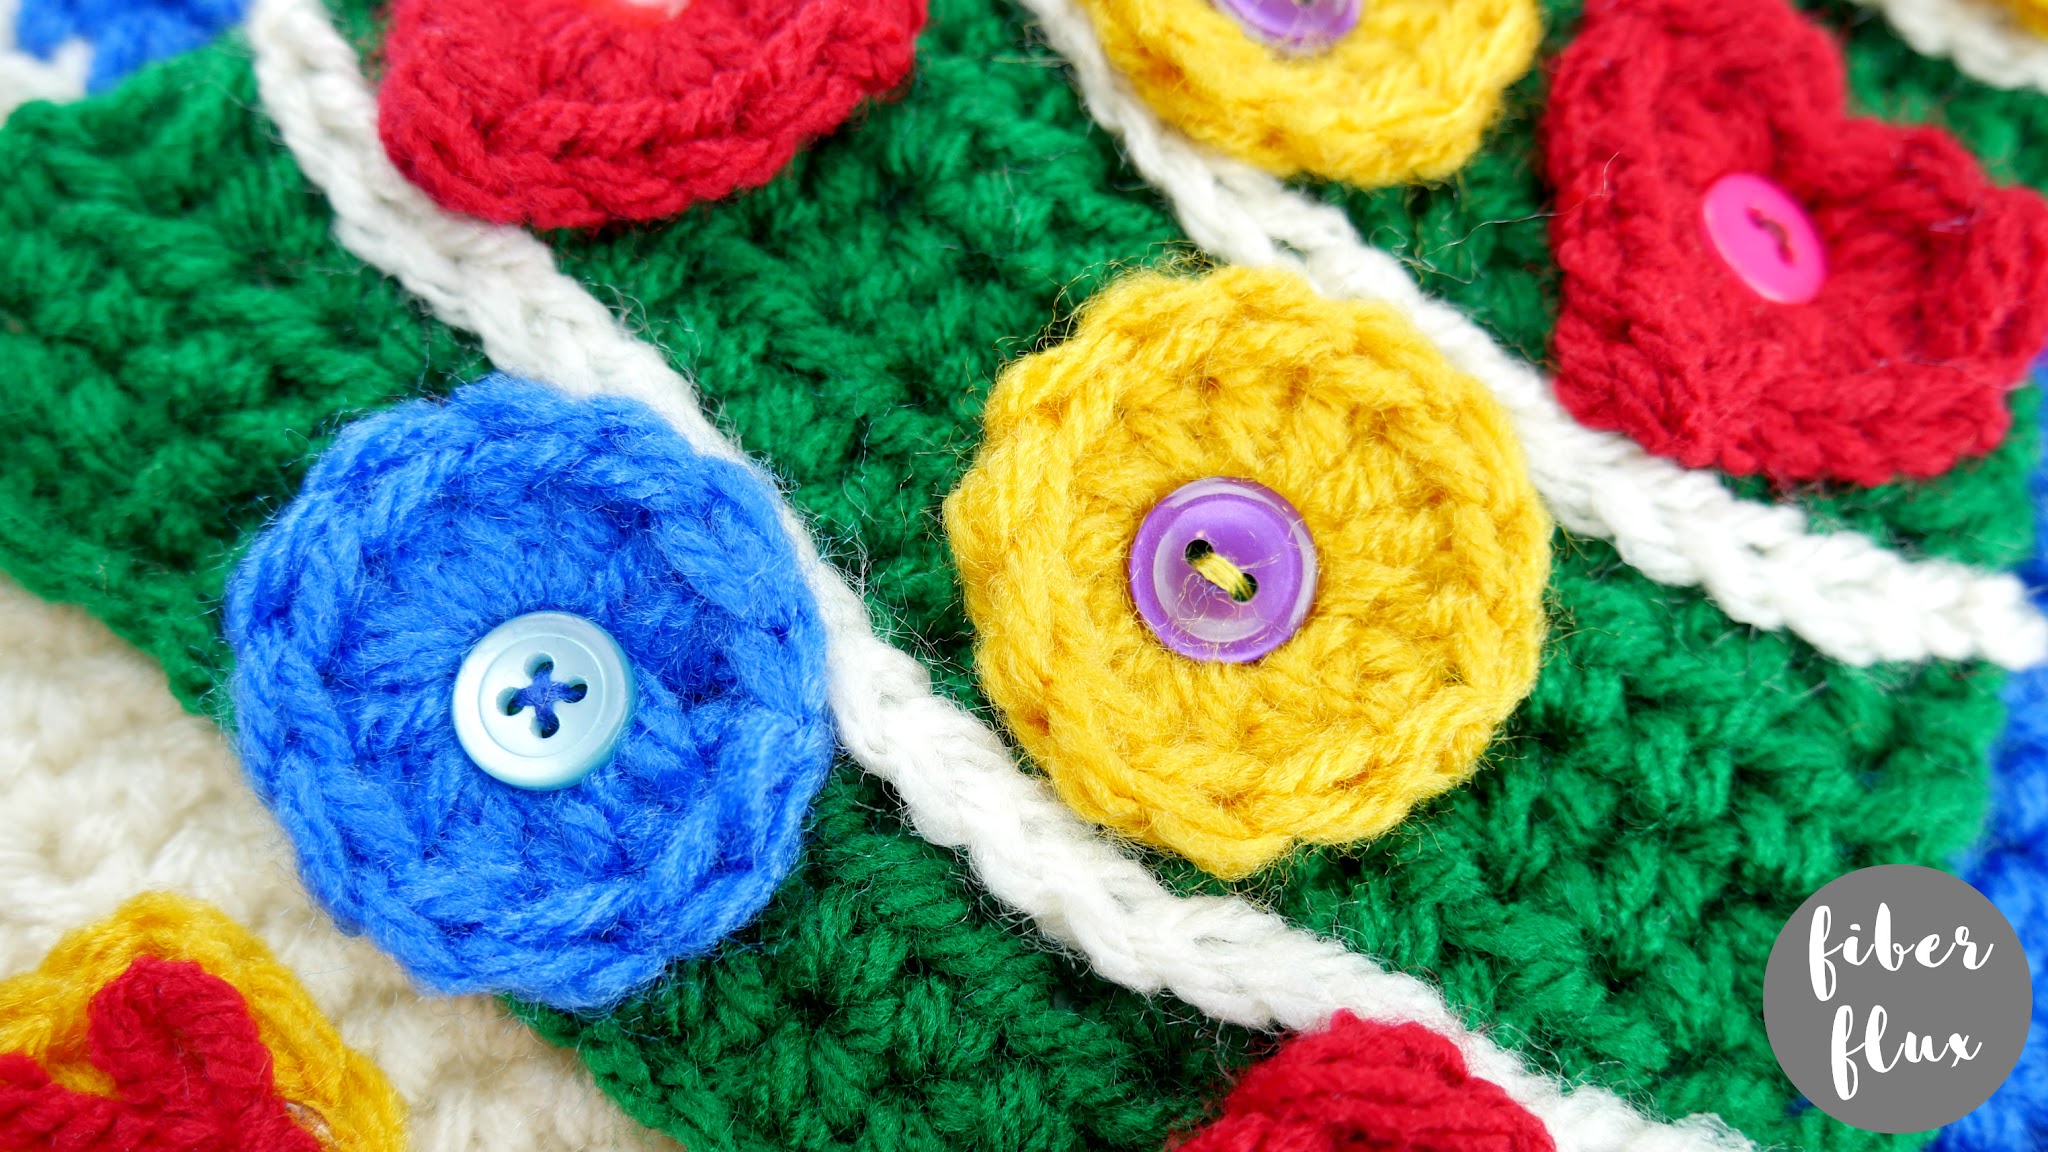
Instructions for Circle Ornaments:
(Make 5, I made 3 yellow and 2 blue)
Ch 4, then join in furthest ch from the hook to create a ring.
Round 1 (work all stitches into the ring): Ch 3, then work 11 dc into the center of the ring. Join to close with a sl st and fasten off.
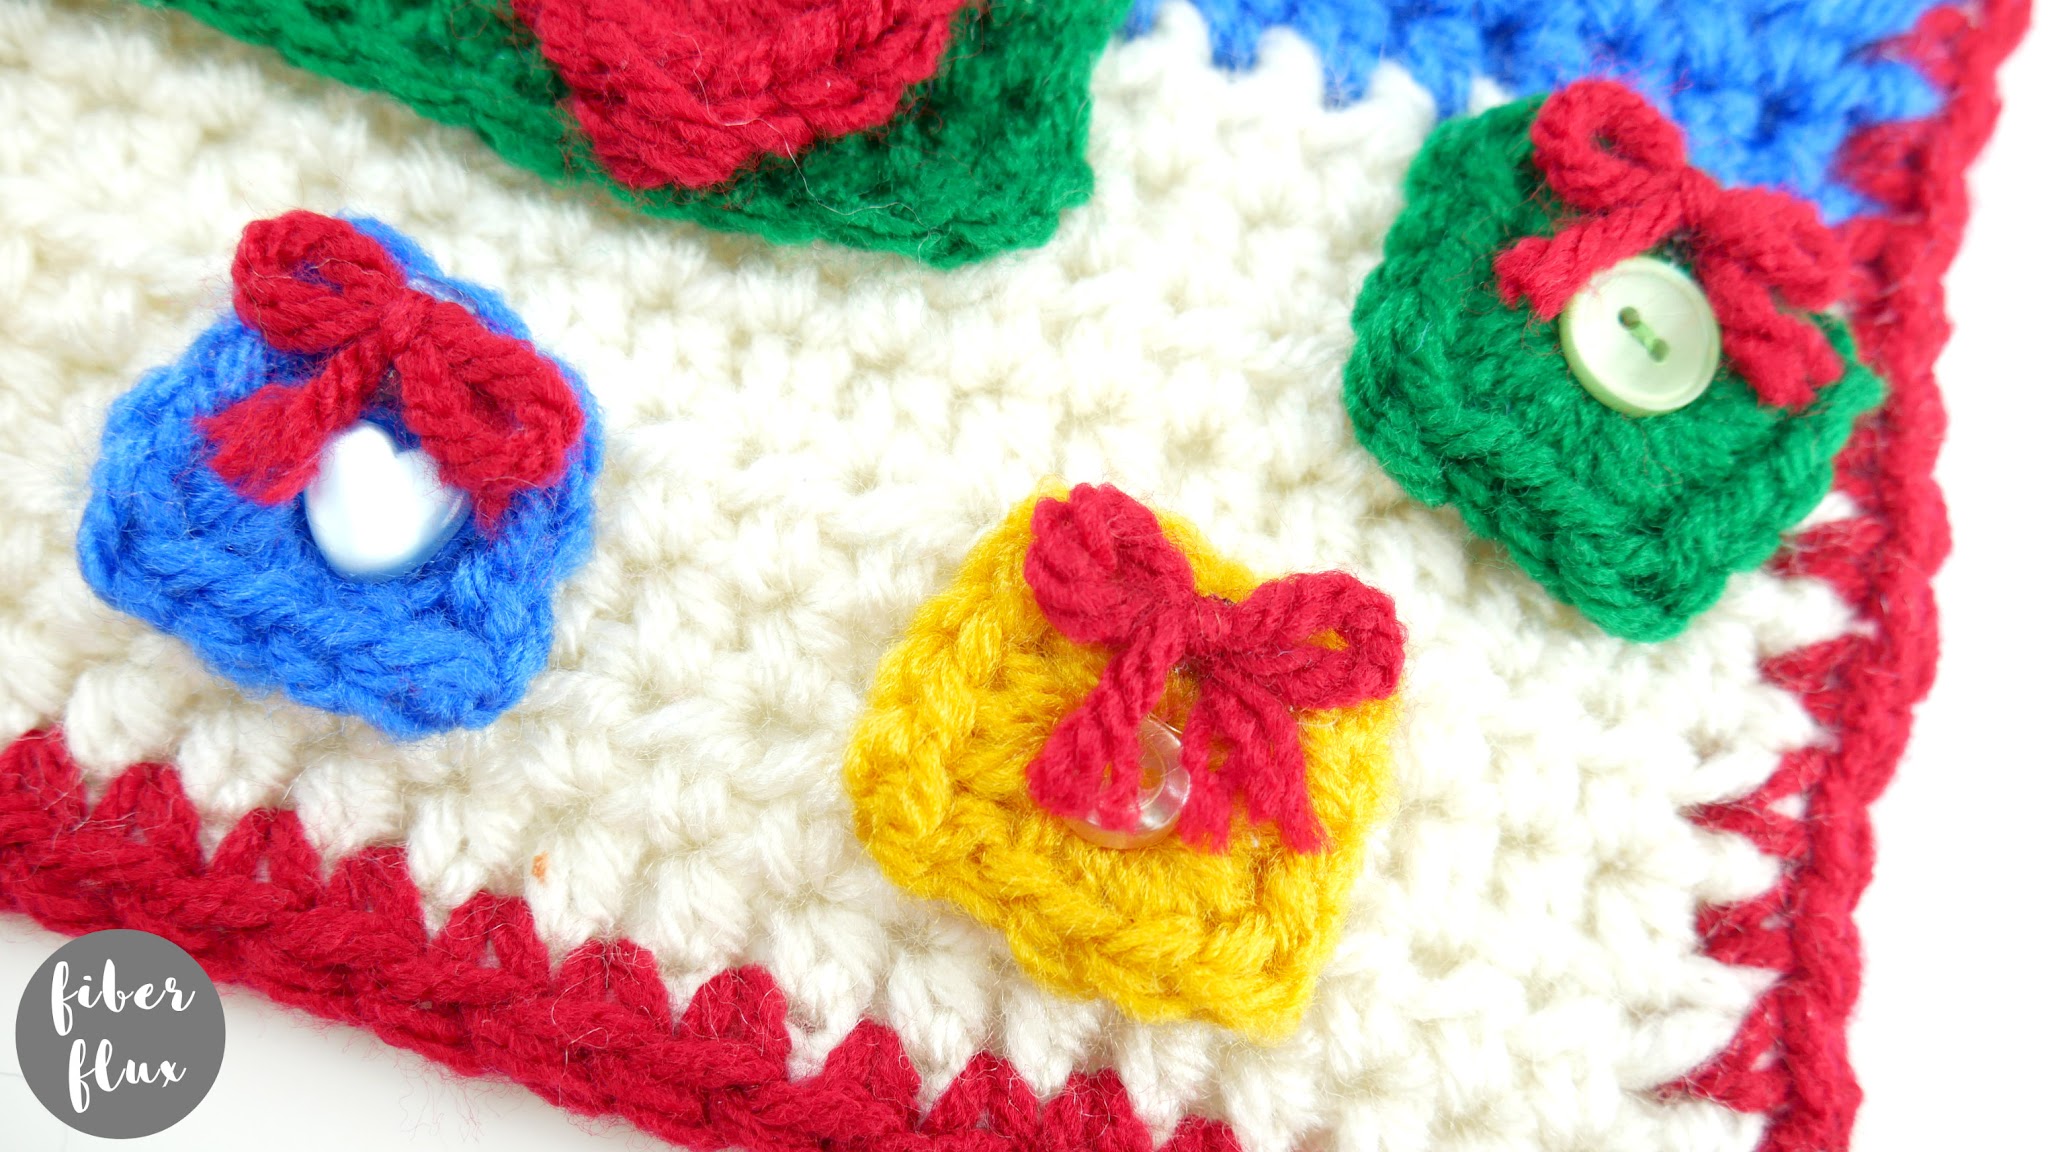
Instructions for Gift Squares:
(Make 6, I made 2 yellow, 2 blue, and 2 green, each with a red bow)
Ch 4, then join in furthest ch from the hook to create a ring.
Round 1 (work all stitches into the ring): Ch 3, then work (3 sc, 1 dc) until your square has 4 corners/a square shape. Join to close with a sl st and fasten off.
For gift bows, grab a small length of red and make a small bow for each. Trim tails and set aside (we’ll be assembling everything for part 6 of the CAL).
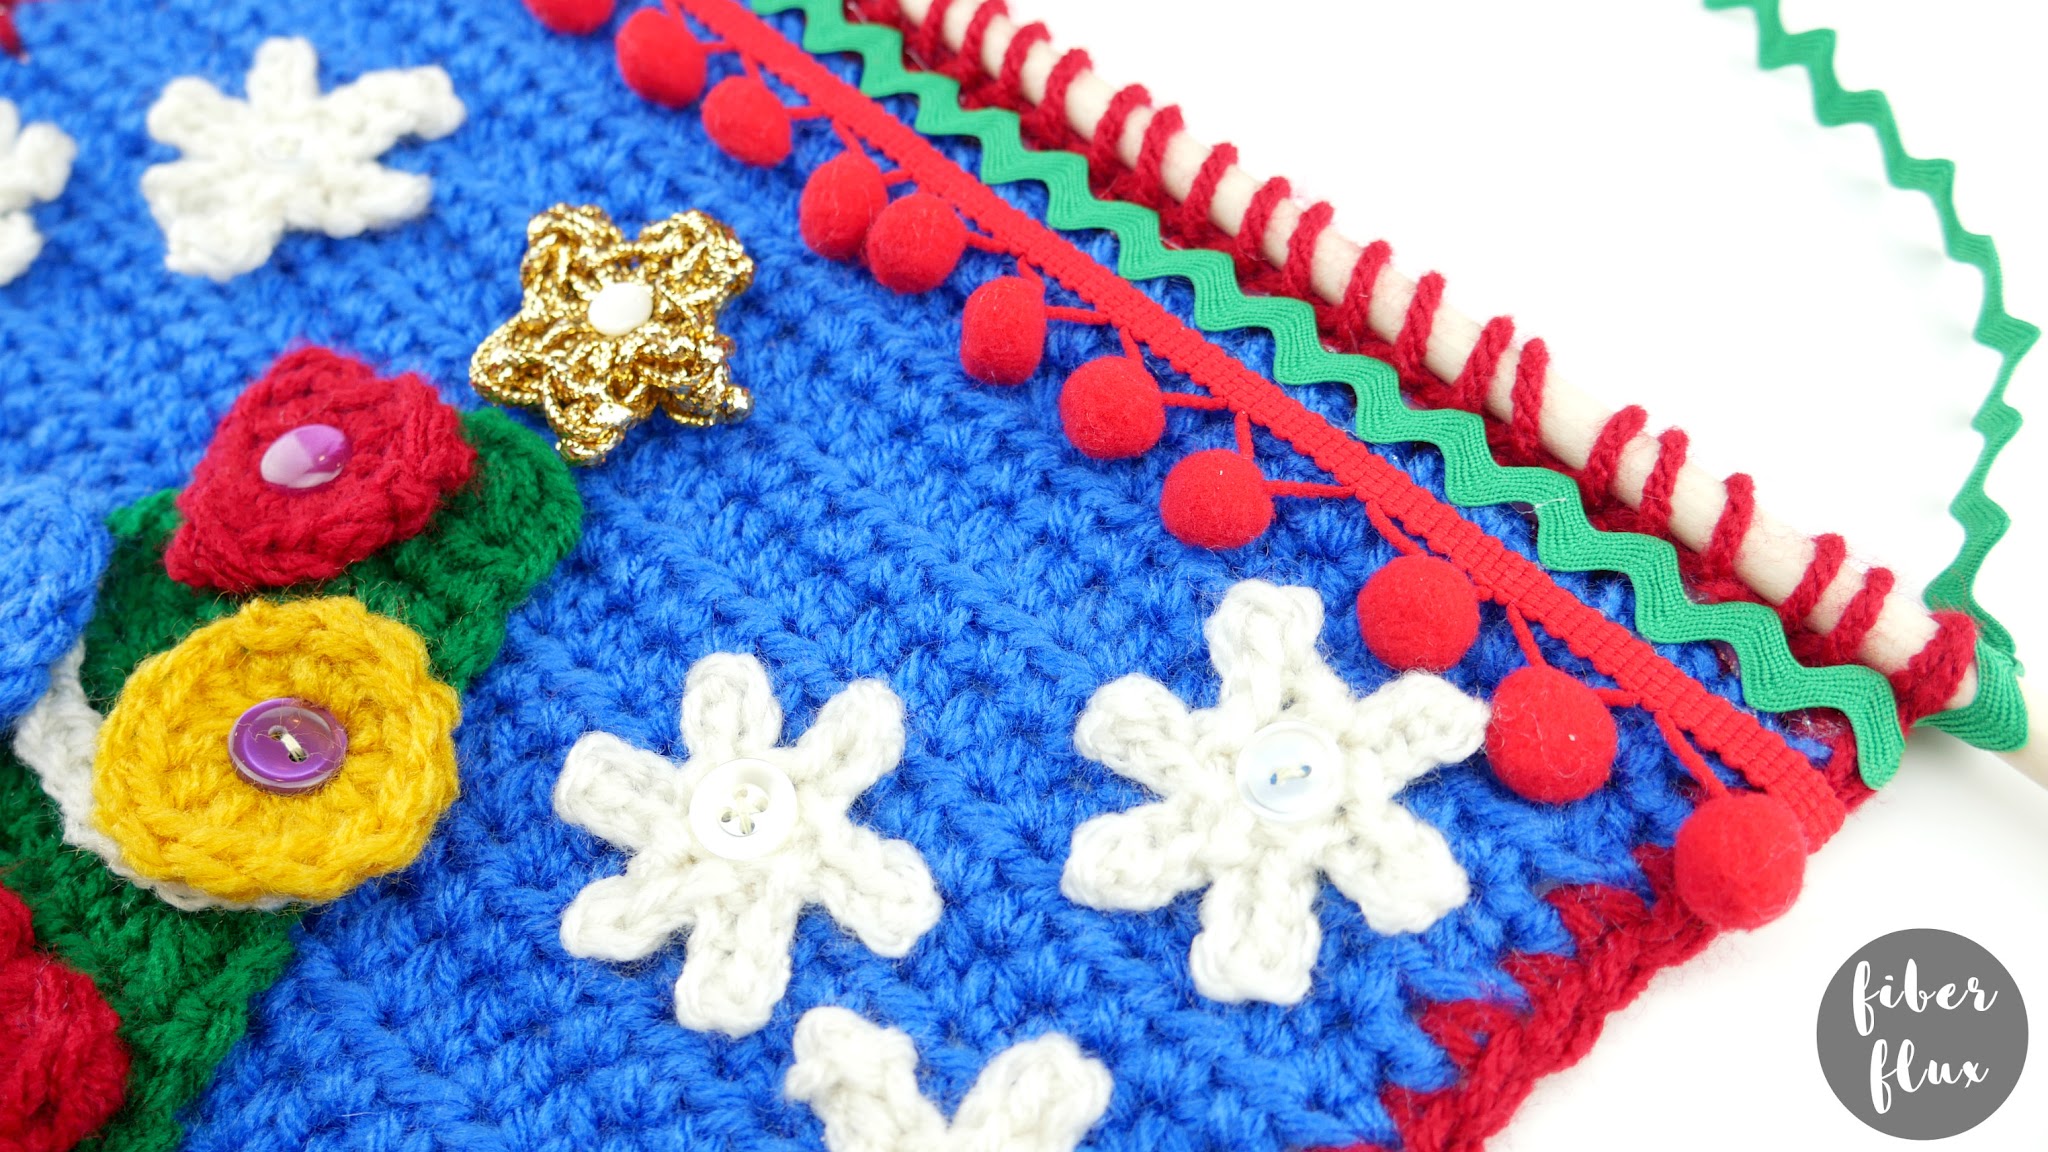
Instructions for Snowflakes:
(Make 9, I used white yarn)
Ch 4, then join in furthest ch from the hook to create a ring.
Round 1 (work all stitches into the ring): *Ch 4, then skip two chains. Work a slip stitch in each of the next two chains. Work a slip stitch into the center of the ring. Repeat from * around until your snowflake has a total of 6 points. Join to close with a sl st at the base of the point and fasten off.
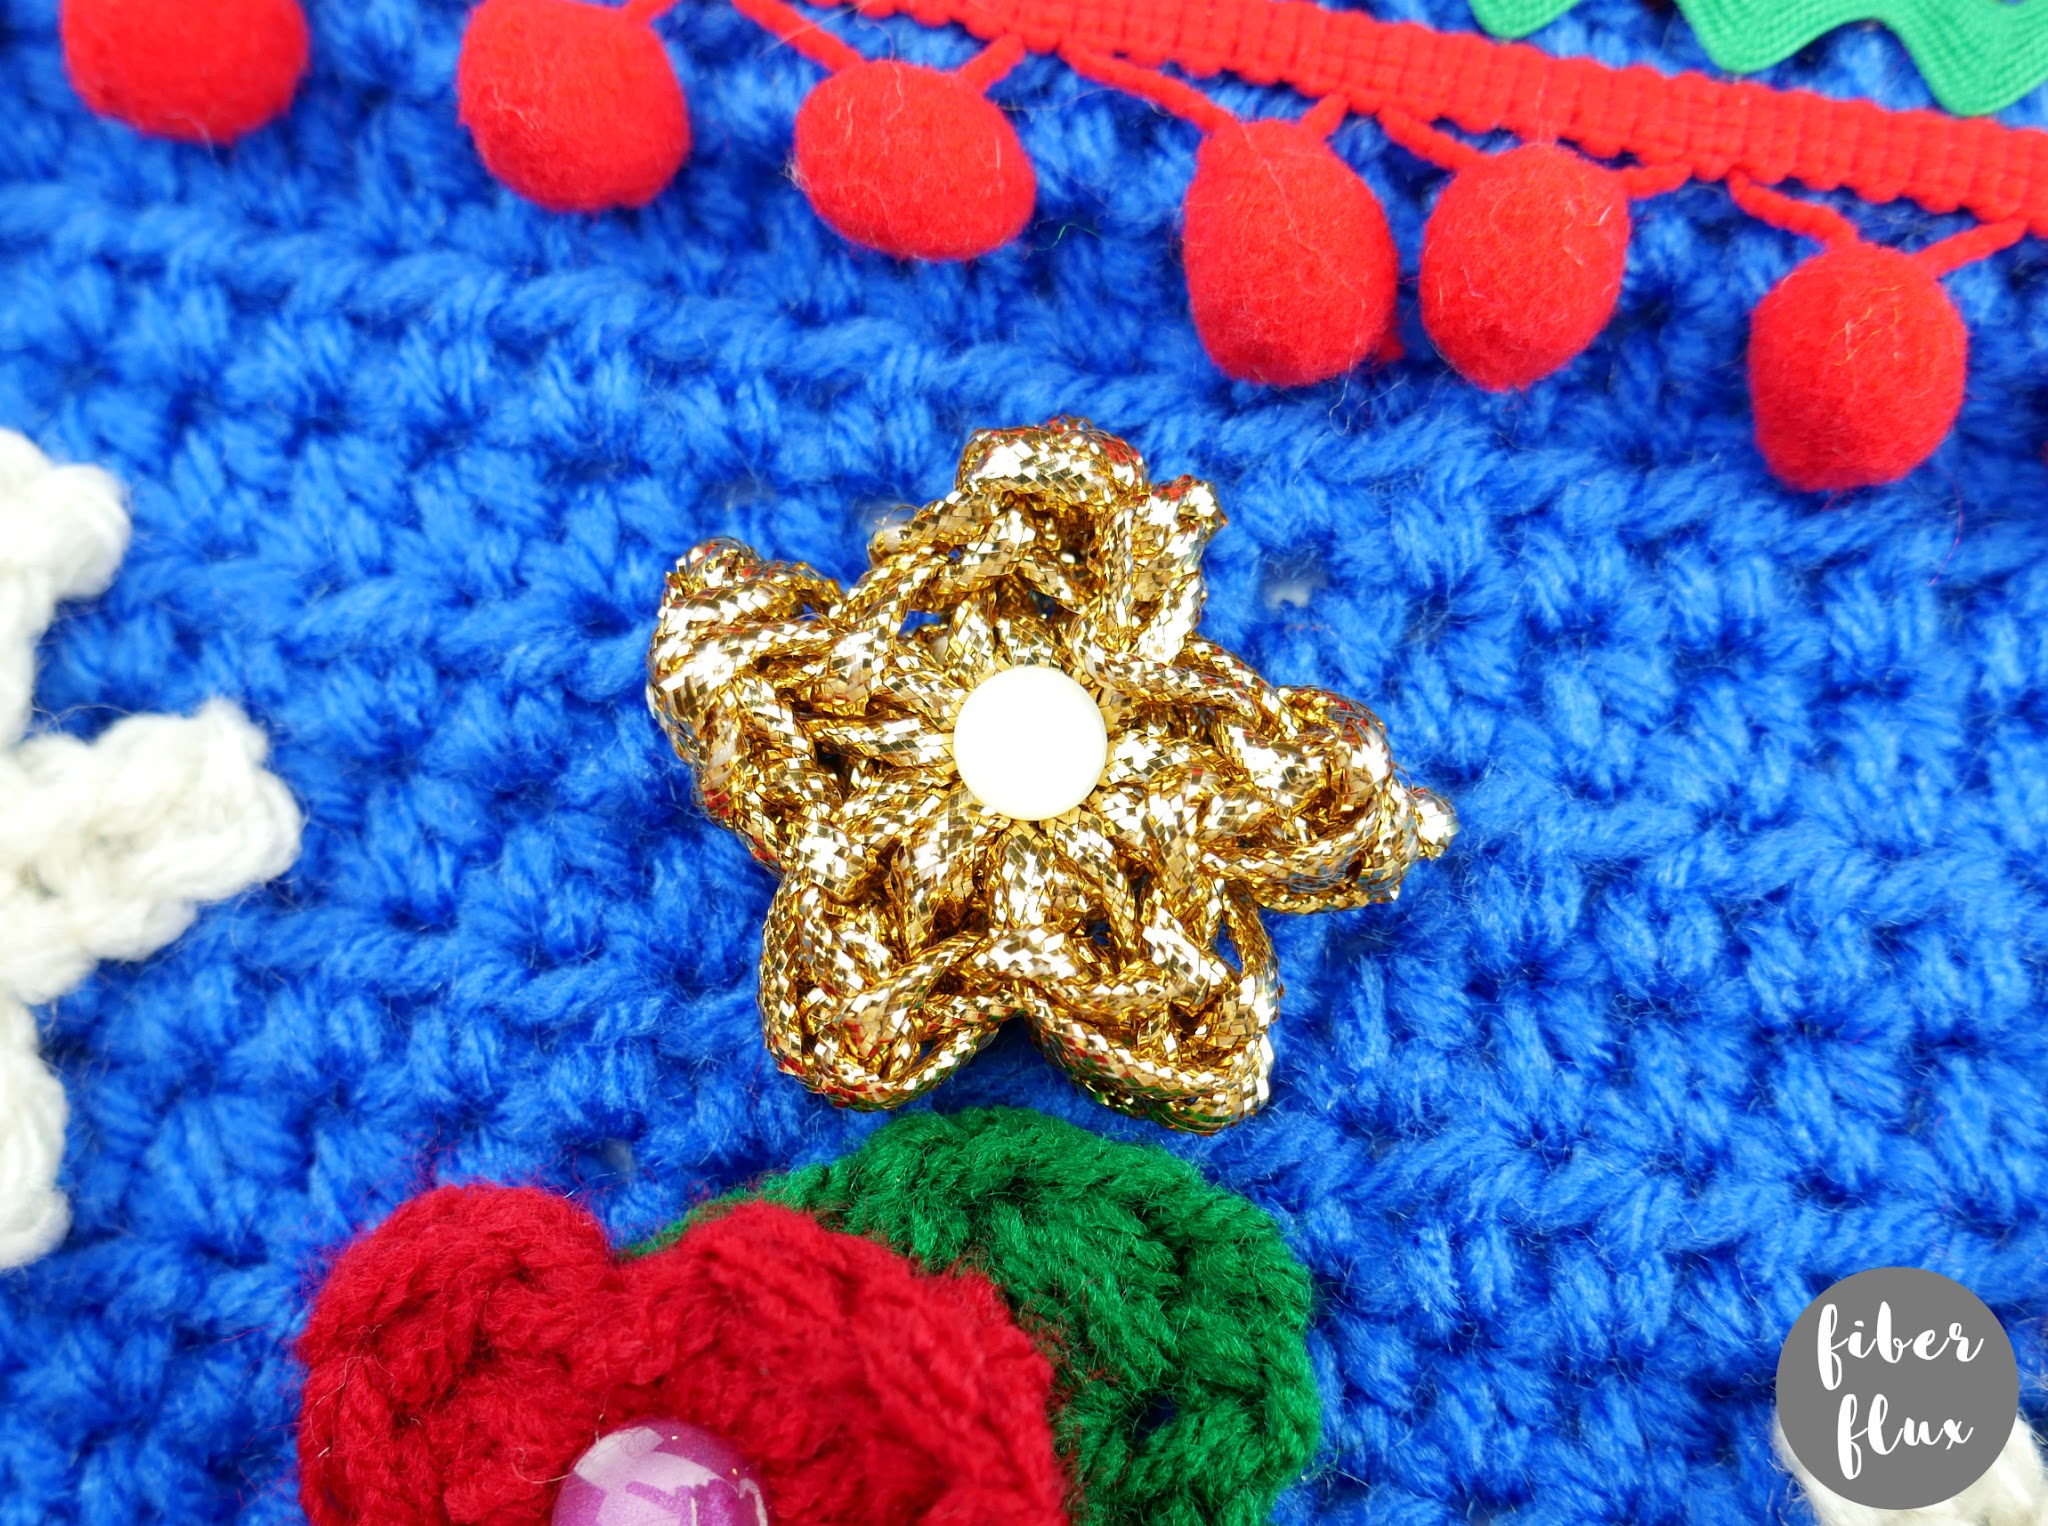
Instructions for Star:
(Make 1, I used gold yarn)
Ch 4, then join in furthest ch from the hook to create a ring.
Round 1 (work all stitches into the ring): Work a (tr, ch 1, sl st), then repeat four more times for a total of five star points. Join to close with a sl st and fasten off.
Schedule: Because of the timing of our project (hang a shape up December 1-25) I will be sharing tutorials throughout November. That way you’ll be ready to roll for December!
Last part…let’s connect! You can connect at any of the social media platforms below, and don’t forget to use the hashtag #fiberfluxcal


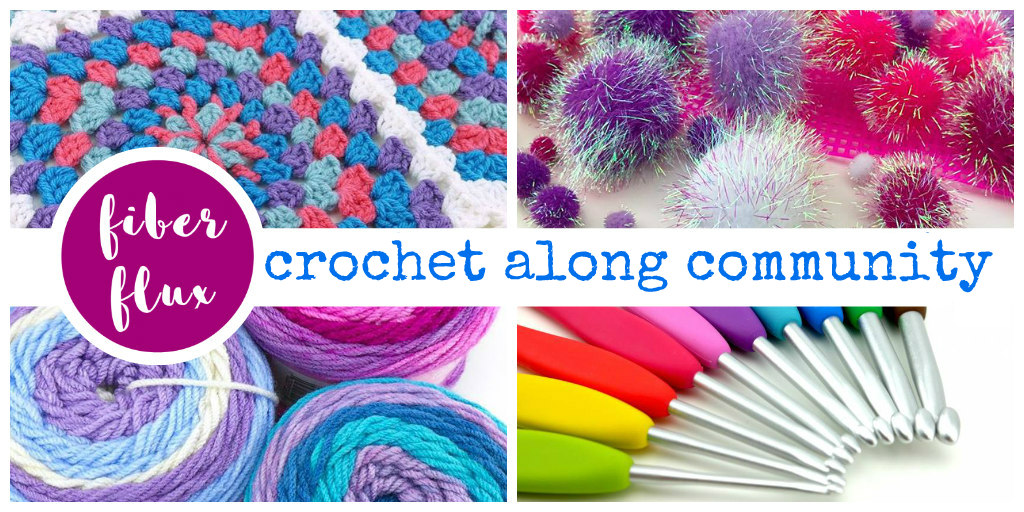
Also we have two special communities for our CAL makers! Each has a welcome area/thread, so please hop on and introduce yourself. You can get info, ask questions, help each other, see what everyone is doing, and show off your work too!
Click HERE to join the Facebook group!

Click HERE to visit and join the Ravelry group!
Also, don’t forget to use the hashtag, #fiberfluxcal to share your work on social media!
I can’t wait to see all of your amazing calendars…please share those pictures and above enjoy, take some time to relax with your hook, and have fun! That’s all for today lovelies, see you next week for part five!!

© Jennifer Dickerson 2019
For more fun projects and pretty patterns, be sure to follow Fiber Flux on Facebook, Instagram, Twitter, and Pinterest for the latest updates!
