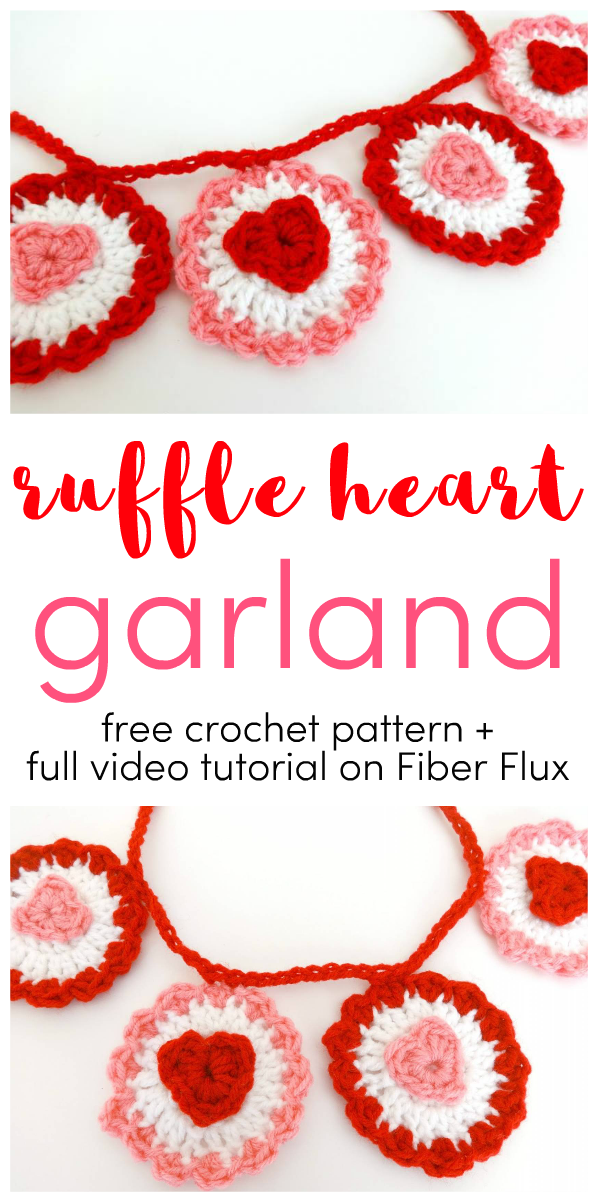
The Ruffle Heart Crochet Garland is a pretty and easy way to add a little Valentine’s festivity to your home. Hang it in a window, on a mantel, or across a mirror. I chose Valentine’s colors, but feel free to make it your own with any colors!
Watch a full video tutorial on how to make the Ruffle Heart Crochet Garland:
Materials:
- Worsted weight yarn of your choice (yarn shown in photos is Red Heart Super Saver in “Cherry Red” “Perfect Pink” and “White”
- J (6.0 mm) crochet hook
- Tapestry Needle
- Scissors
Sizing:
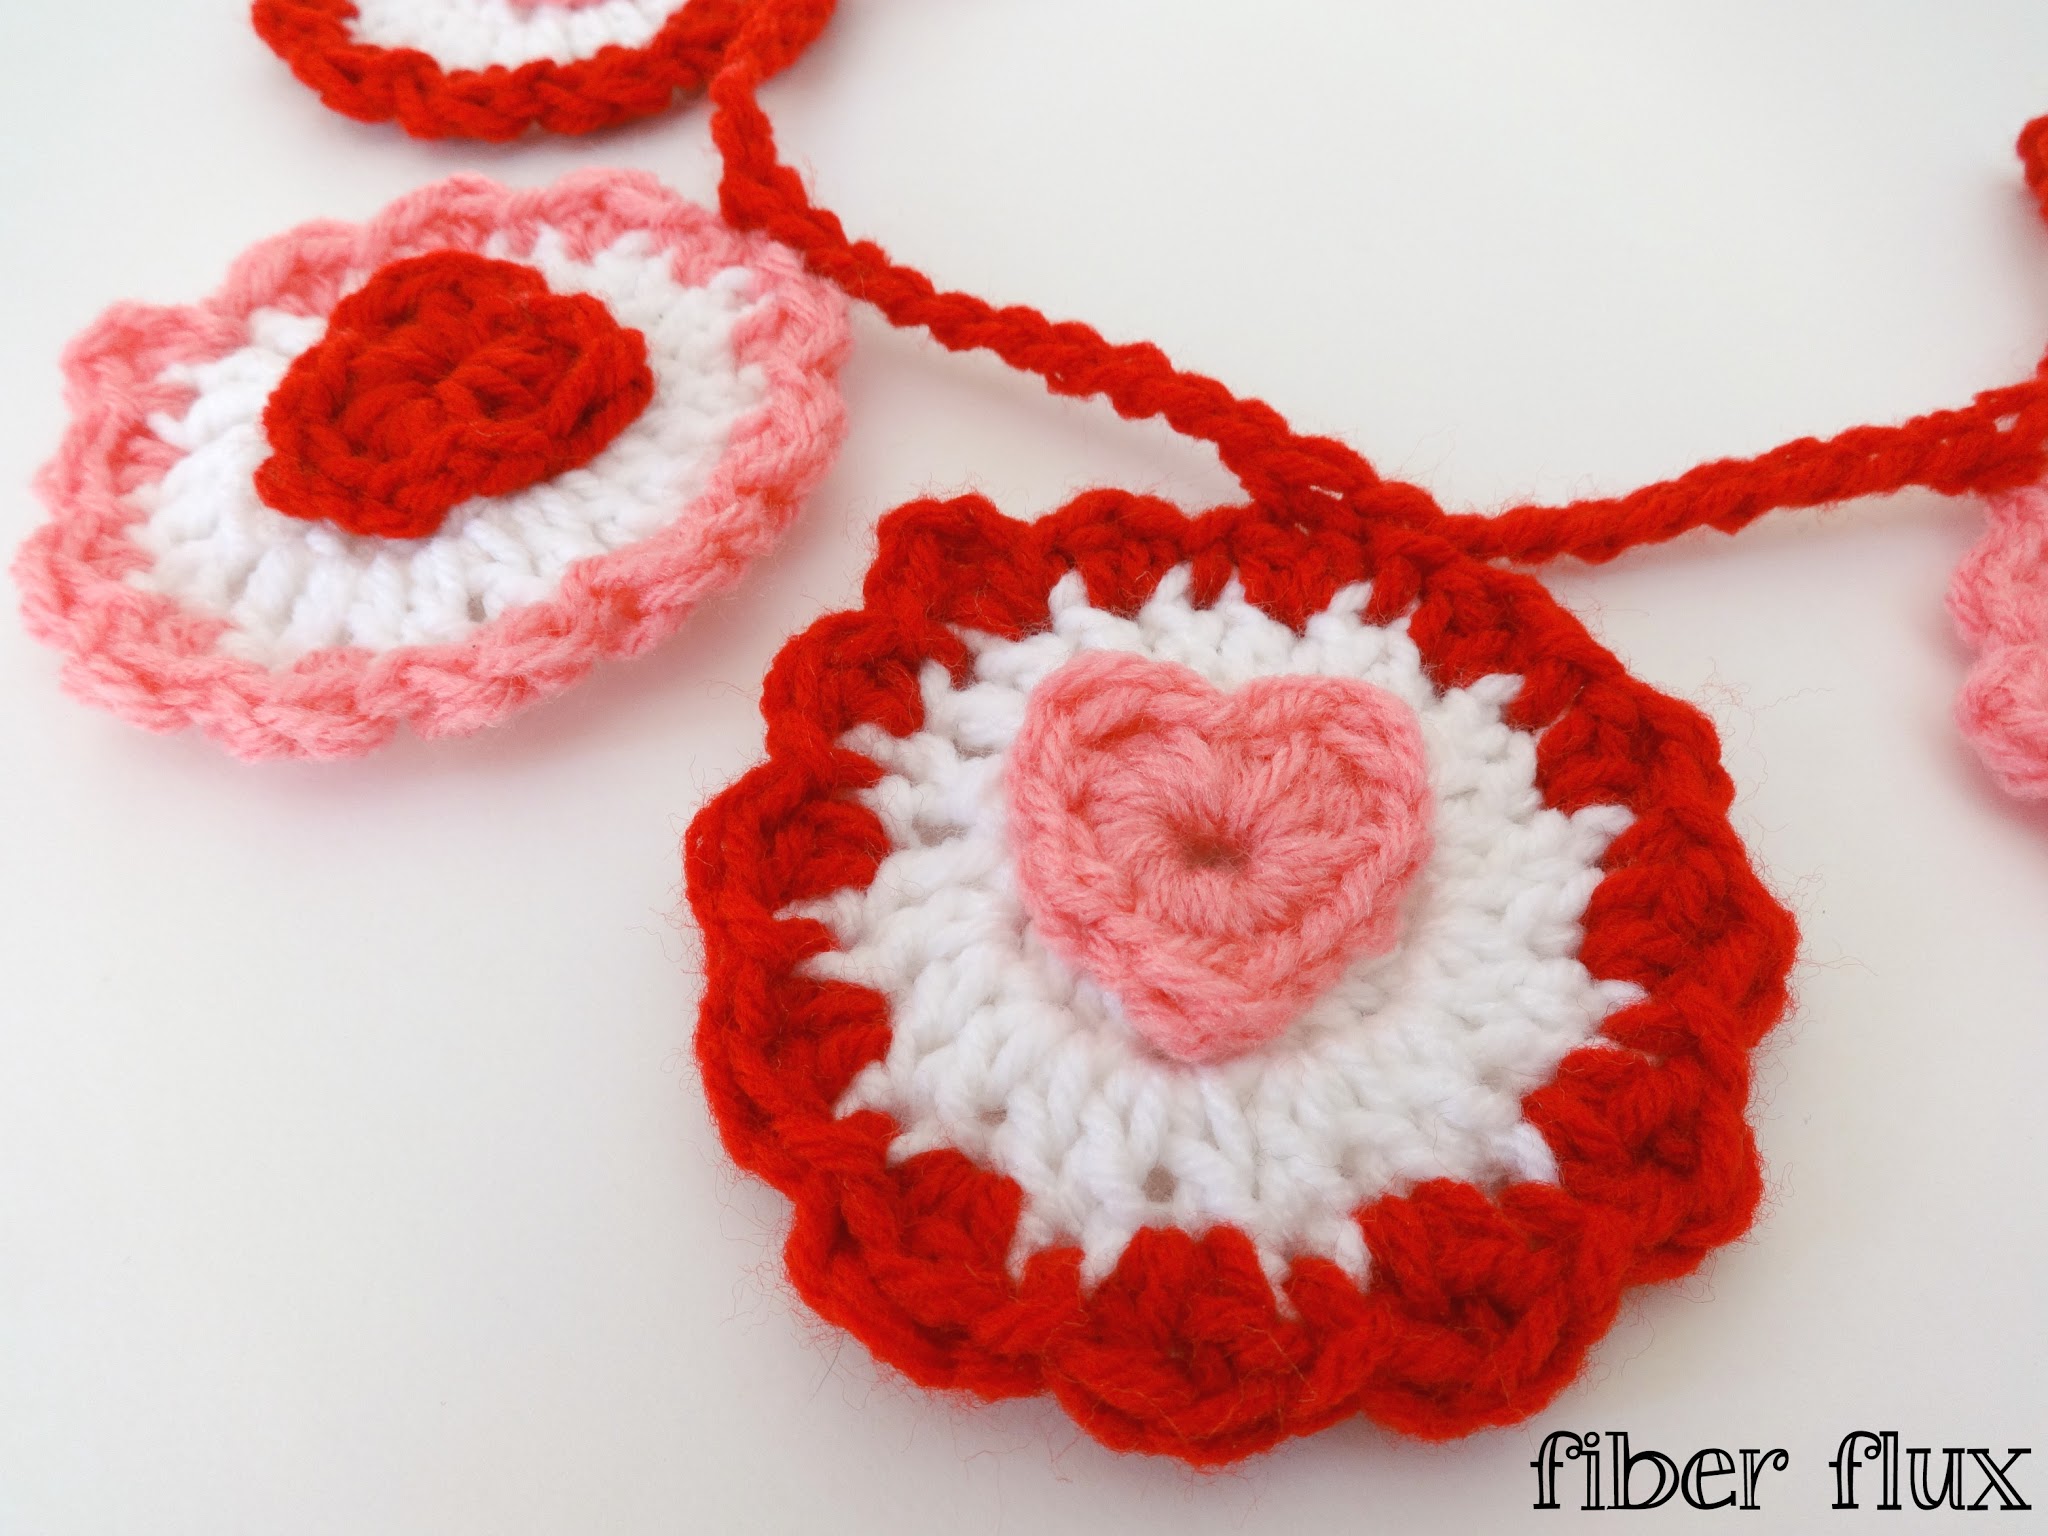
- Each finished circle measures about 3.5 inches wide.
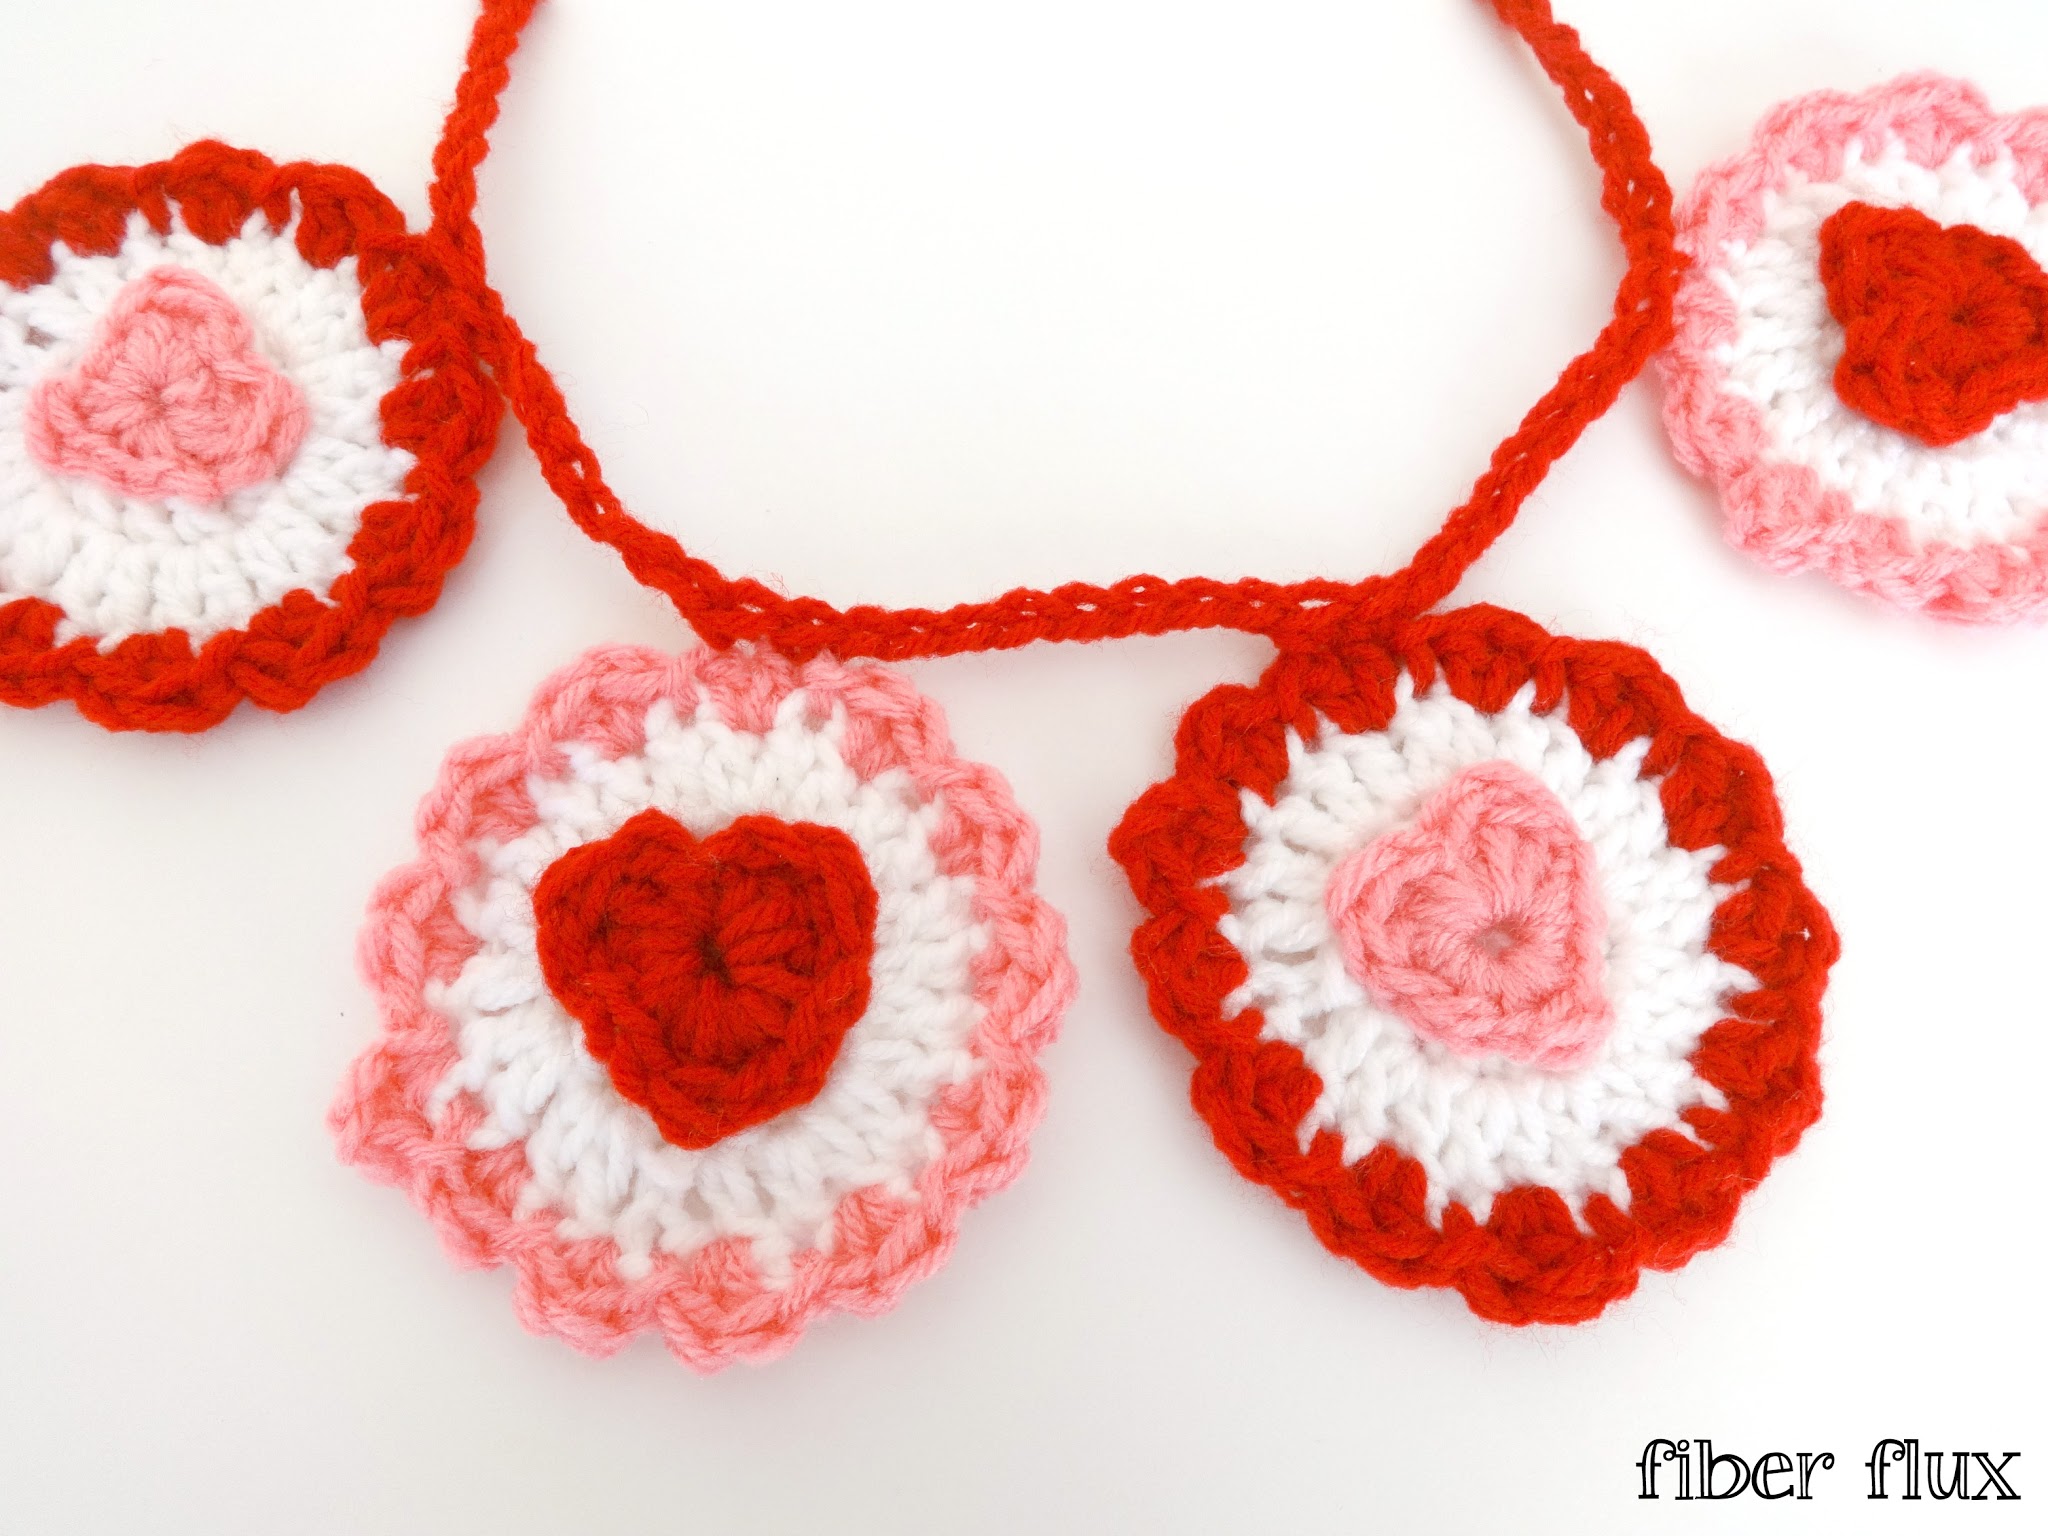
- The length of the garland can be as long as you want…simply make more circles and make the hanging chain have more chains to make it longer.
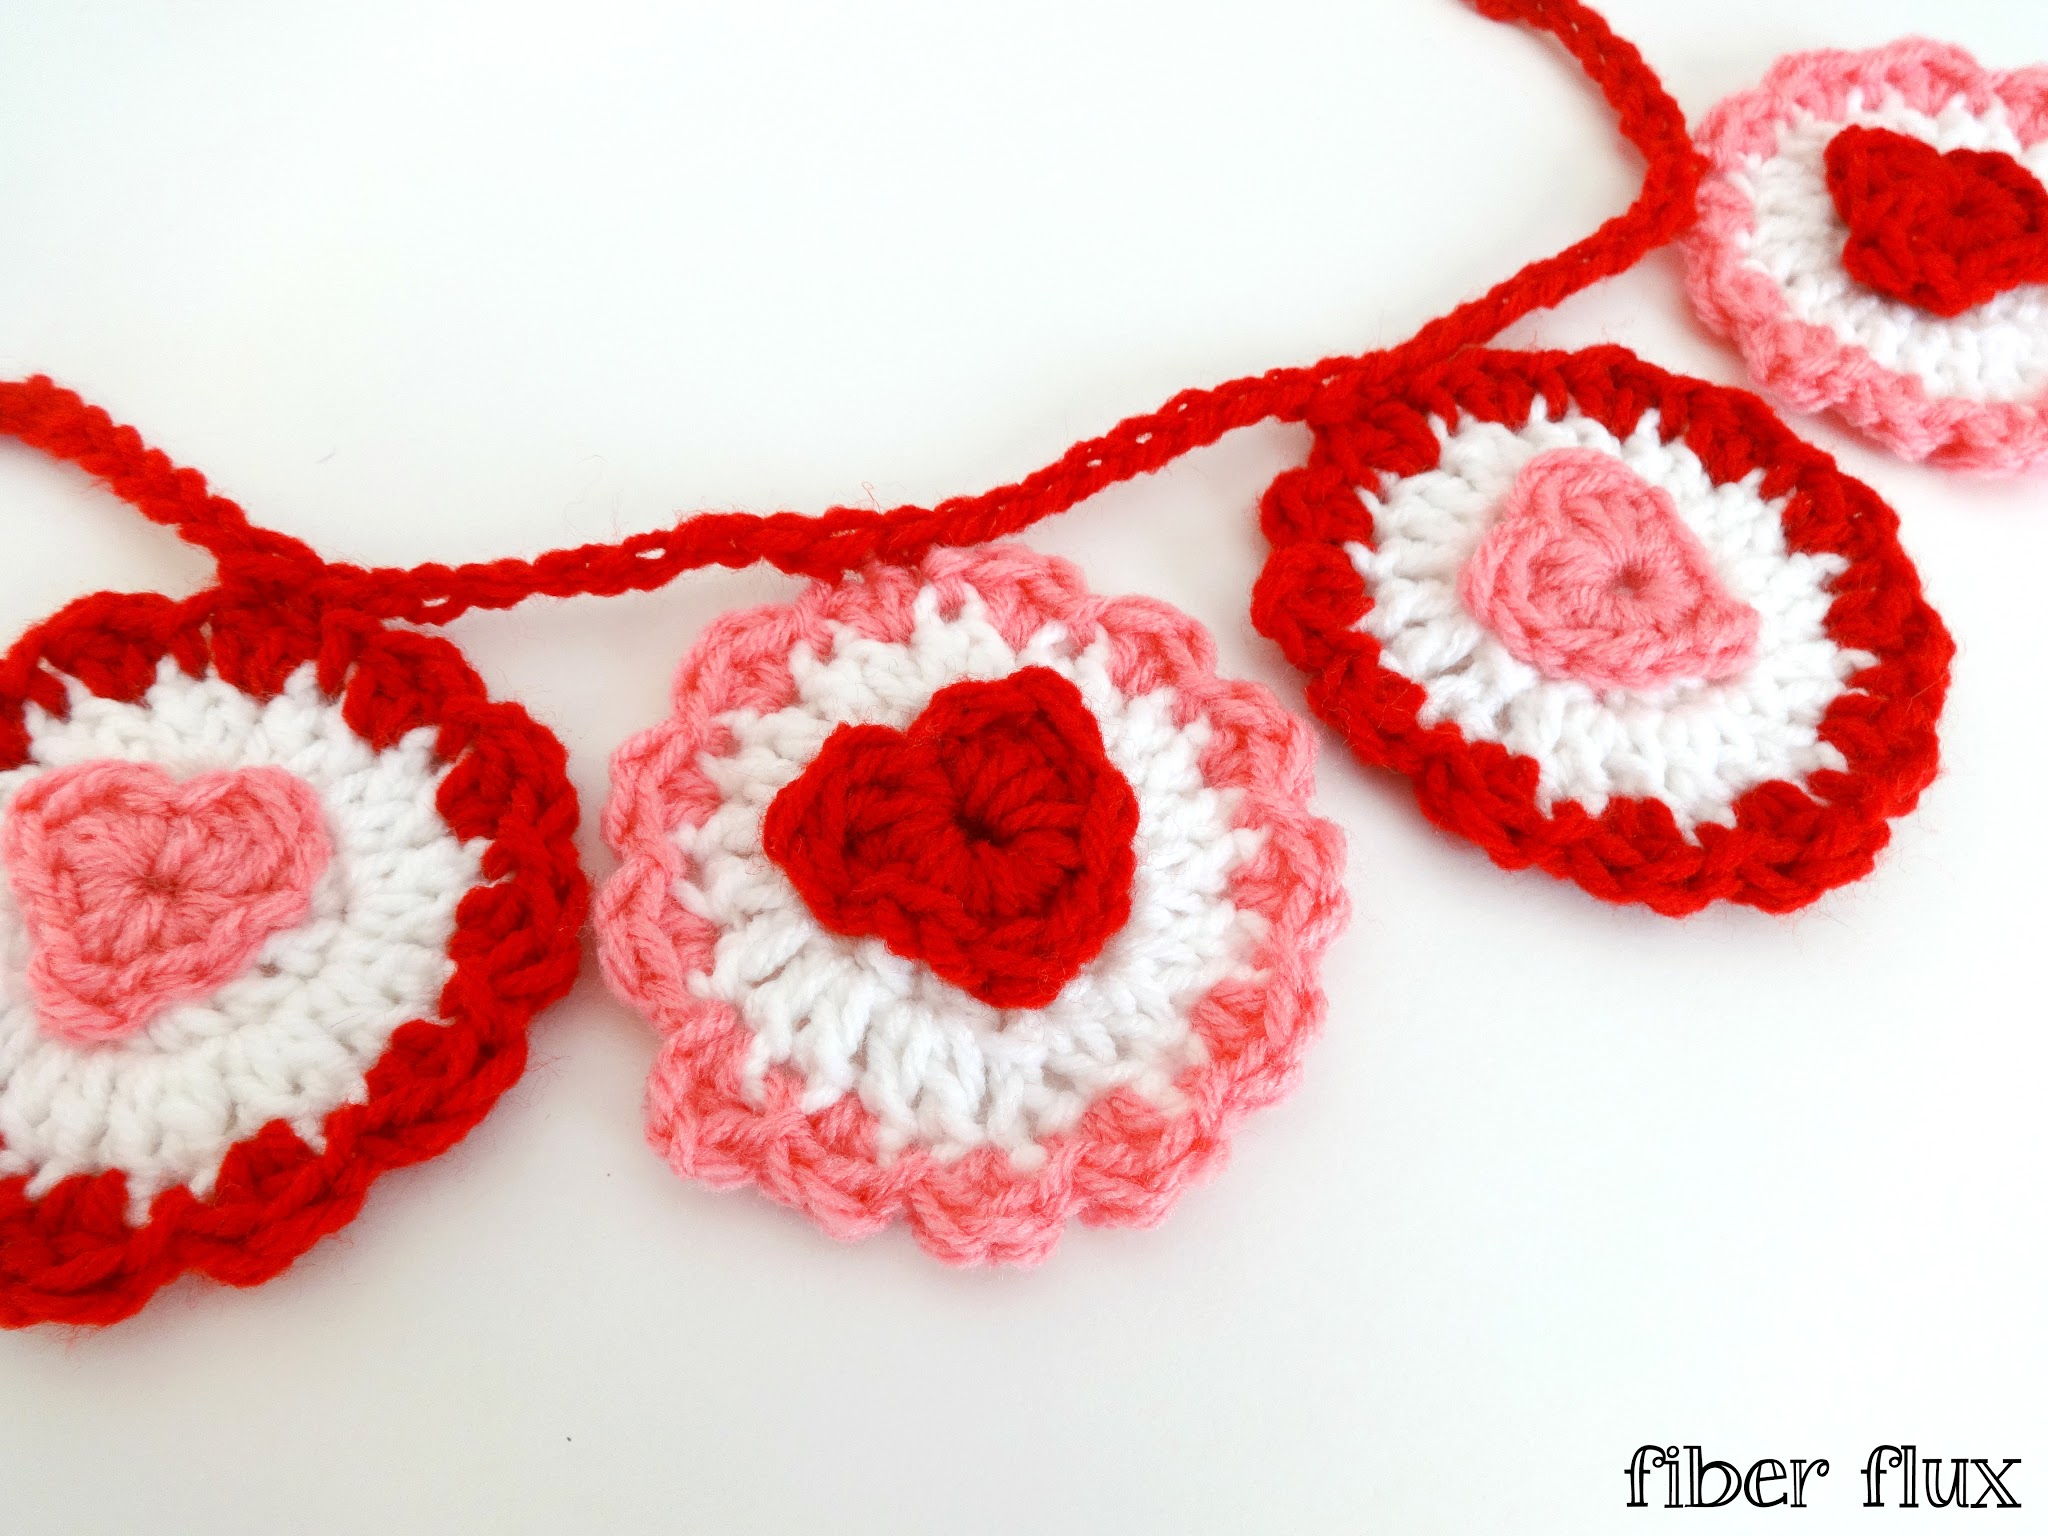
Note: I alternated colors for the finished garland (red, pink, red, pink and so on).
Instructions for Circle:
Ch 4 and join with a sl st in the furthest ch from the hook.
Round 1 (worked in white): Ch 3 (counts as a dc) and work 11 dc into the center of the ring. Join with a sl st to close round.
Round 2 (worked in white): Ch 3, then work a dc in the same st. Work 2 dc in each st around circle. Join with a sl st to close round.
Round 3 (scallop edge, worked in red or pink): Ch 3, then work a dc in the same st. *Work a sl st into the next st, then 2 dc into the next st. Repeat from * to end of round. Join with a sl st to close round. Fasten off.
Instructions for Heart (make one per circle, worked in red or pink):
Foundation: Chain 4 and join with a slip stitch to form a ring.
Round 1 (work all stitches into the center of the ring): dc, tr, dc, sl st, dc, tr, dc, 3 sc, tr, 3 sc, join with a sl st to close heart and fasten off. Leave tails intact for seaming later.
Finishing & Assembly:
Using tails from heart, sew to center of each circle. Weave in any remaining ends. Determine how far apart you’d like the circles to hang. For the garland shown, there are 8 chains in between each circle. With matching yarn (pink, red, or white), ch 8, then locate the top most scallop on the circle. There will be two stitches at the top of each scallop (see photo below):
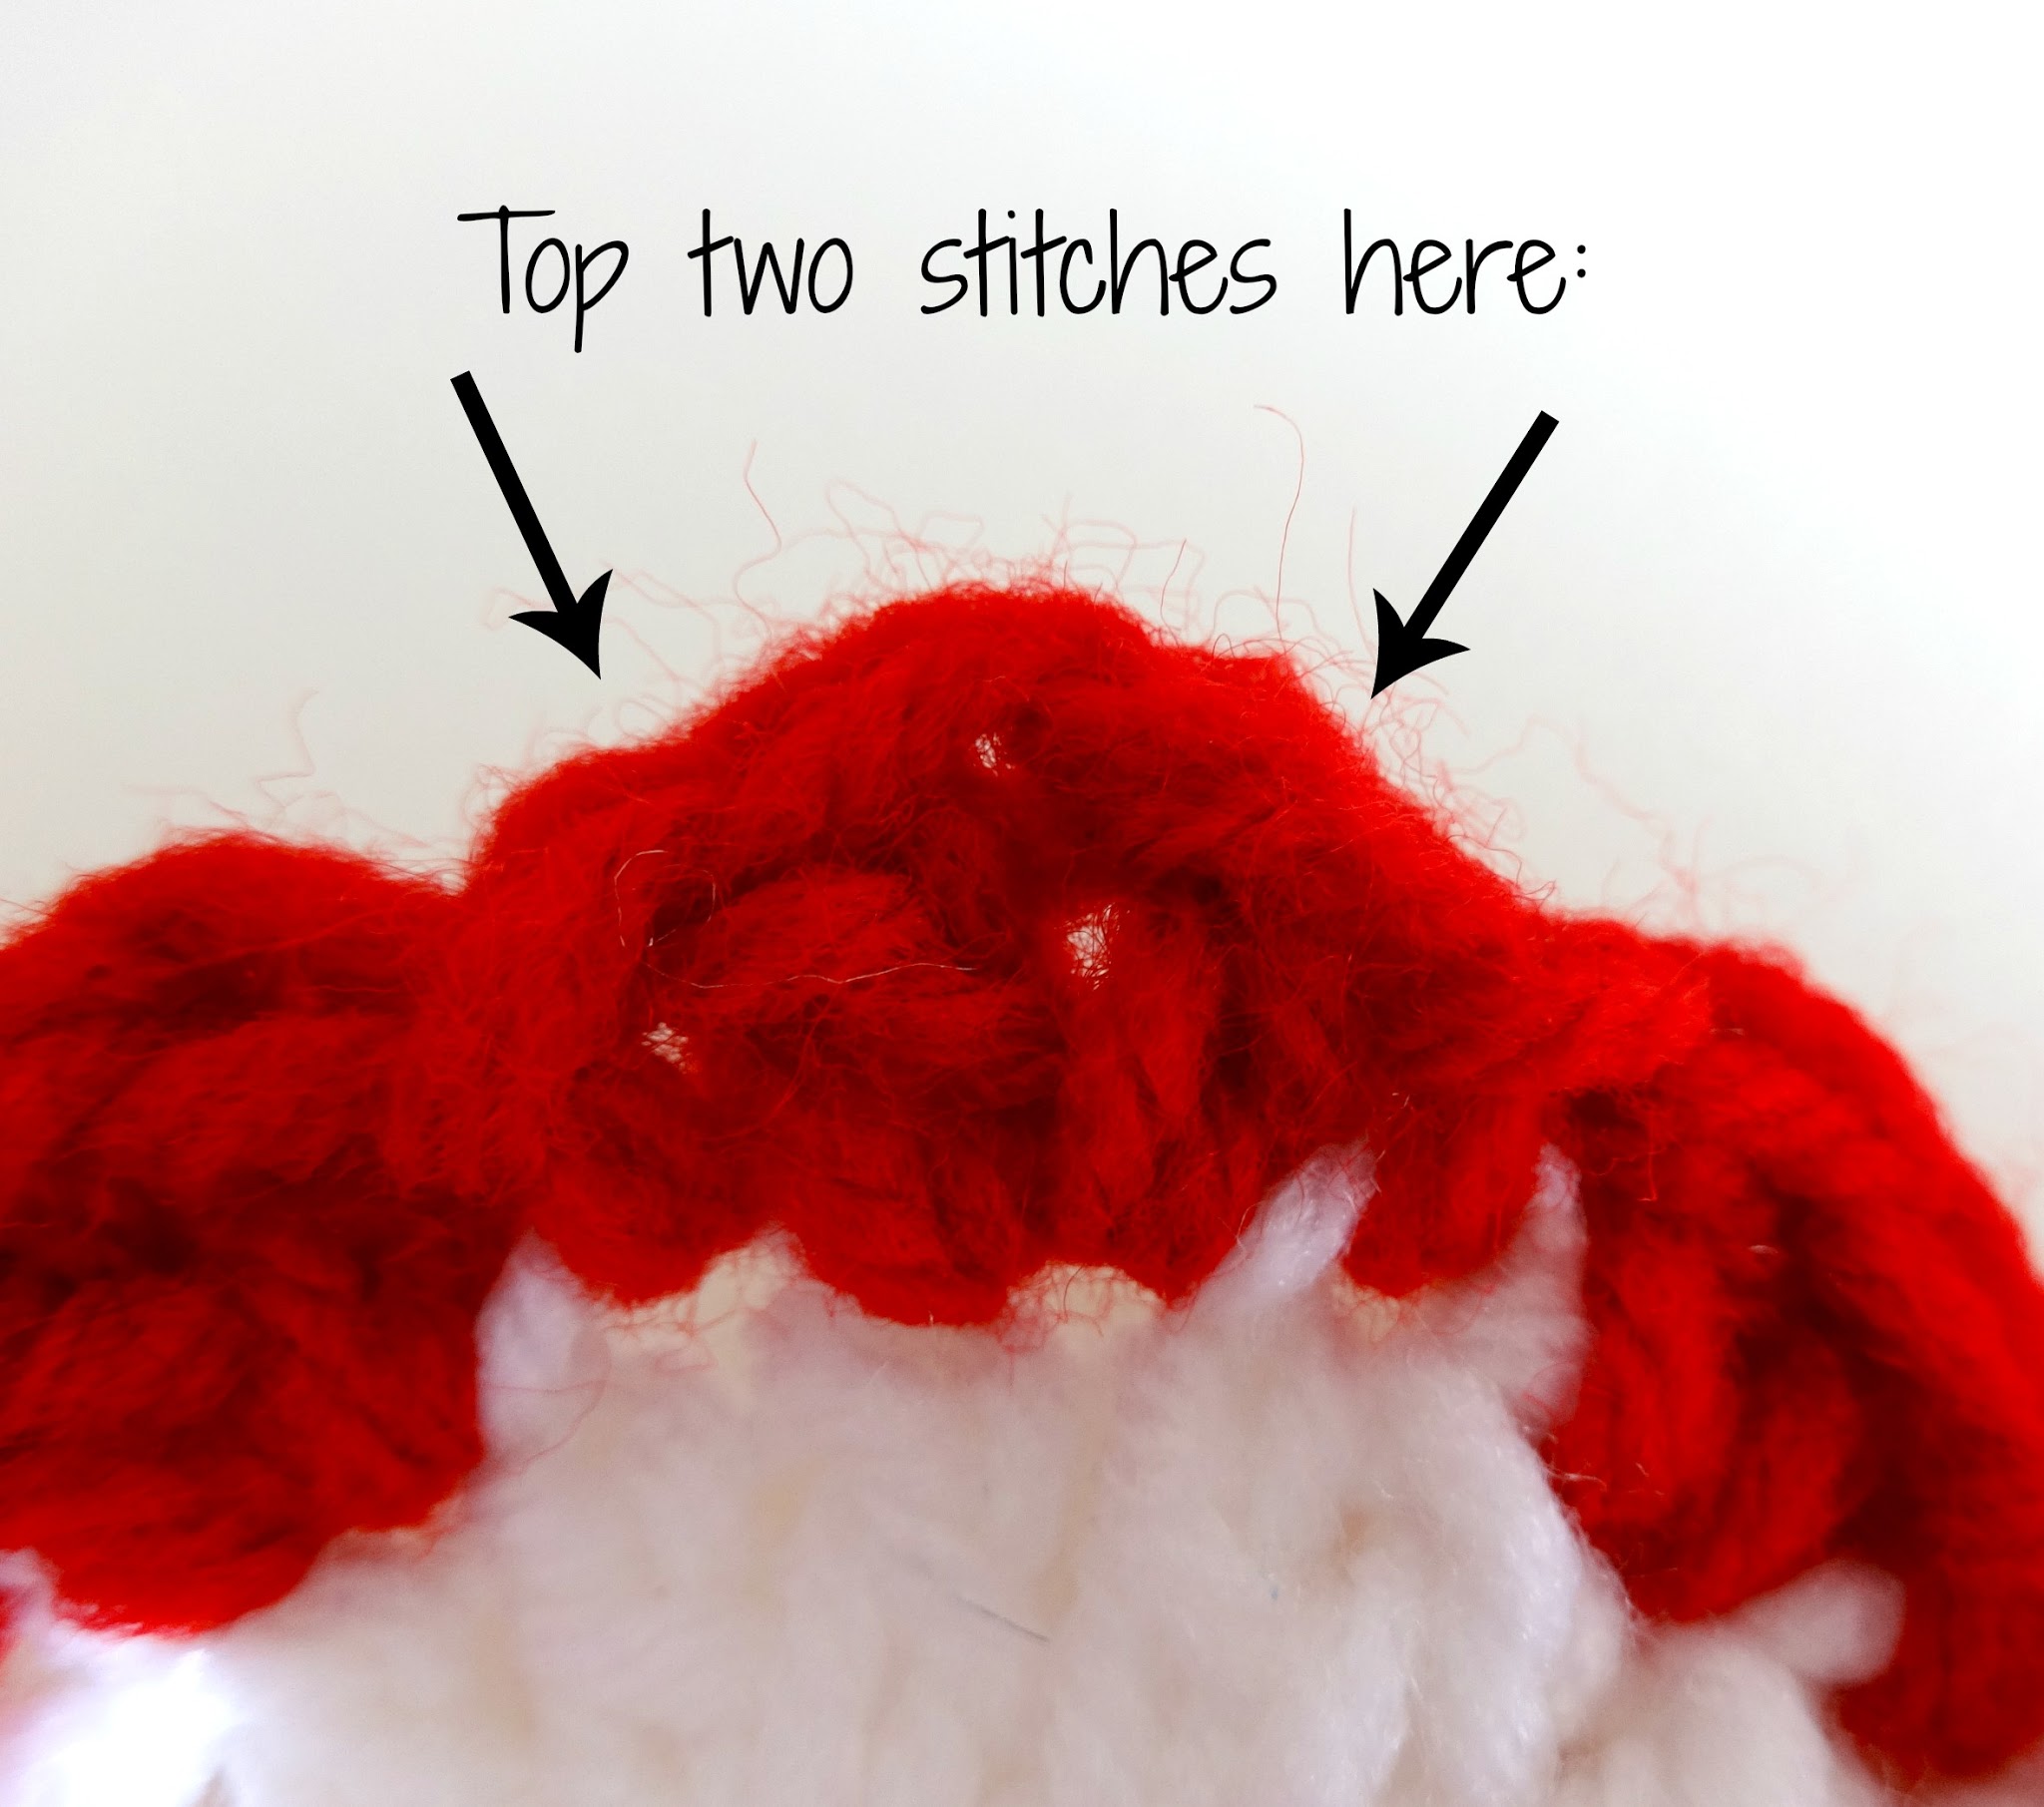
Work a sc in each of the top two stitches, the ch 8. Repeat this sequence until all circles have been incorporated onto the hanging chain of the garland. After the very last circle is attached, ch 8, then fasten off. If you need a longer beginning and ending “handle” from which to hang your garland, simply work more chains at the beginning and at the end.