

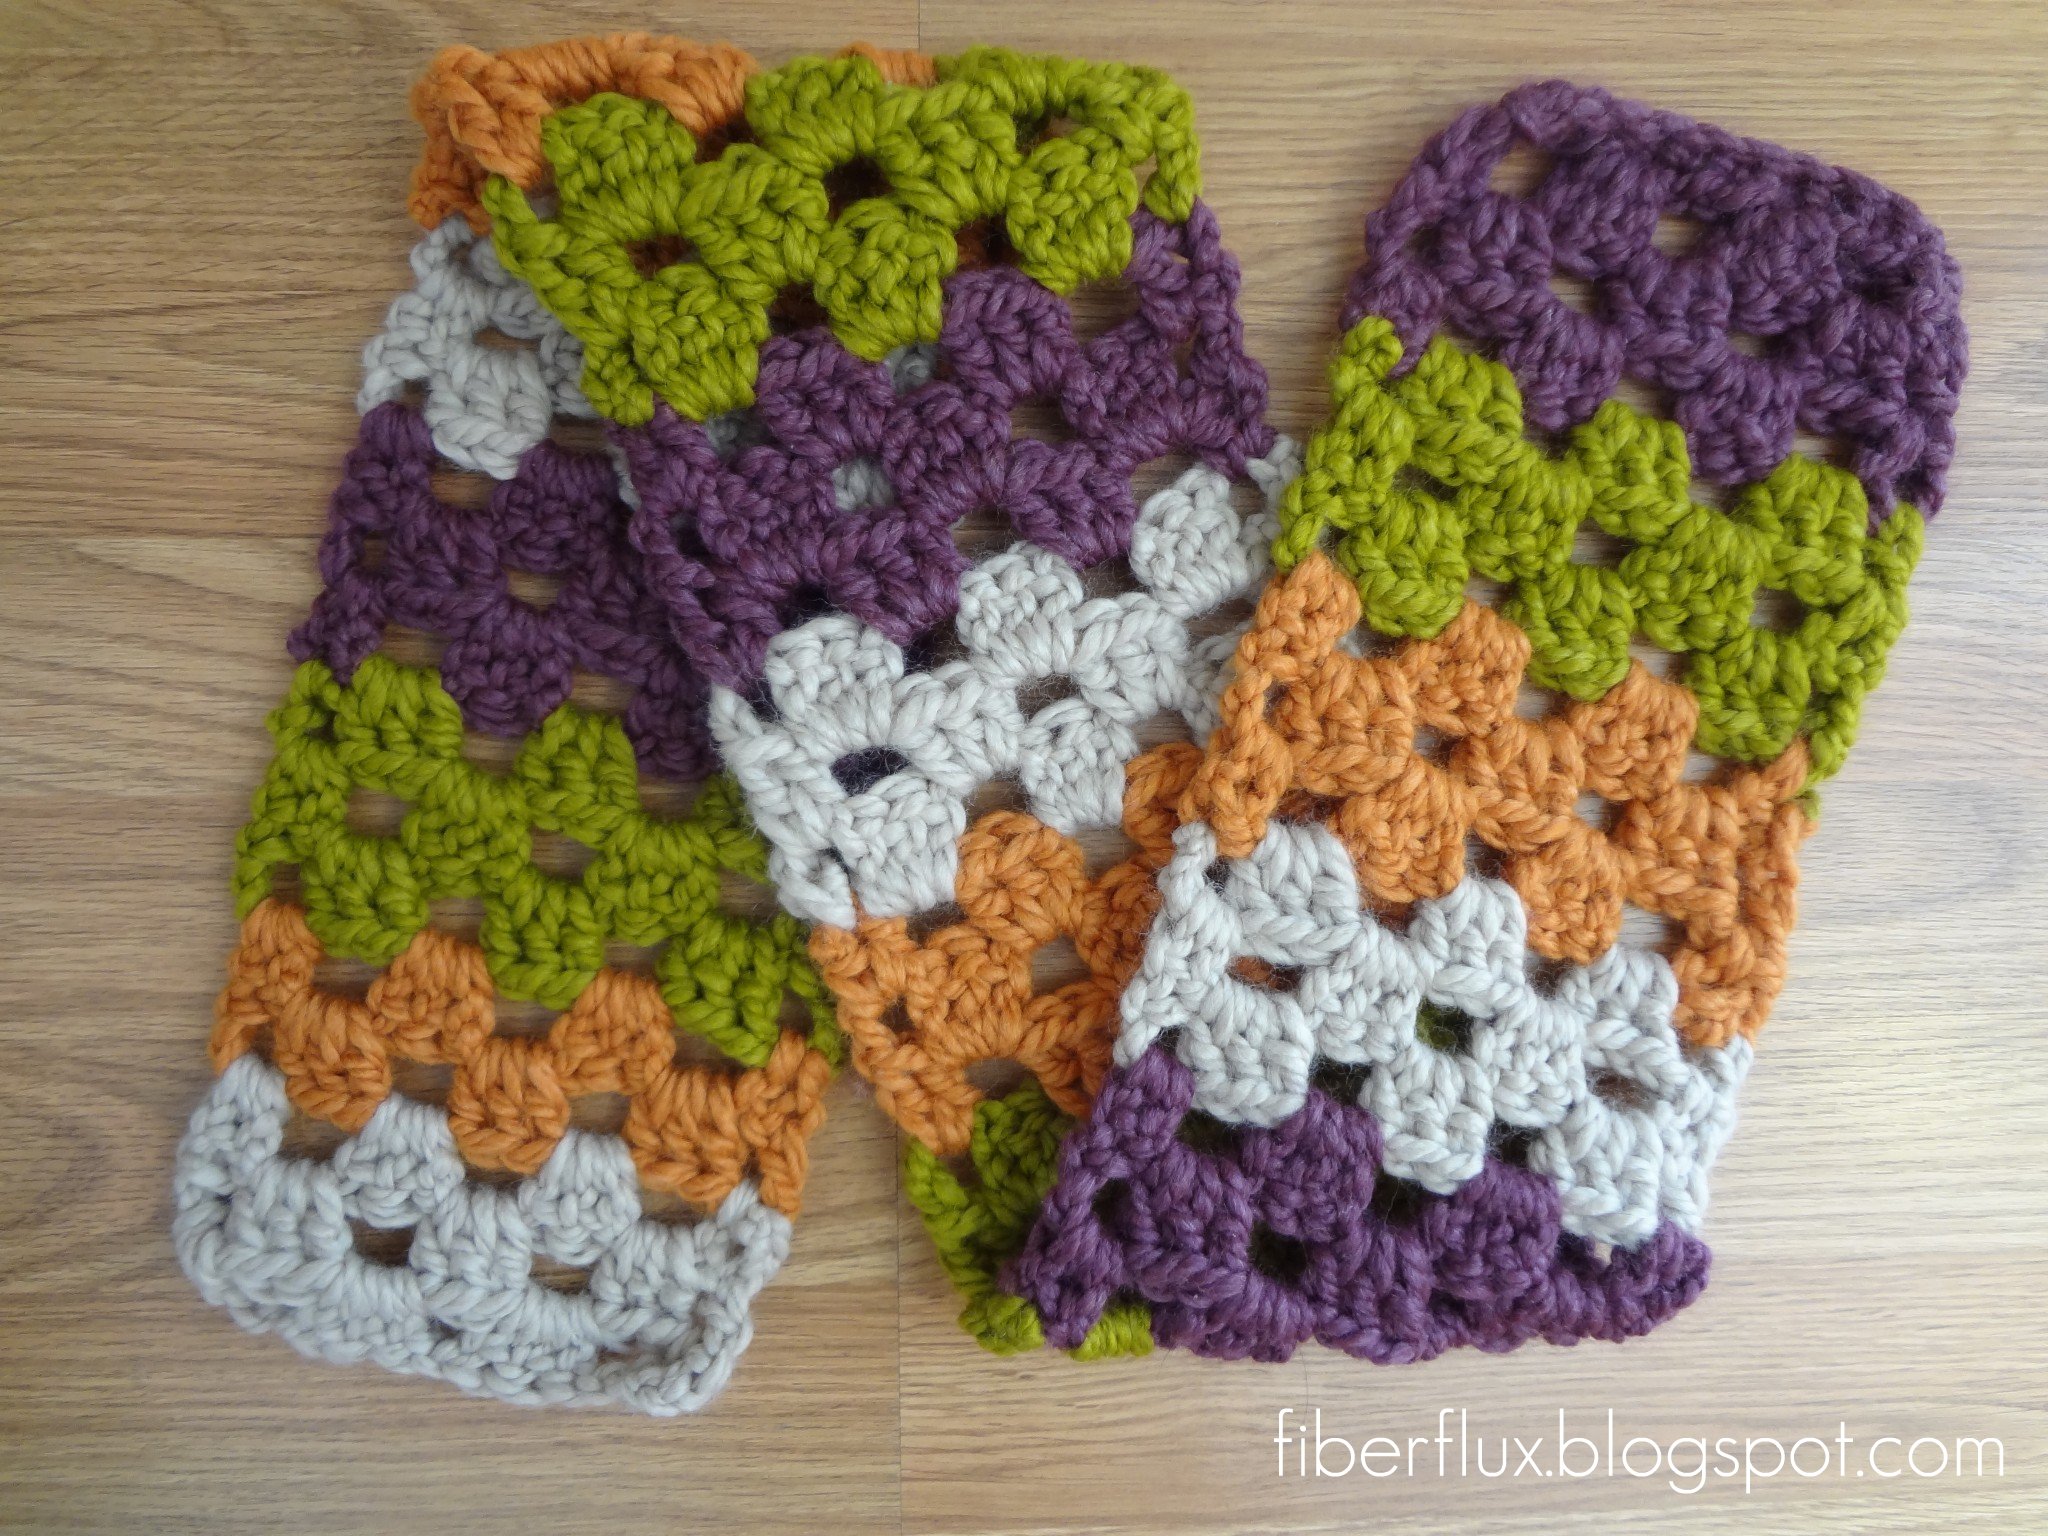
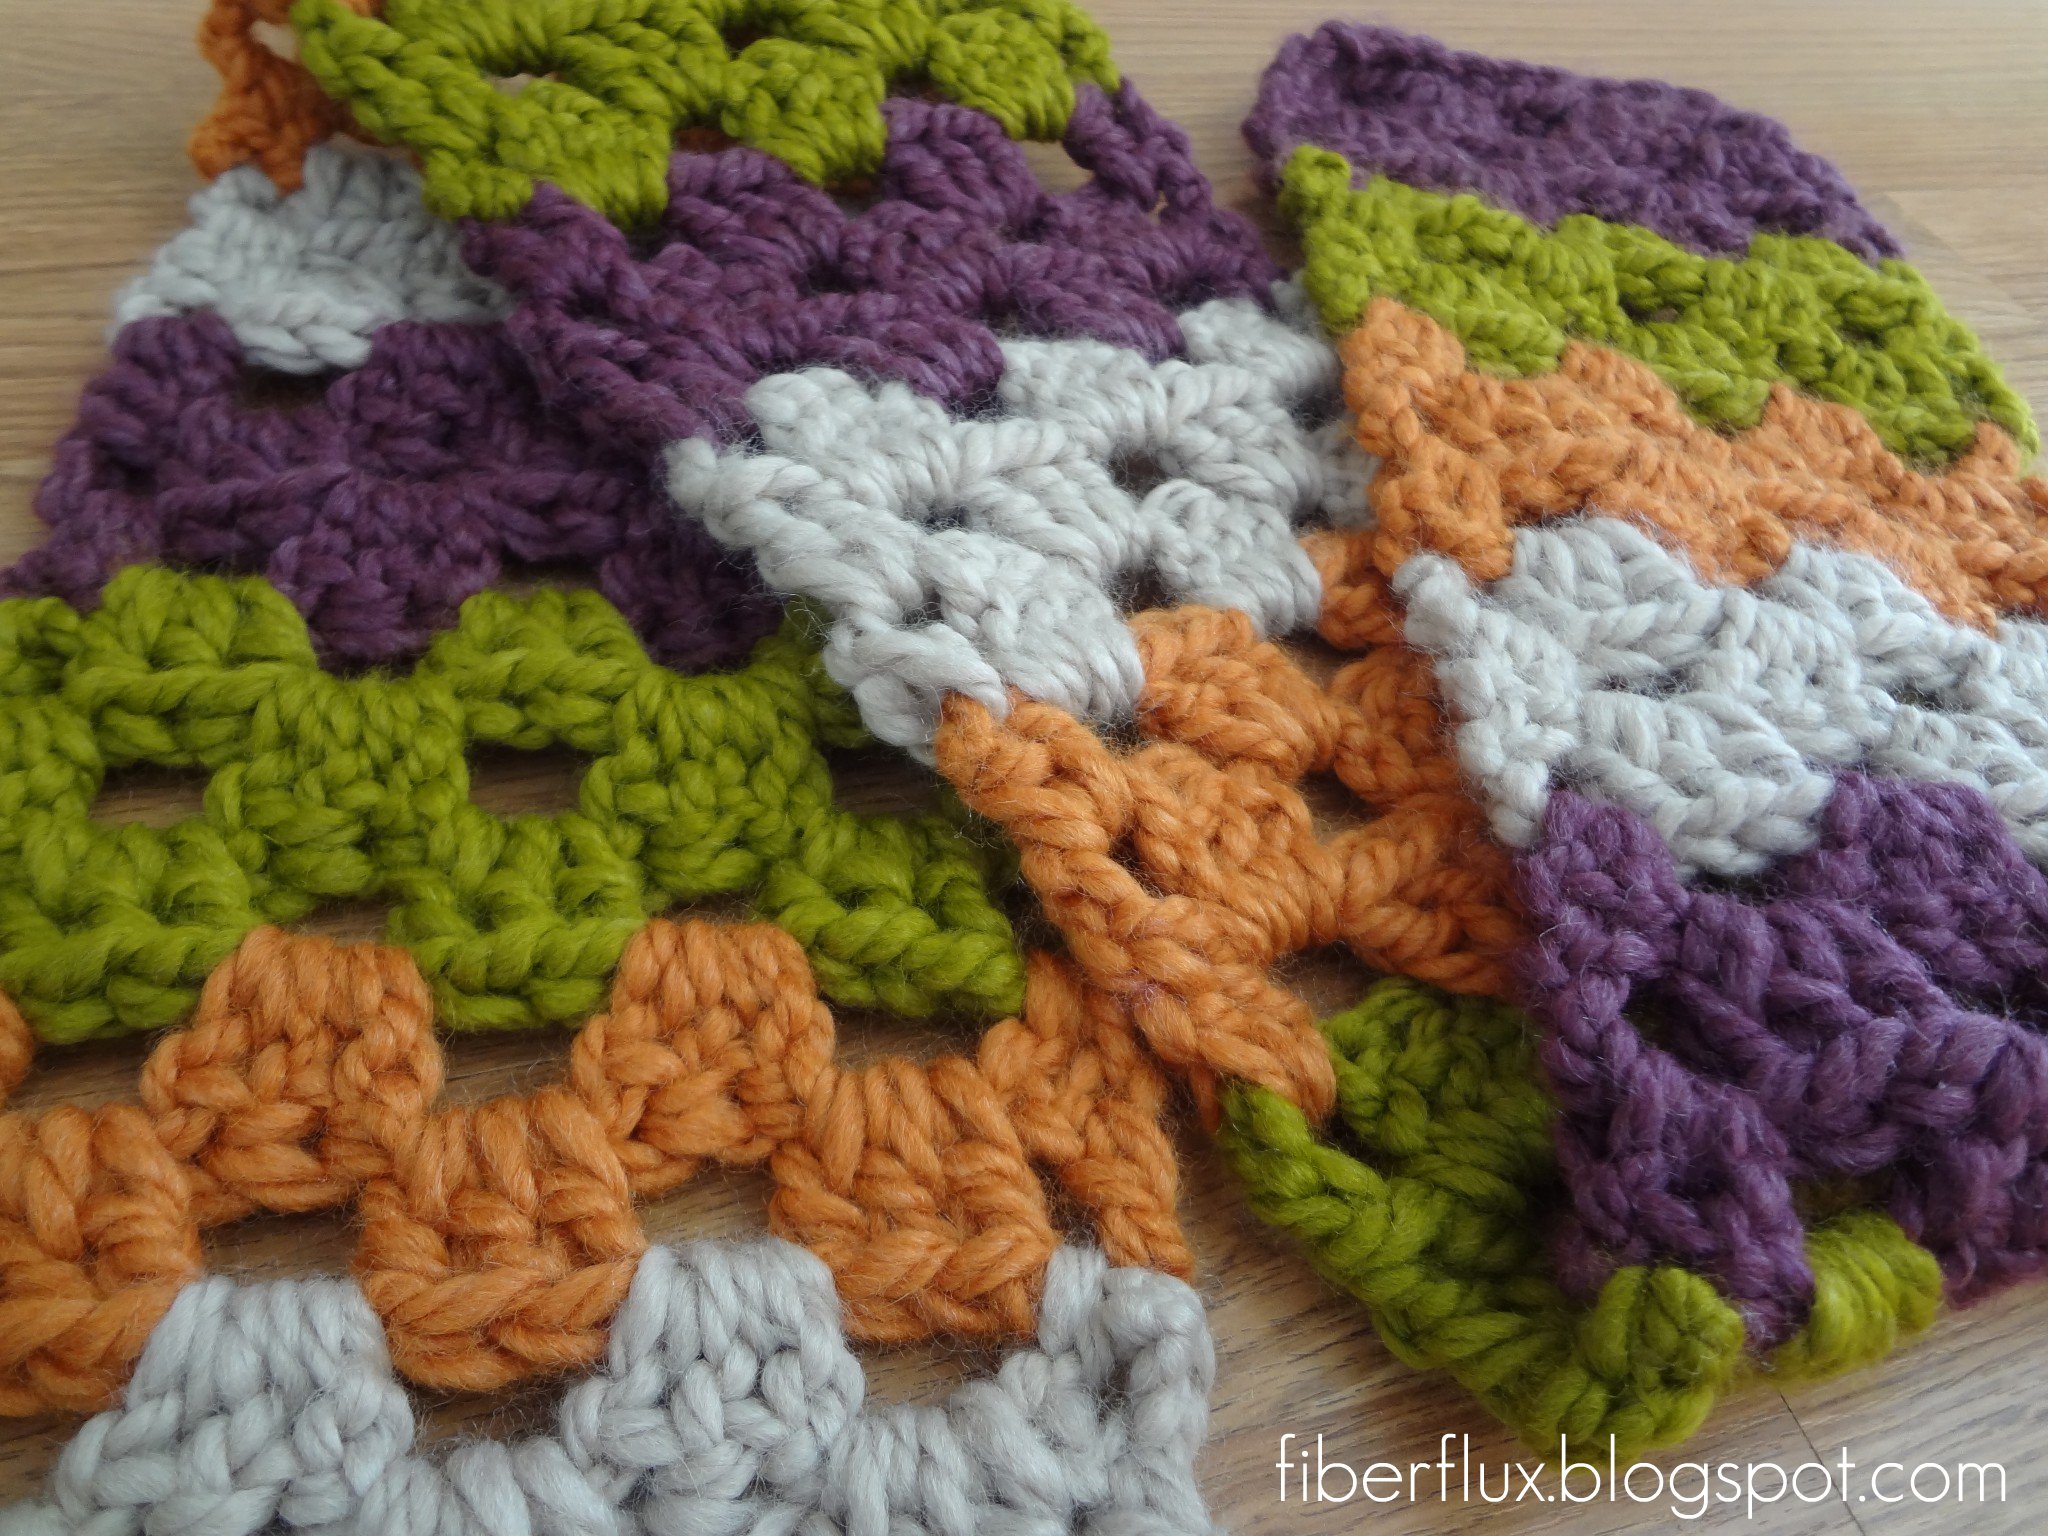
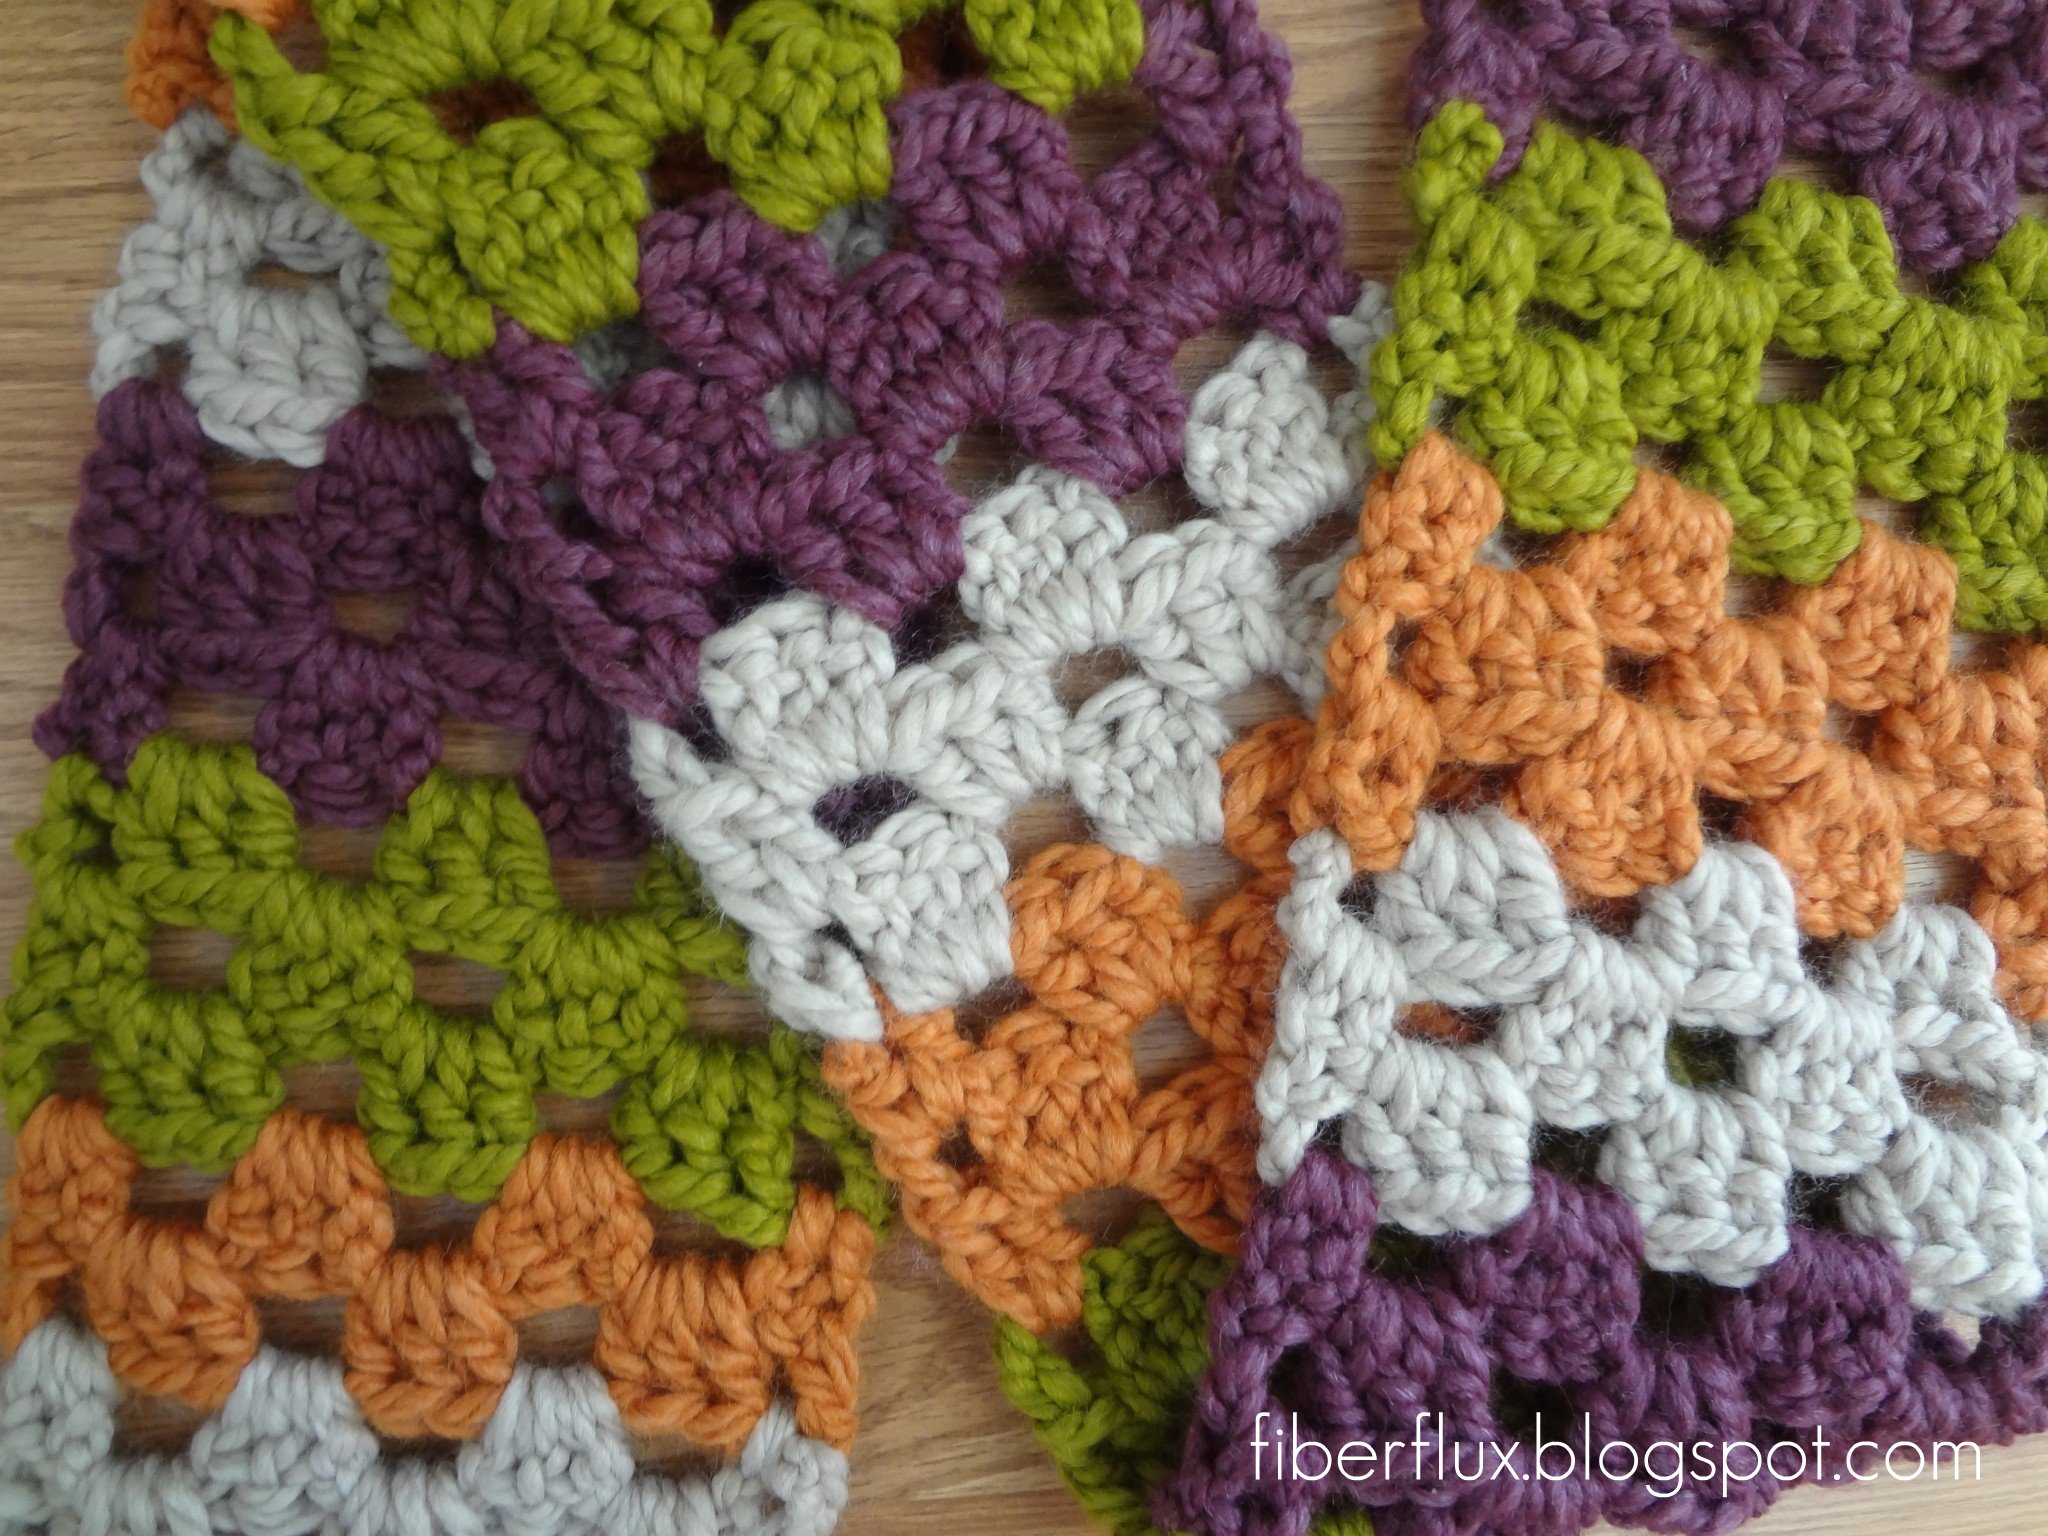
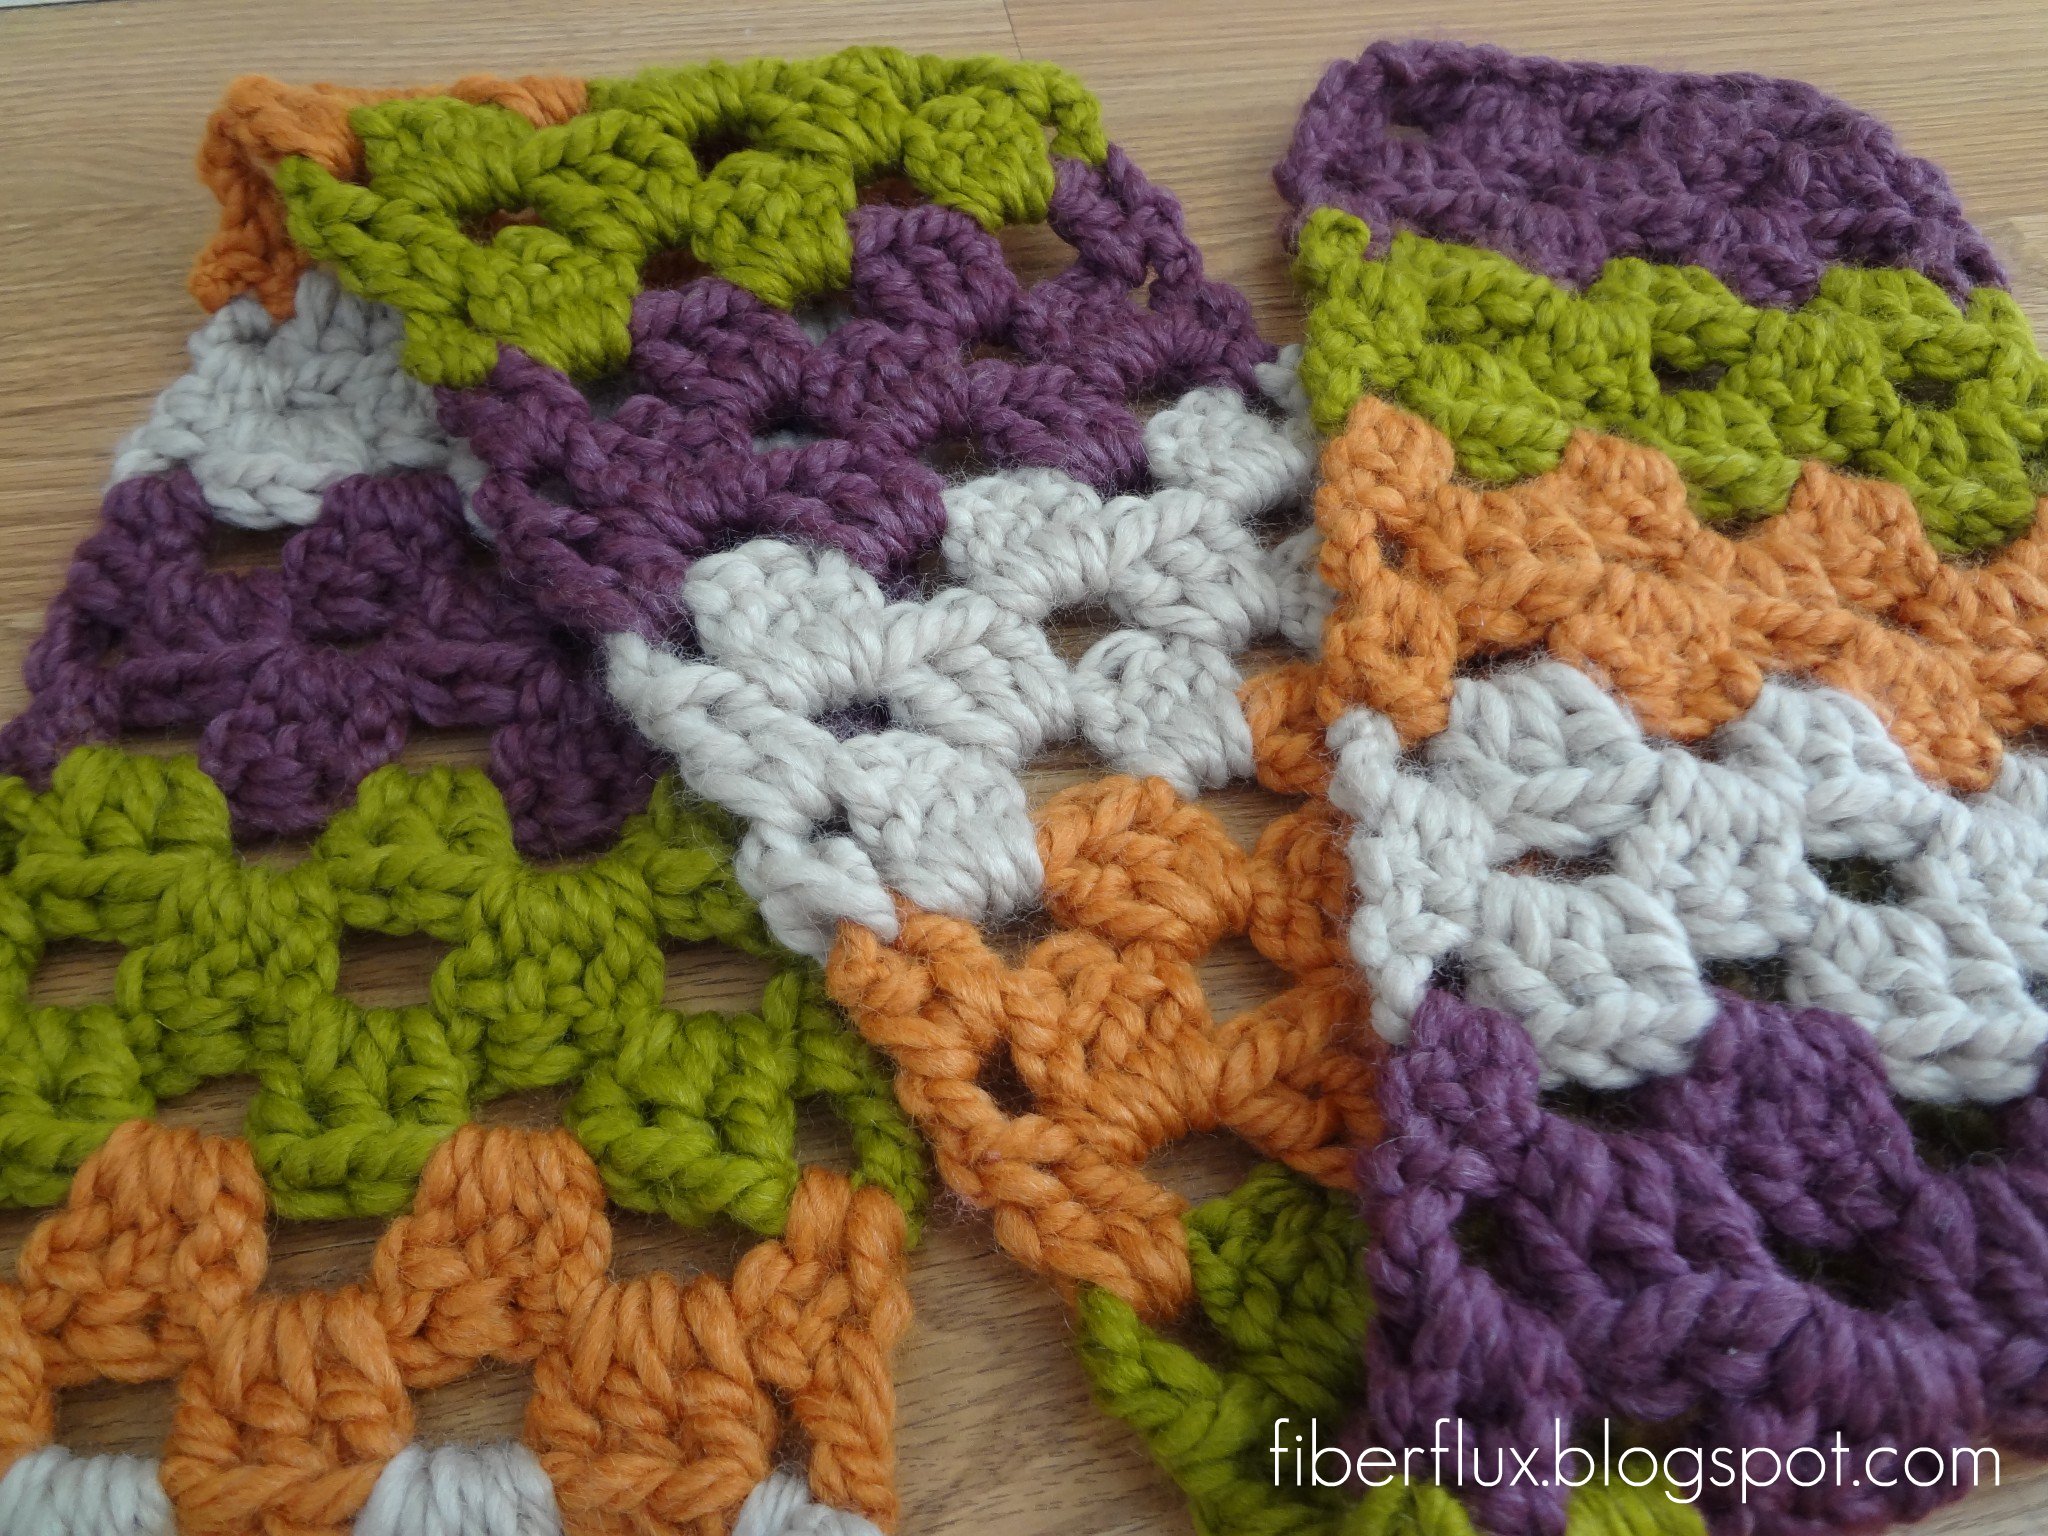
Let’s make a scrap love crochet scarf! This scarf is full of scrappy goodness. A simple vertical granny stripe shows off the many colors of all of your beautiful yarn leftovers. Take a trip to your yarn stash and work up a scrappy scarf of your own. Stash busting is a wonderful thing! Instructions included if you are using a different yarn weight too.
Watch a full video tutorial on how to make the Scrap Love Crochet Scarf:
Materials:
- Scraps of Yarn (For the scarf shown, I used leftovers of 4 skeins of Wool Ease Thick & Quick, about a half skein of each)
- Crochet Hook (Check your yarn for the appropriate hook size, I used an N hook for the scarf shown)
- Tapestry Needle (for weaving in ends)
Note: If you are using a different weight yarn and/or hook size, see pattern instructions below for modifications.
Sizing:
- Width-Scarf shown is 6 inches wide.
- Length-Crochet you scarf as long as you want by simply working more rows. I worked my scarf until I ran out of yarn.
Instructions:
- (Scarf shown is worked in three rows of each color)Ch 12 loosely
- *Note: Chain in multiples of three if you need a different width depending on you yarn weight.
- Foundation Row: In the 2nd chain from hook, work one sc. Then work one sc in each ch all the way across.
- Row 1: Chain 3 and turn. Make one dc into the first stitch and chain 1. *Skip 2 stitches, then work 3 dc and ch 1 into next stitch. Repeat from * to end of row, but in the very last stitch, only work 2 dc.
- Row 2: Chain 3 and turn. Work 3 dc, ch 1 in the first space (in between the 3 dc clusters from the previous row). Then work 3 dc, ch 1 in each space across row. In the last (turning chain) space, work 1 dc.
- Row 3: Chain 3 and turn. In the first space, work 1 dc, ch 1. Work 3 dc, ch 1 in each space across row. In the very last (turning chain) space, work 2 dc.
- Row 4: Chain 3 and turn. Work 3 dc, ch 1 in each space across row. In the last (turning chain), work 1 dc in that top stitch. (Note: The last dc is worked in the top stitch (loop, not space) this is because if is worked in the space it would “split” the cluster in half. Working it in the stitch instead keeps the cluster intact, the rest of the pattern is worked in the spaces).
- Repeat rows 3 and 4 until scarf is desired length.
- Weave in all ends and you’re finished!


I have a bunch of leftover Hometown USA yarn – bet it would work perfectly for this! Thanks 🙂
I think that would be lovely…Hometown is one of my favorite bulk yarns (so soft too!) Great idea!!
I've just finished a similar one.. and I agree: these projects are so useful to make room in your yarn basket!
http://www.todayorwhenever.blogspot.it/2013/02/collo-sciarpa-alluncinetto-crochet.html
Lavinia
Super cute, thanks for sharing!
Hi Jennifer, I'm new at this, and very excited to try this scarf since I now have so many scraps. Could you talk a little bit about at what point in the pattern (I'm assuming right after Row 2) to change yarn color and how you joined the new color? I've seen several methods of joining. Which did you use? Thank you for all of your lovely patterns!
Hi Christine! Thanks so much for your comment…I did three rows of each color and when I started a new color, I just snipped off the color I just finished and tied the new color on. You can either weave in the ends as you go along or when you are finished, you can weave them in with a tapestry needle. That's all I do…hope that helps!!
Thank you so much! Again, thank you for all of your patterns. I've made the Ingrid, the Vanilla Bean, the Pumpkin neck warmer, Pavement, all of them are SO lovely and perfect. Can't wait to try this one.
Thanks! You are so kind…so glad you like them!
Pretty, but scarves can be a choking hazard. Better to make hats/mittens, strips/squares or one piece scrap-ghans.
Sounds to me like someone has a "bit" of paranoia…."choking hazard" really????
I agree. That's absurd.
Seriously???????Well I say afghans can suffocate you…..some people are just sick…..
Anyway I love the scarves.You are so talented.
I agree. Choking hazard?? Really?? Well….if your making it for a baby……..LOL
Actually, a choking danger with scarves reminds me of the famous dancer of the early 1920s, Isadora Duncan. She wore very long scarves and drove a Bugatti open sports car. Her famous death was caused by a scarf winding around one of her wheels…and, well, may she rest in peace. I guess, avoid driving fancy sports cars while wearing long, flowing scarves is the lesson here. 🙂
any chance of you making a video of this pattern? I am a beginner and I learn SO WELL from your awesome videos! thanks!
Yes! It's up above now. 🙂
I am having a bit of trouble with this. I ch 12, turn, sc in each ch, ch 3, turn, and when I'm doing the dc and skipping two I end up with an extra stitch at the end of the row. I've tried this several times and get the same issue. Any ideas what I'm doing wrong?
Perhaps the video might help? If you scroll up, it is at the bottom of the written pattern.
I'm having the same problem and unfortunately the video actually skips right at the section I'm having an issue with. Why am I getting an extra stitch?
After the ch3, turn, DC in the next, not the first stitch
Thanks for helping!
I just finished 18 of similar ones for the homeless in our area. I hope to make 100 by fall when we will give them out. Yes the pattern is great for stash busters!!! Thanks. Joy in Jesusl
Wow, that is amazing! Be sure to take a photo and share them on the Fiber Flux Facebook or G+ pages, I would love to see them!!! Keep up the good work you are doing for others! 🙂
We used your pattern over at https://www.facebook.com/Tiedinknots14 for a group project! Thank you!
This will be a great pattern for a stash down day. I might mix two strands of worsted and see how it goes. There are so many places in need so I can guarantee they will be put to good use. Thank you again, for another lovely pattern!
I'm thinking the directions should say "Repeat rows 3 and 4 until scarf is desired length", correct? I've made one scarf using this pattern, but with worsted weight yarn and one with sport yarn, adjusting the number of stitches for each weight of yarn. They turn out beautiful!
Nancy on the worsted weight, what size hook did you use and how many in your beginning chain? I want to make this but I don't have enough to double strand it…. 🙂
This is fabulous! Thank you so much for including a video. I am a beginner and appreciate how simple you explain and demonstrate everything!
Thank you for sharing this! I am new to crochet and wanted to make a striped granny scarf to use up two colors of yarn, so this is exactly what I had in mind.
I'm pretty new to crochet. My yarn is WW. I used a starting row of fsc instead of a chain, and after some trial and error found that 19 fsc was the right chain length (no multiples of 3 worked.)
The edges of my scarf are very bumpy, unlike yours, and the color changes look very awkward. I did some googling and apparently there is a special way to change colors in a granny stitch. If you ever revisit this pattern I hope you will include the color changes, because that has messed me up a bit.
This comment has been removed by a blog administrator.
This comment has been removed by a blog administrator.
This comment has been removed by a blog administrator.
This comment has been removed by a blog administrator.
This comment has been removed by a blog administrator.