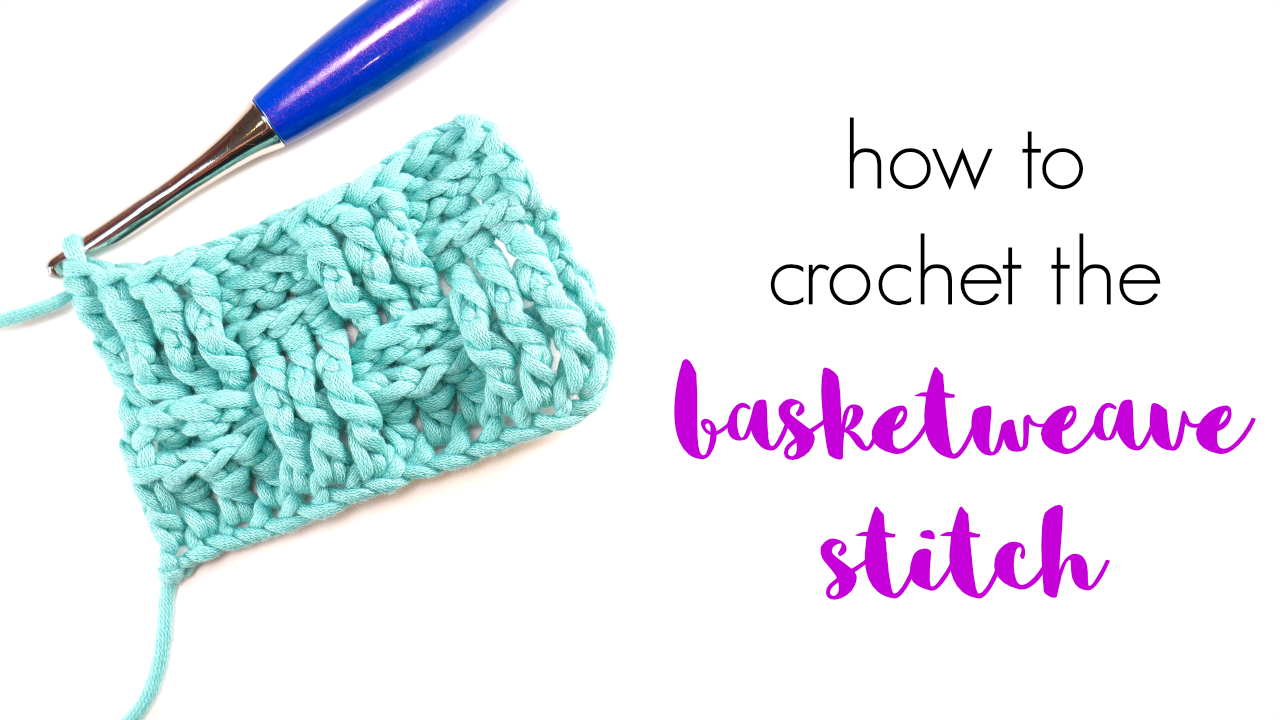
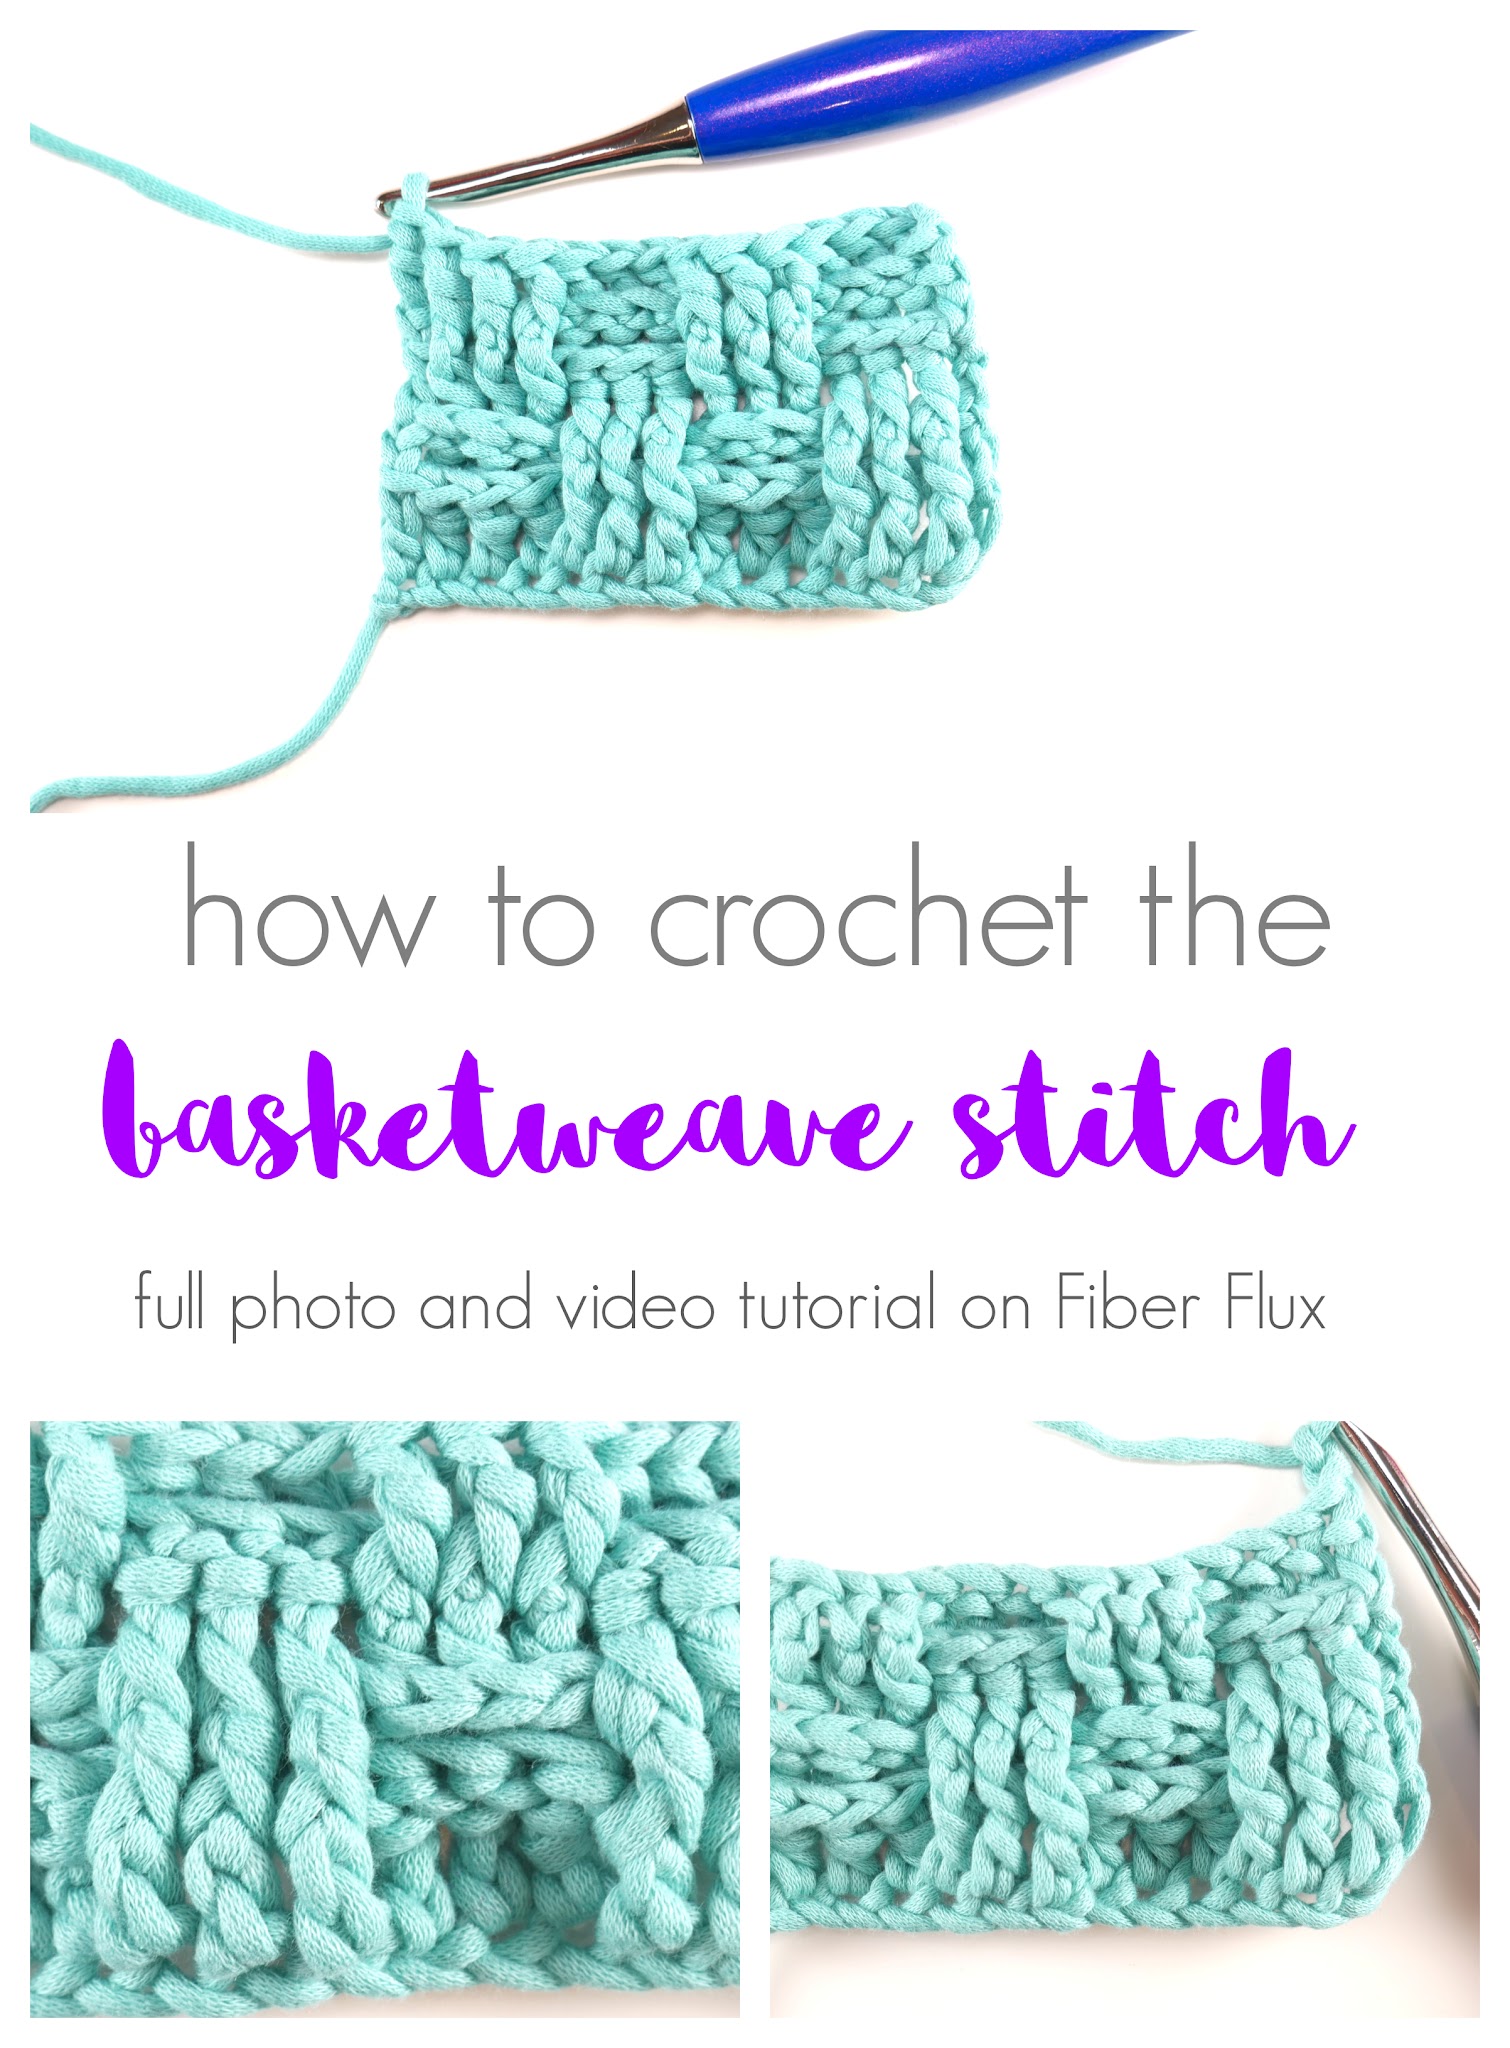
The crochet basketweave stitch is a beautifully textured stitch that is great for scarves, blankets, and lots more. Clever use of post stitches gives it a unique woven look and once you get the hang of it, it is super fun and easy to do! Below is both a full video tutorial and a complete photo tutorial of the crochet basketweave stitch where I walk you through every step of the way.
Once you’ve mastered this stitch, try my Marled Spruce Cowl! This is a free crochet pattern that includes a full video tutorial too:
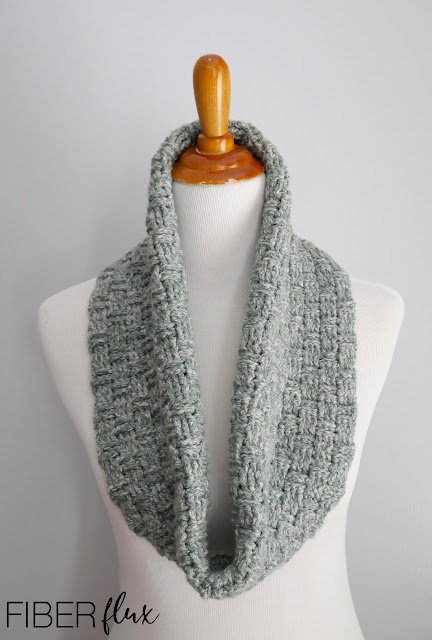
Marled Spruce Cowl, free pattern + full video tutorial
Here’s the full basketweave stitch video tutorial below:
For this tutorial I’m using a K hook and some bulky weight yarn. However, you can try any weight you like just look for the recommended hook size on the yarn label.
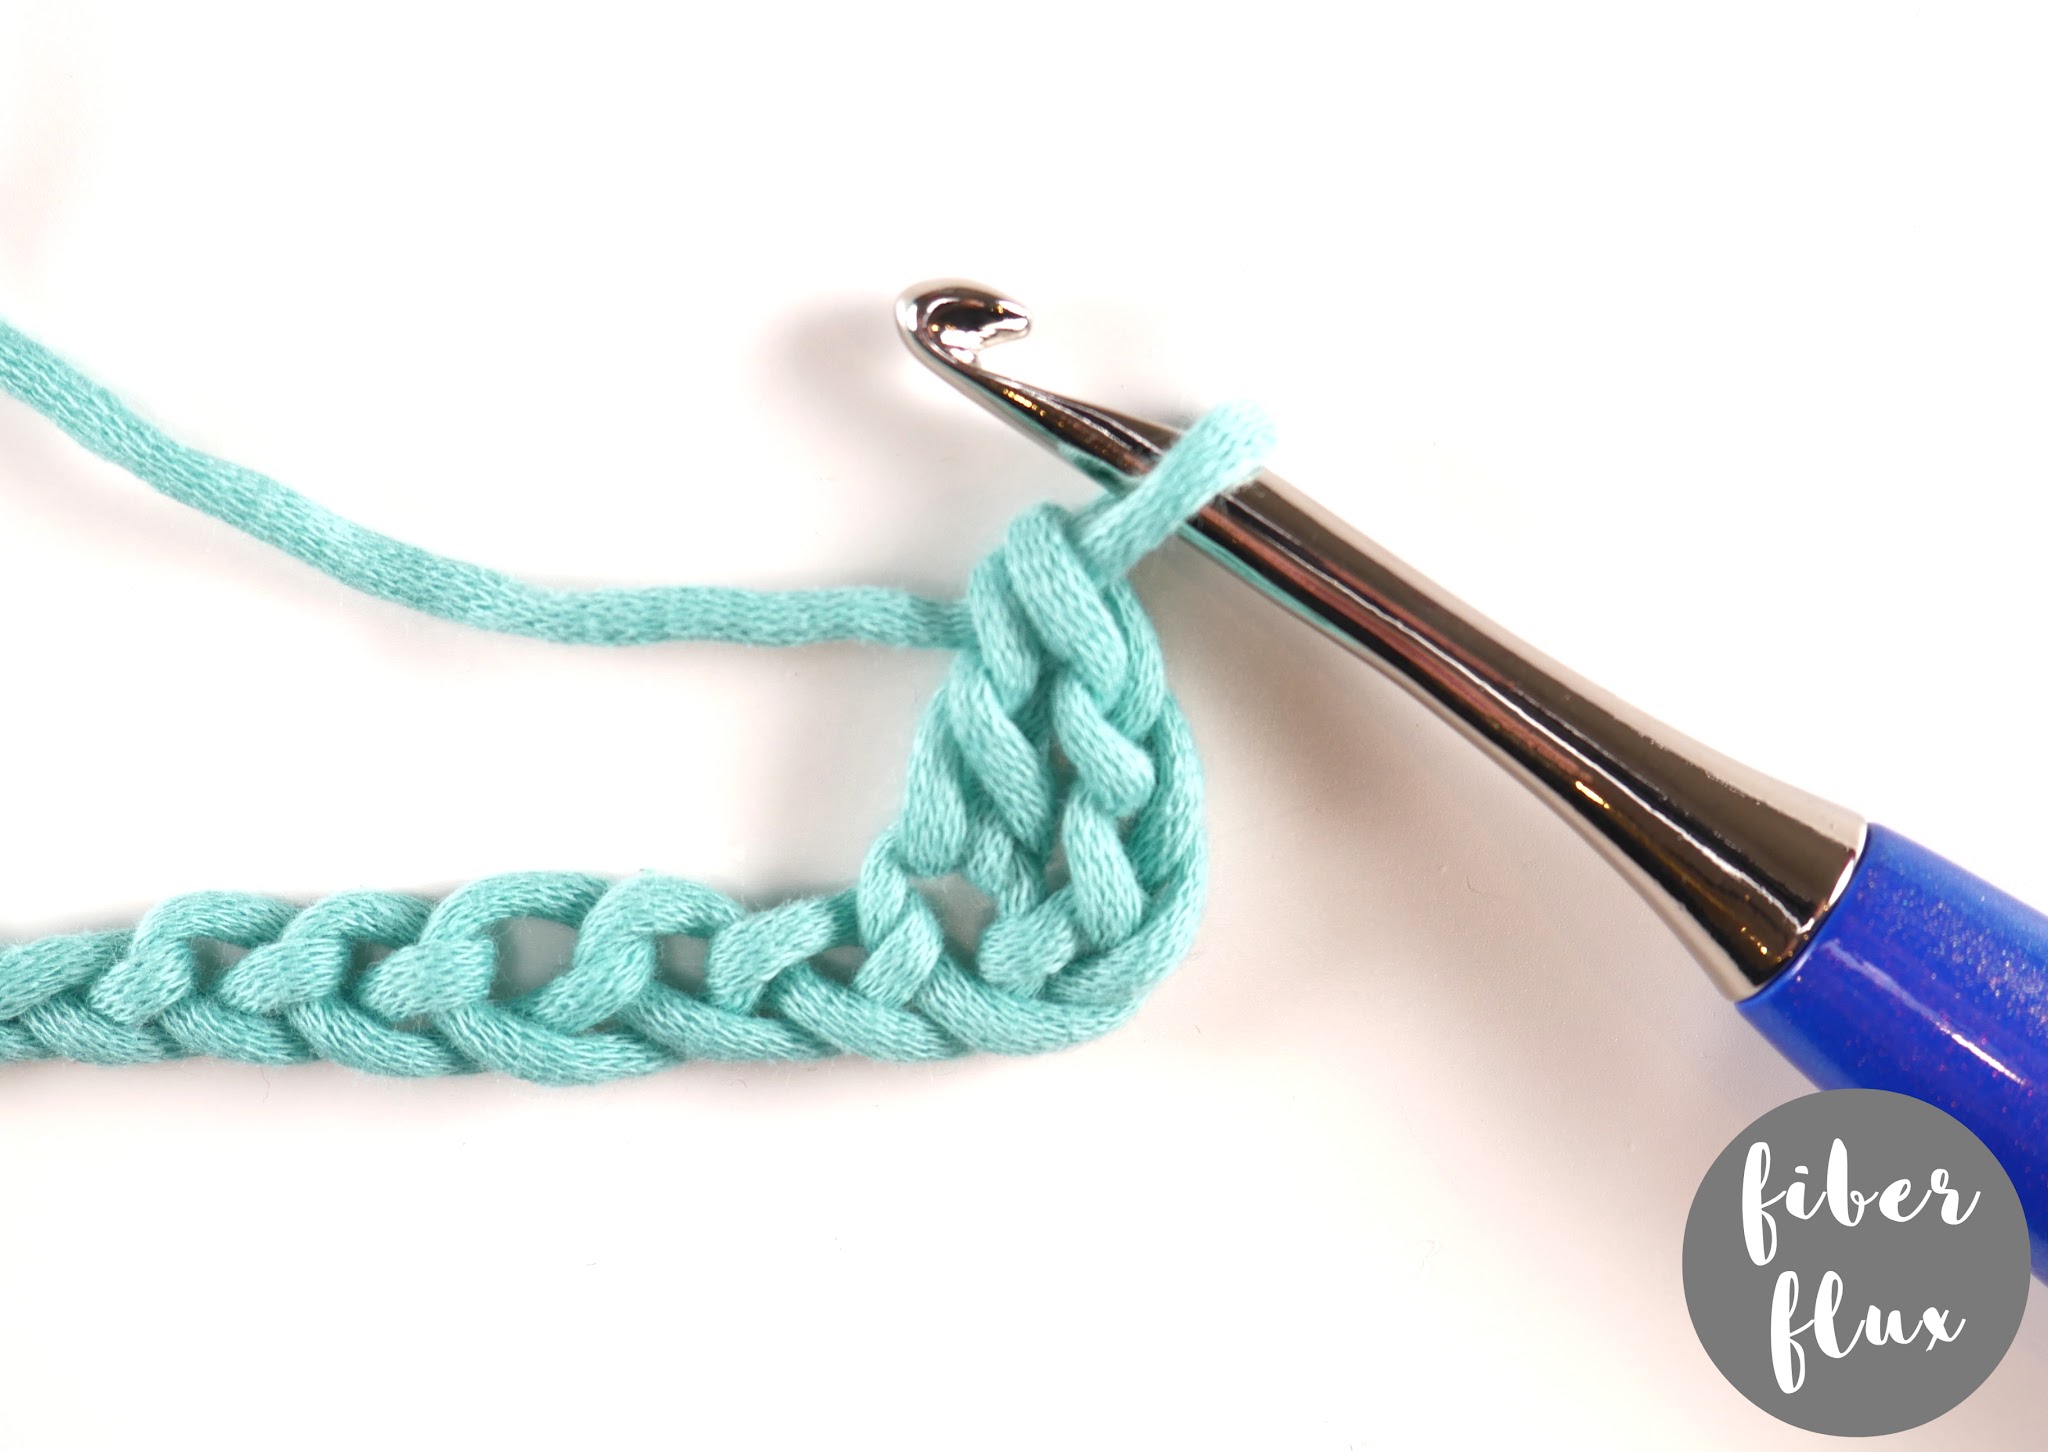
To begin, we’ll put a slip knot on our hook, then work the chain. This stitch is a multiple of 6+4. For this photo tutorial I did 6+6+4 or a total of 16 chains.

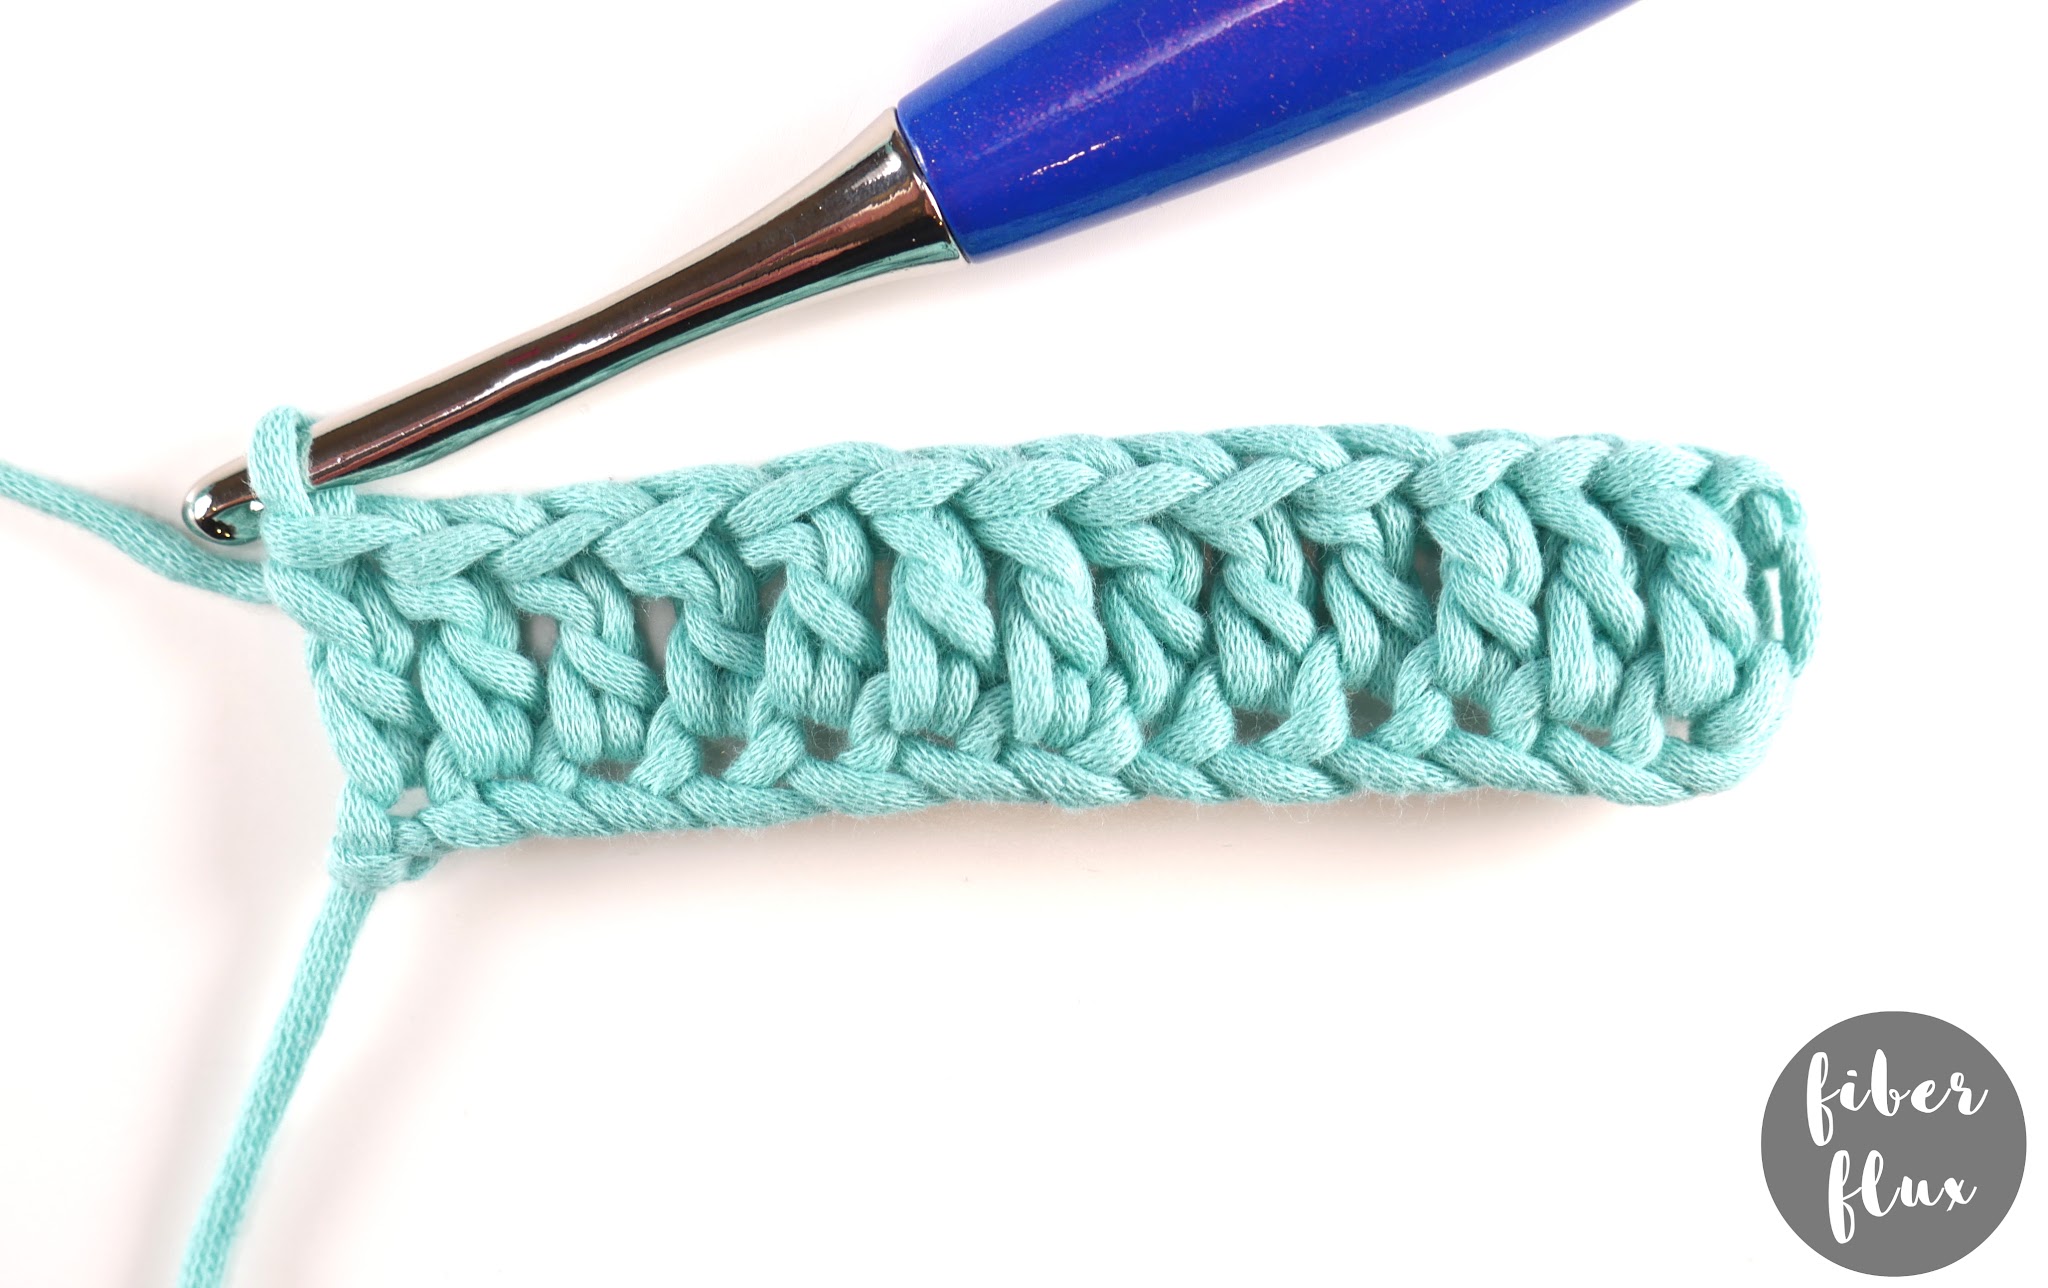
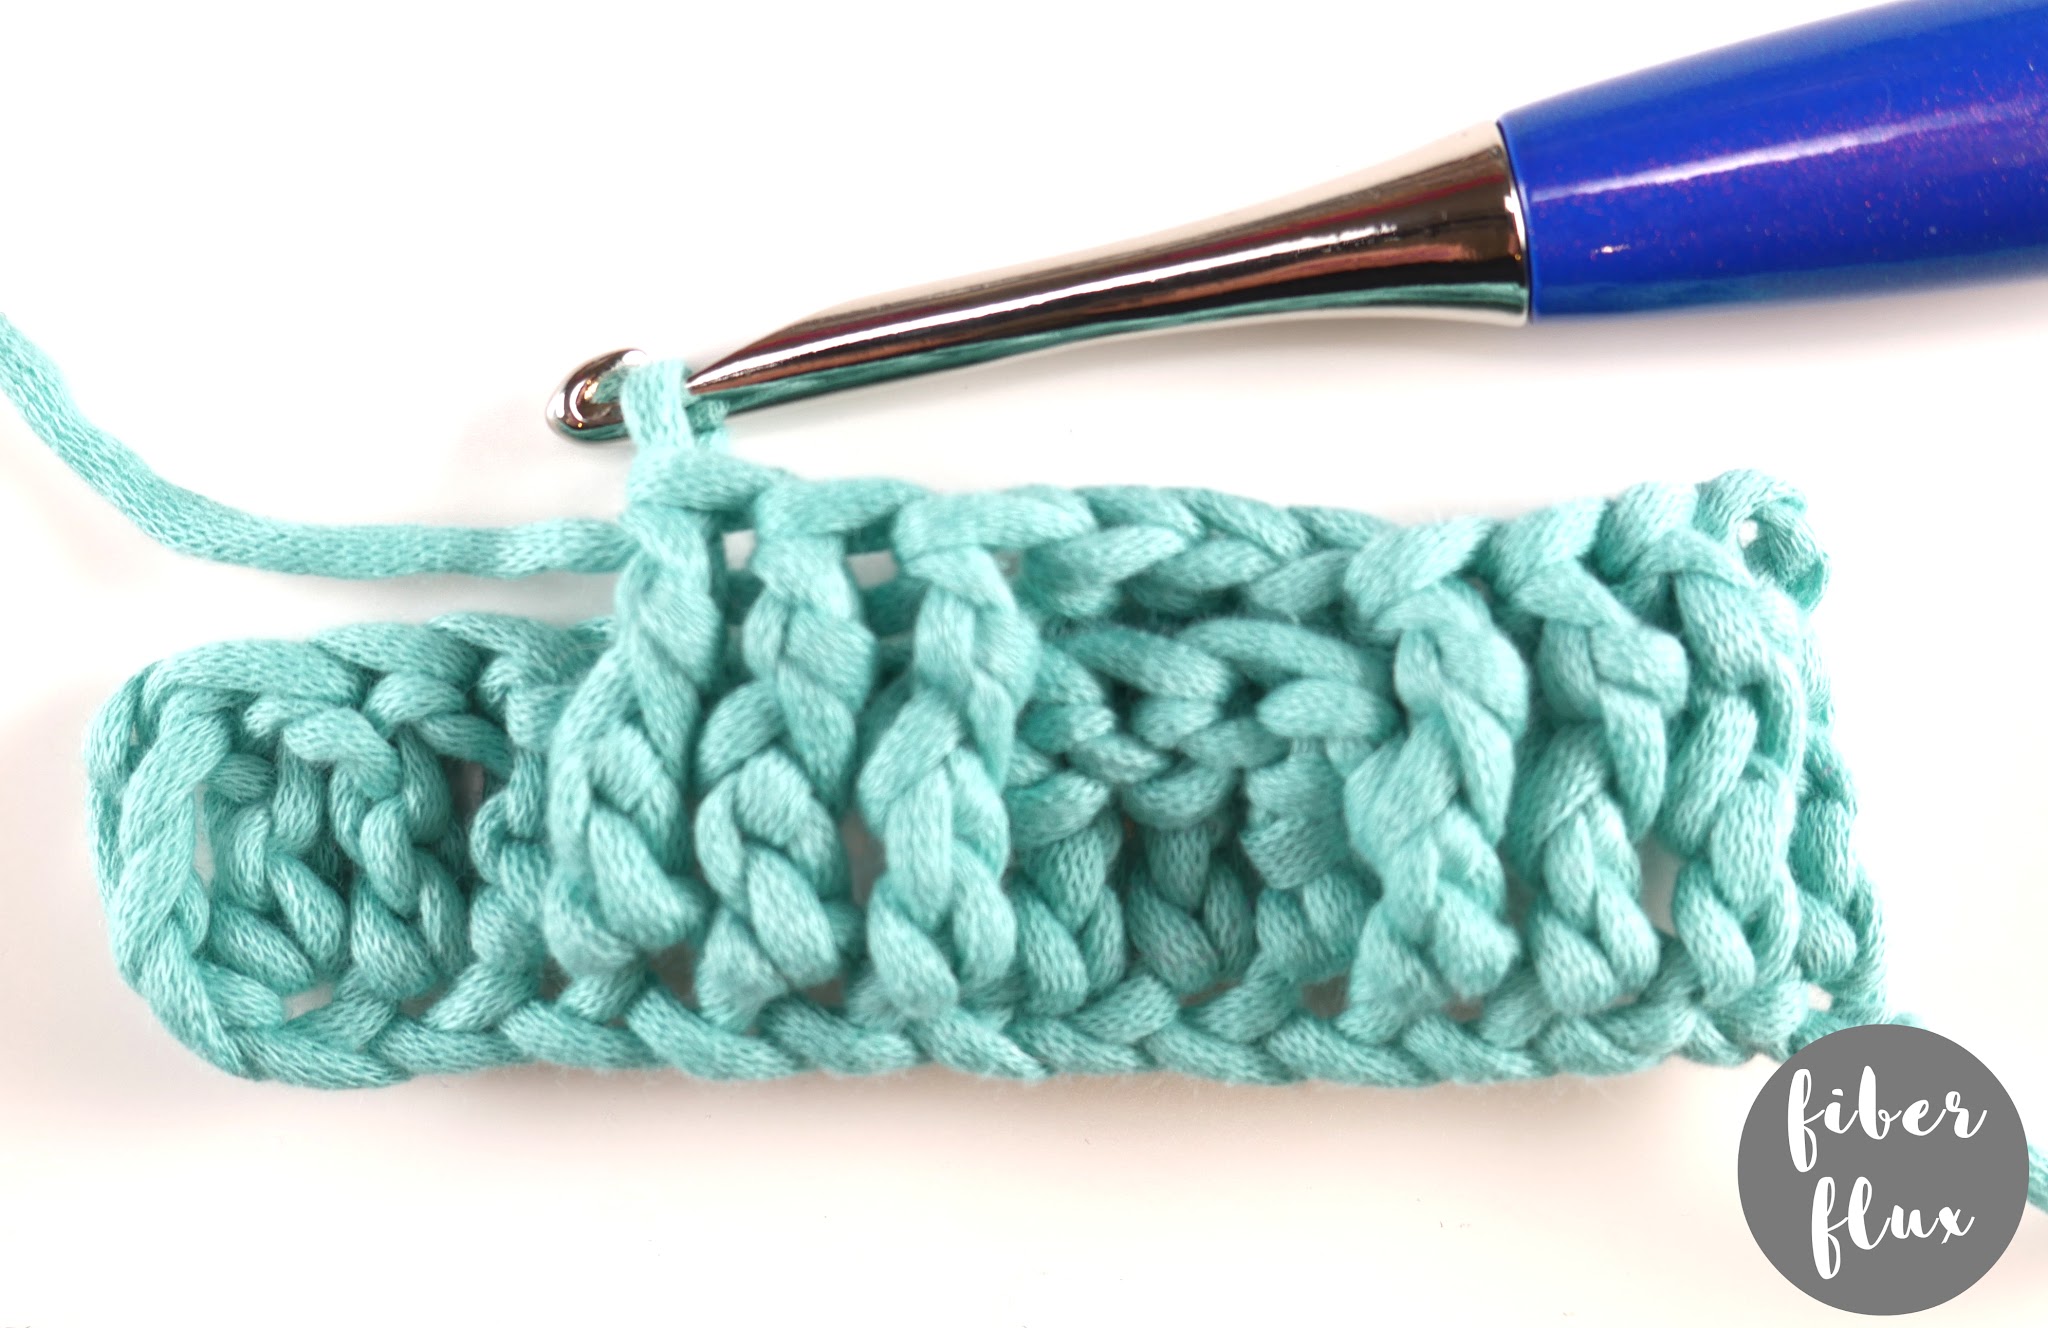
To begin row 1, work a double crochet in the 4th chain from the hook,
Work a double crochet in each of the remaining chains,
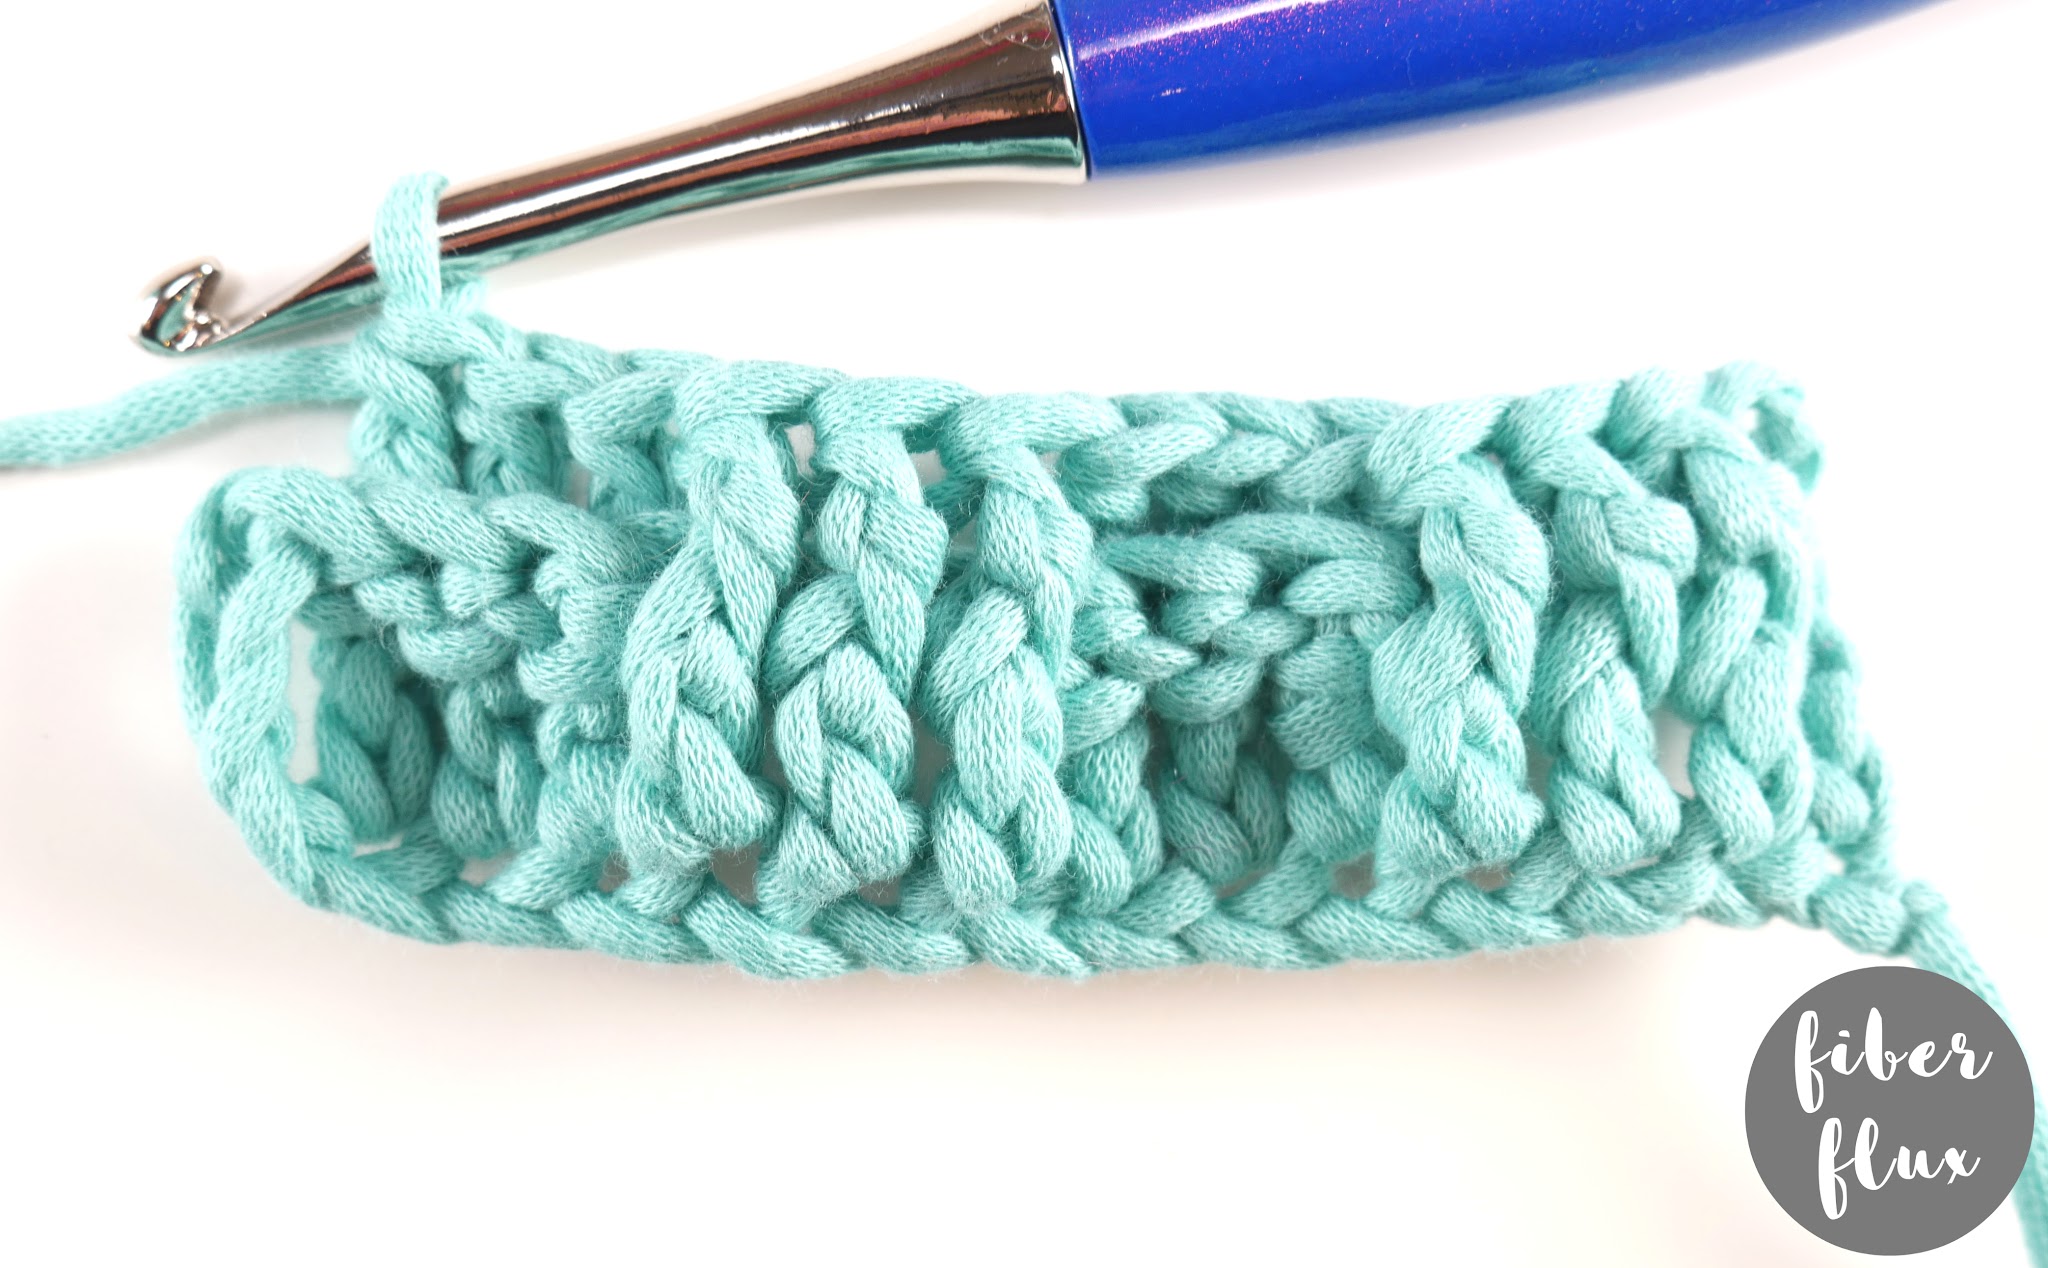
Chain 2 and then turn your work,
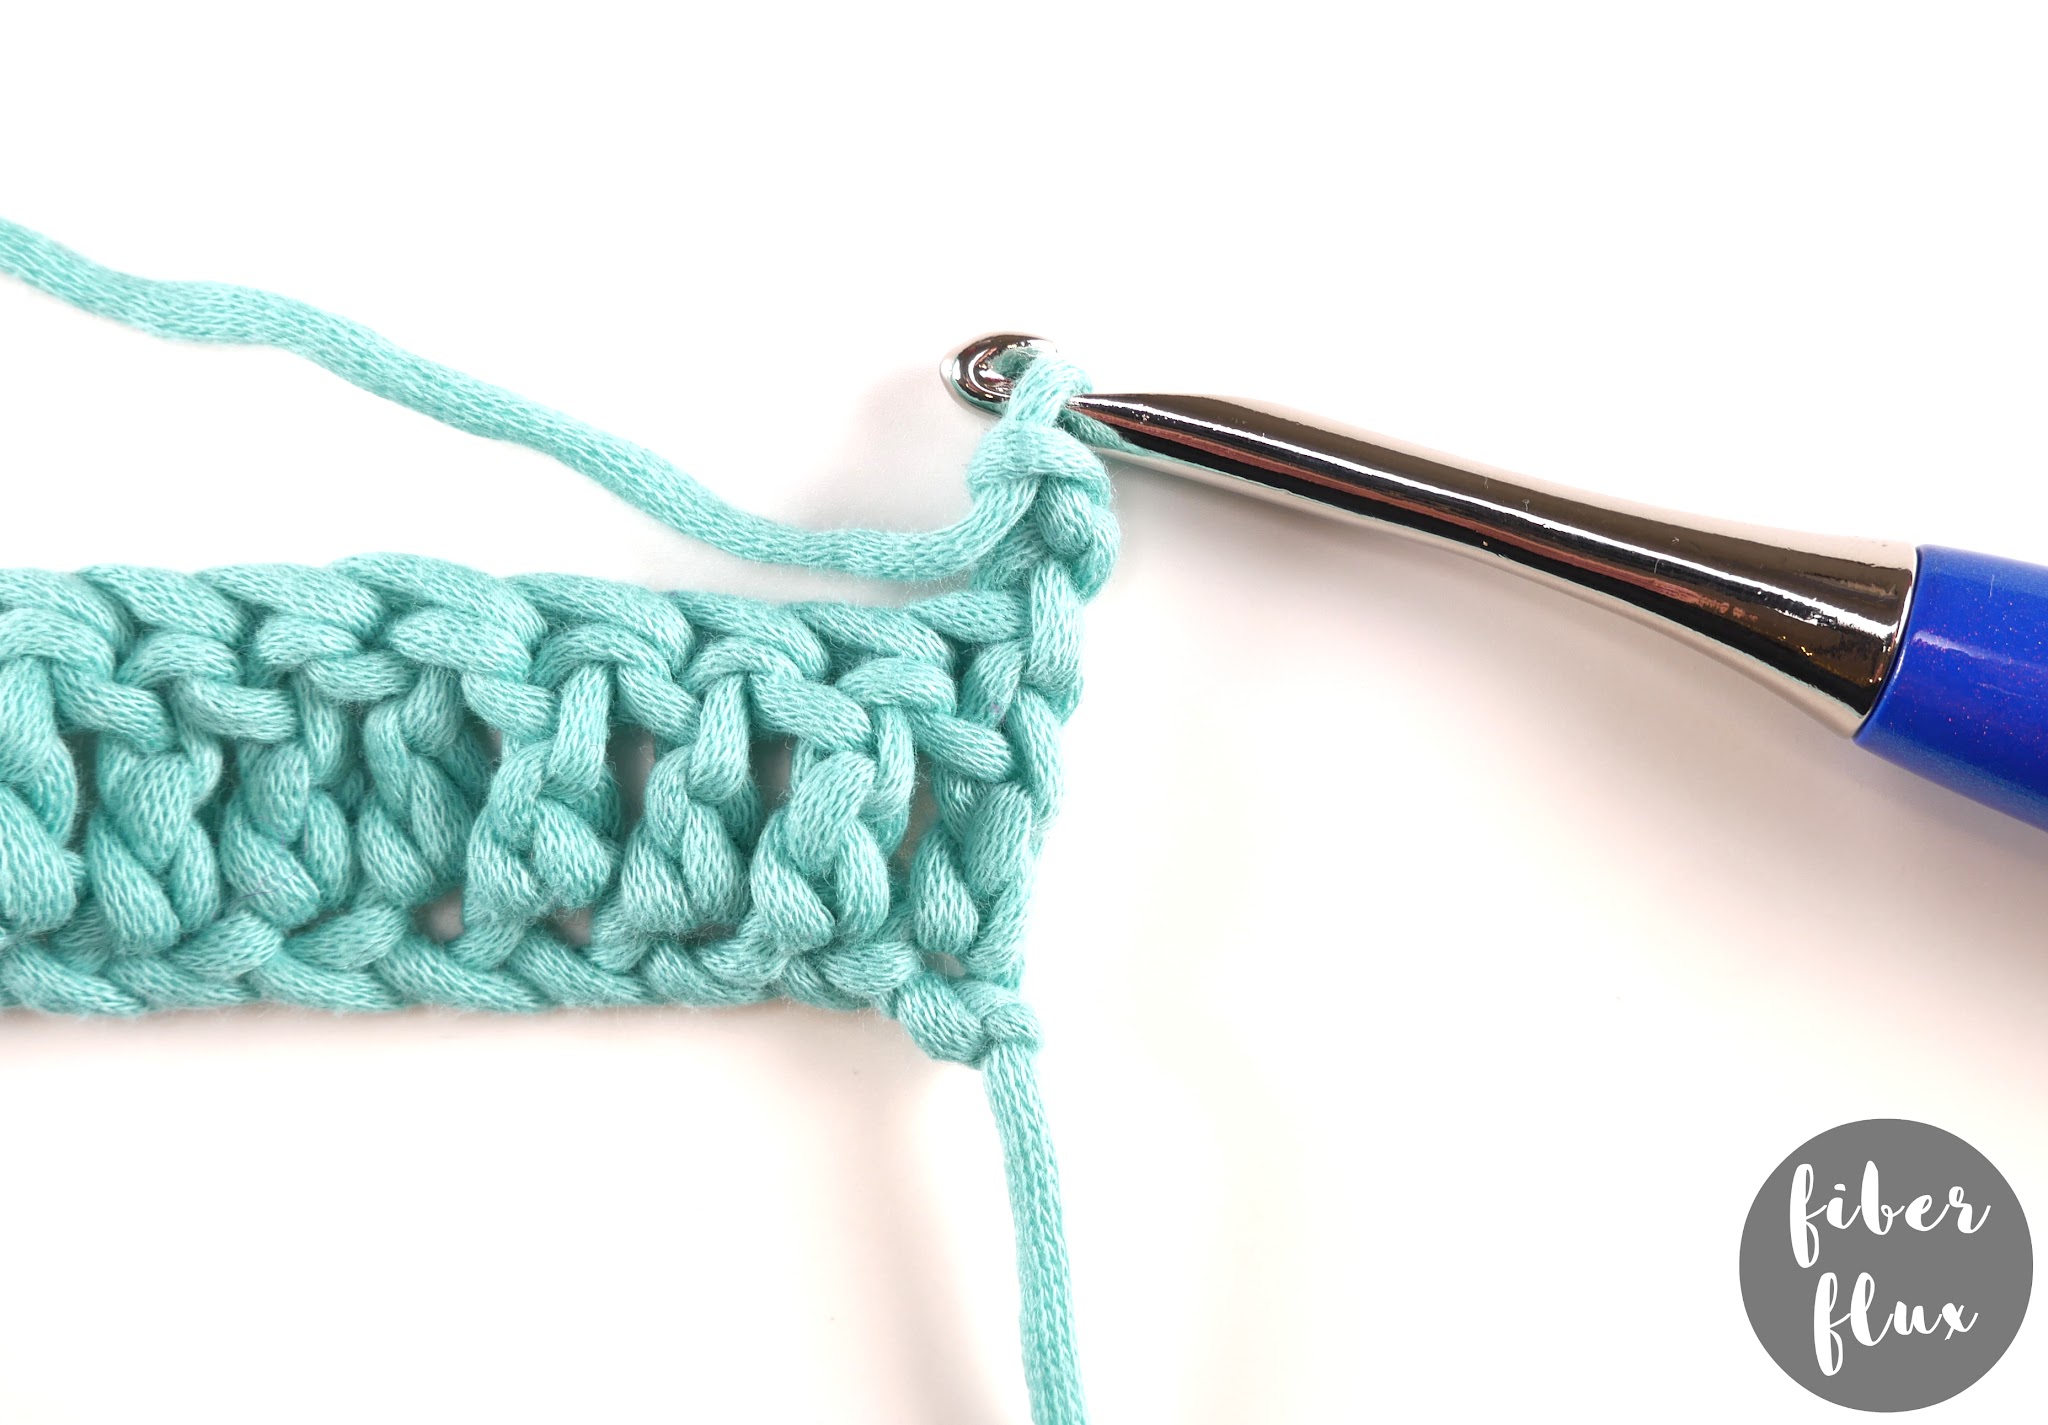
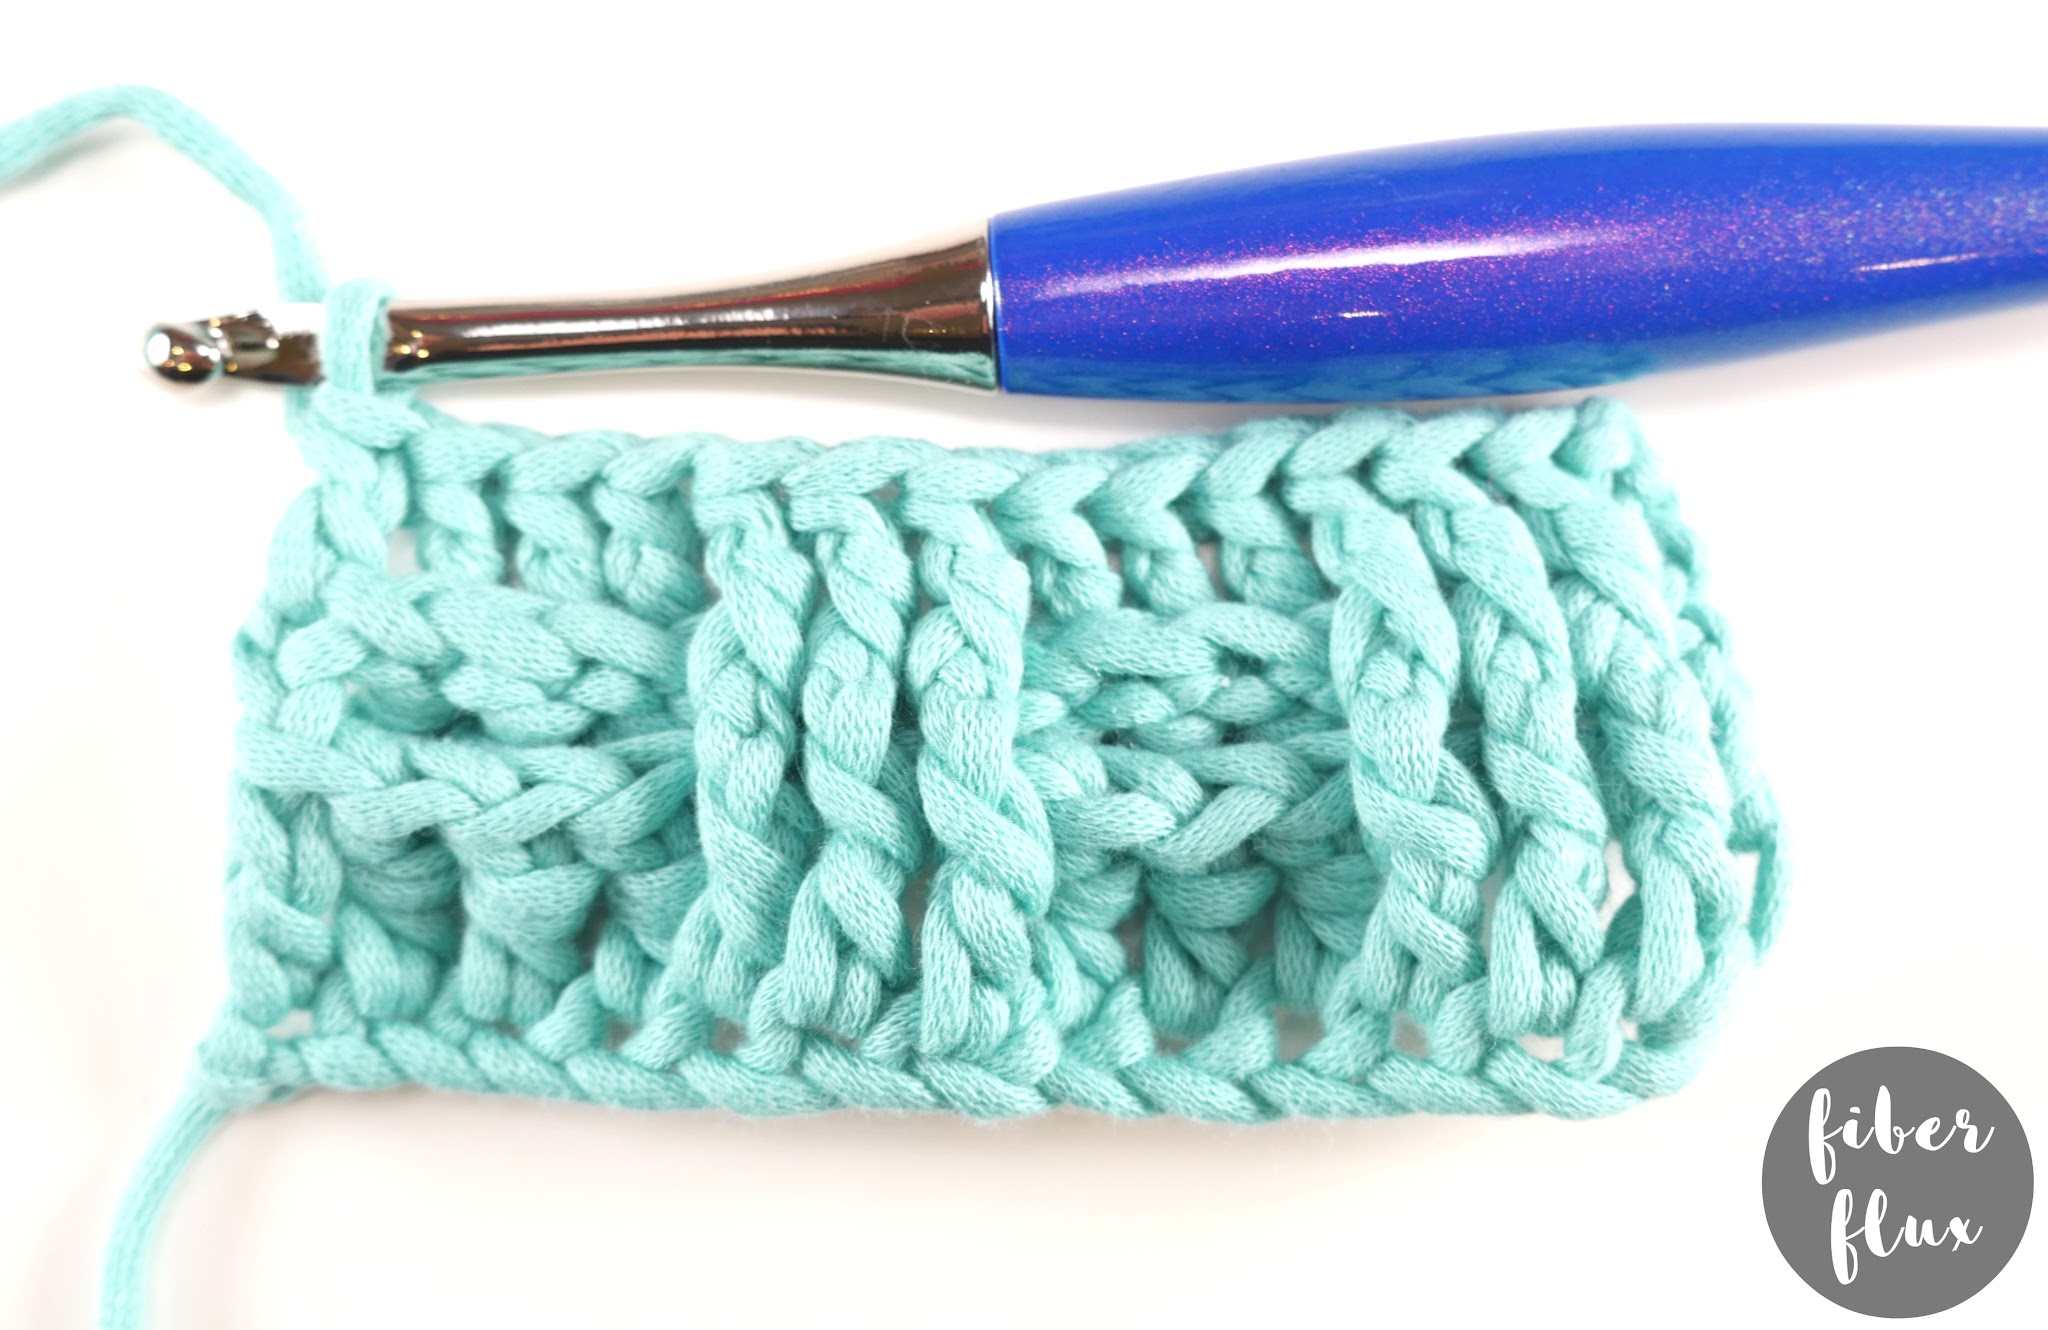
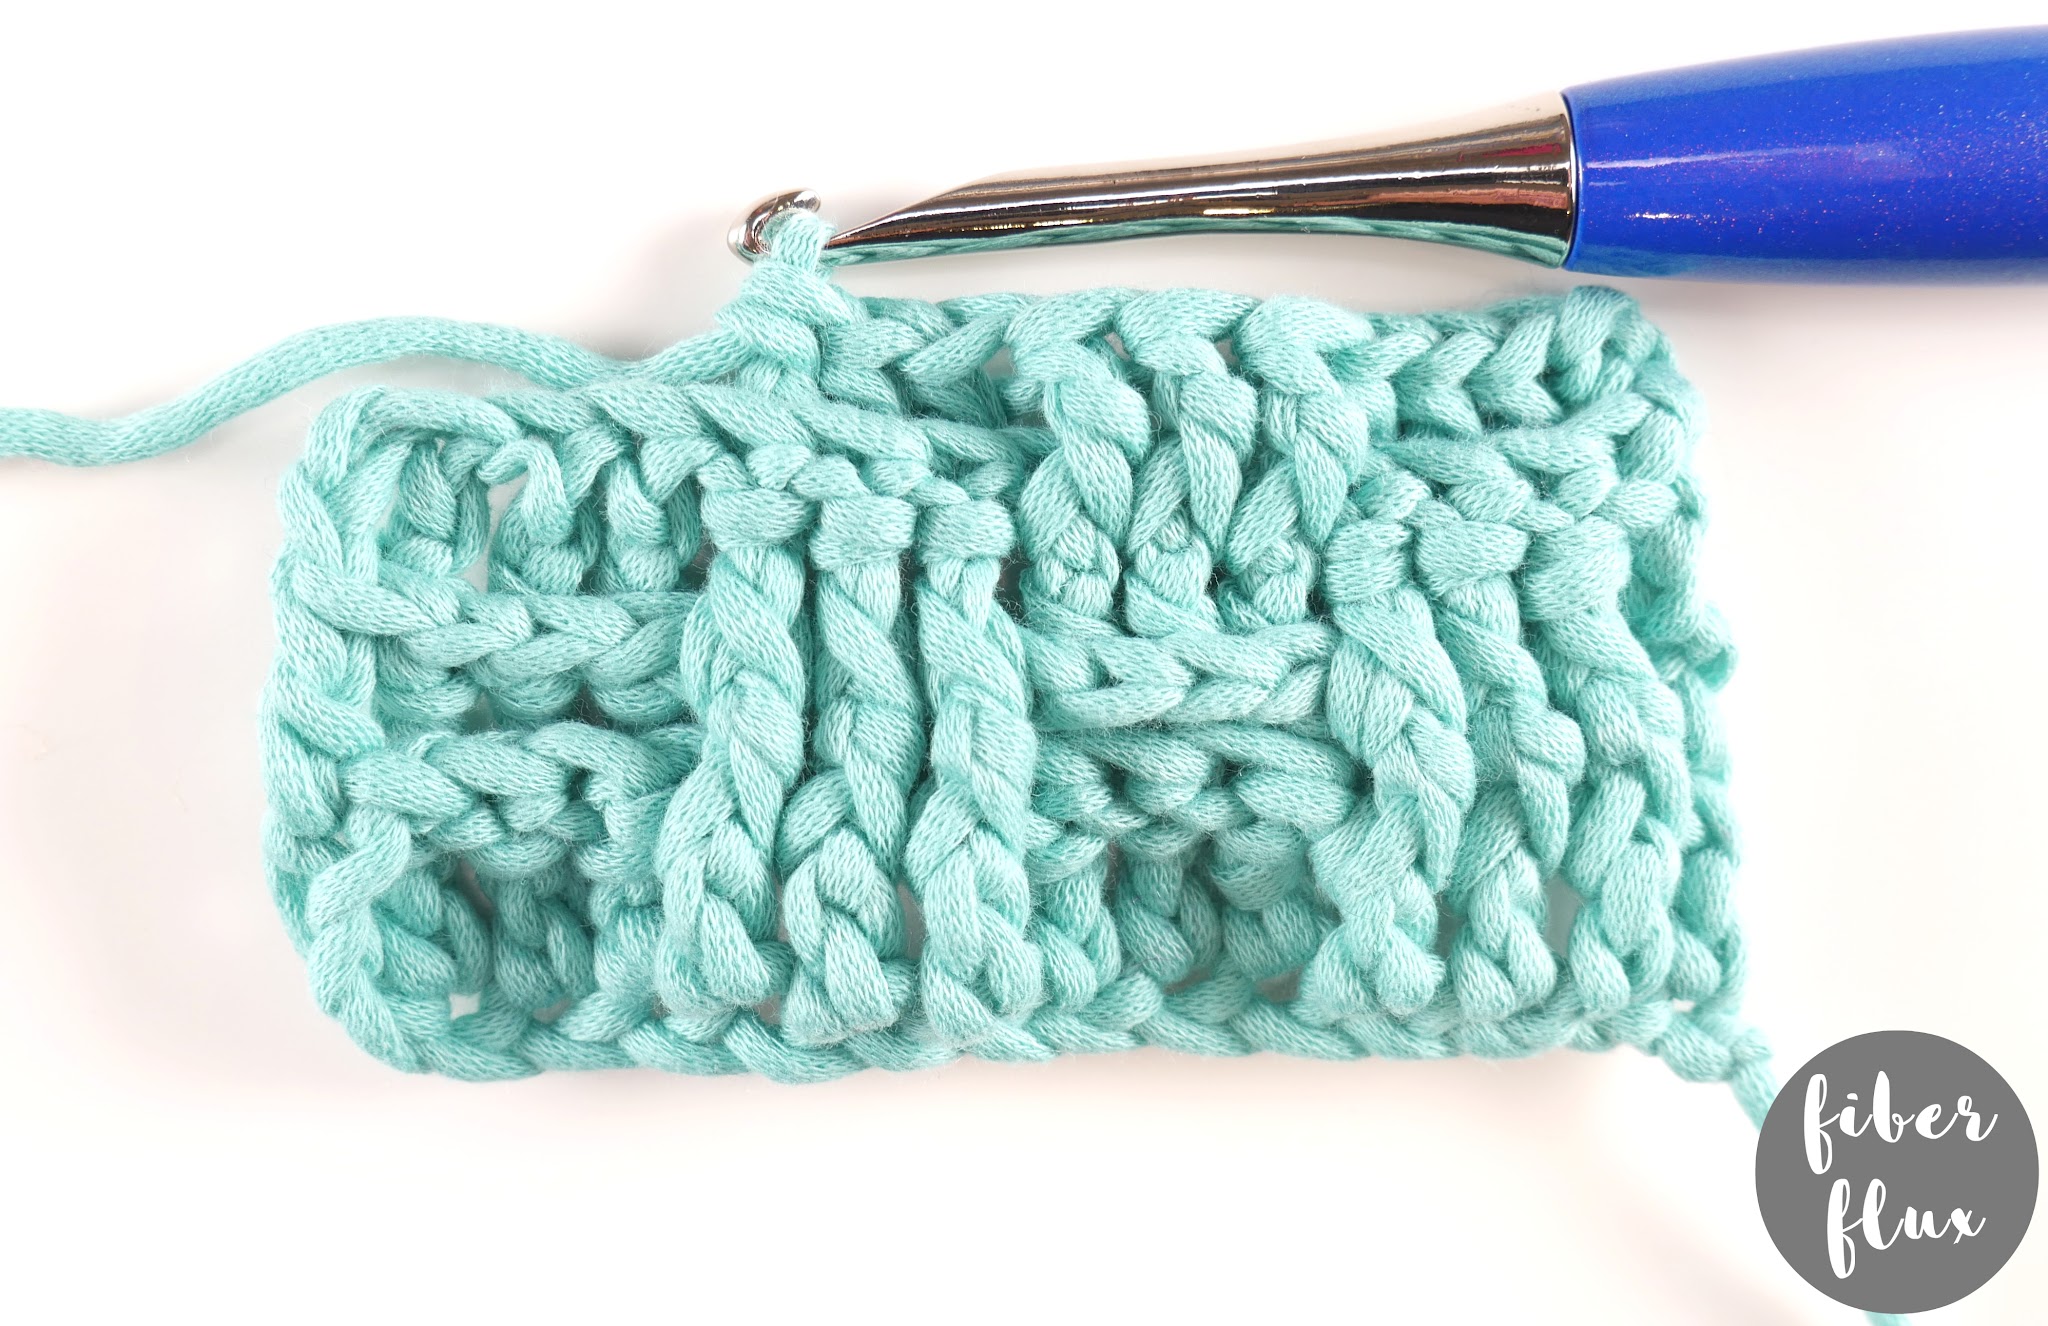
To begin row 2,skip the first dc and work a fpdc (front post double crochet) in each of the next three stitches,
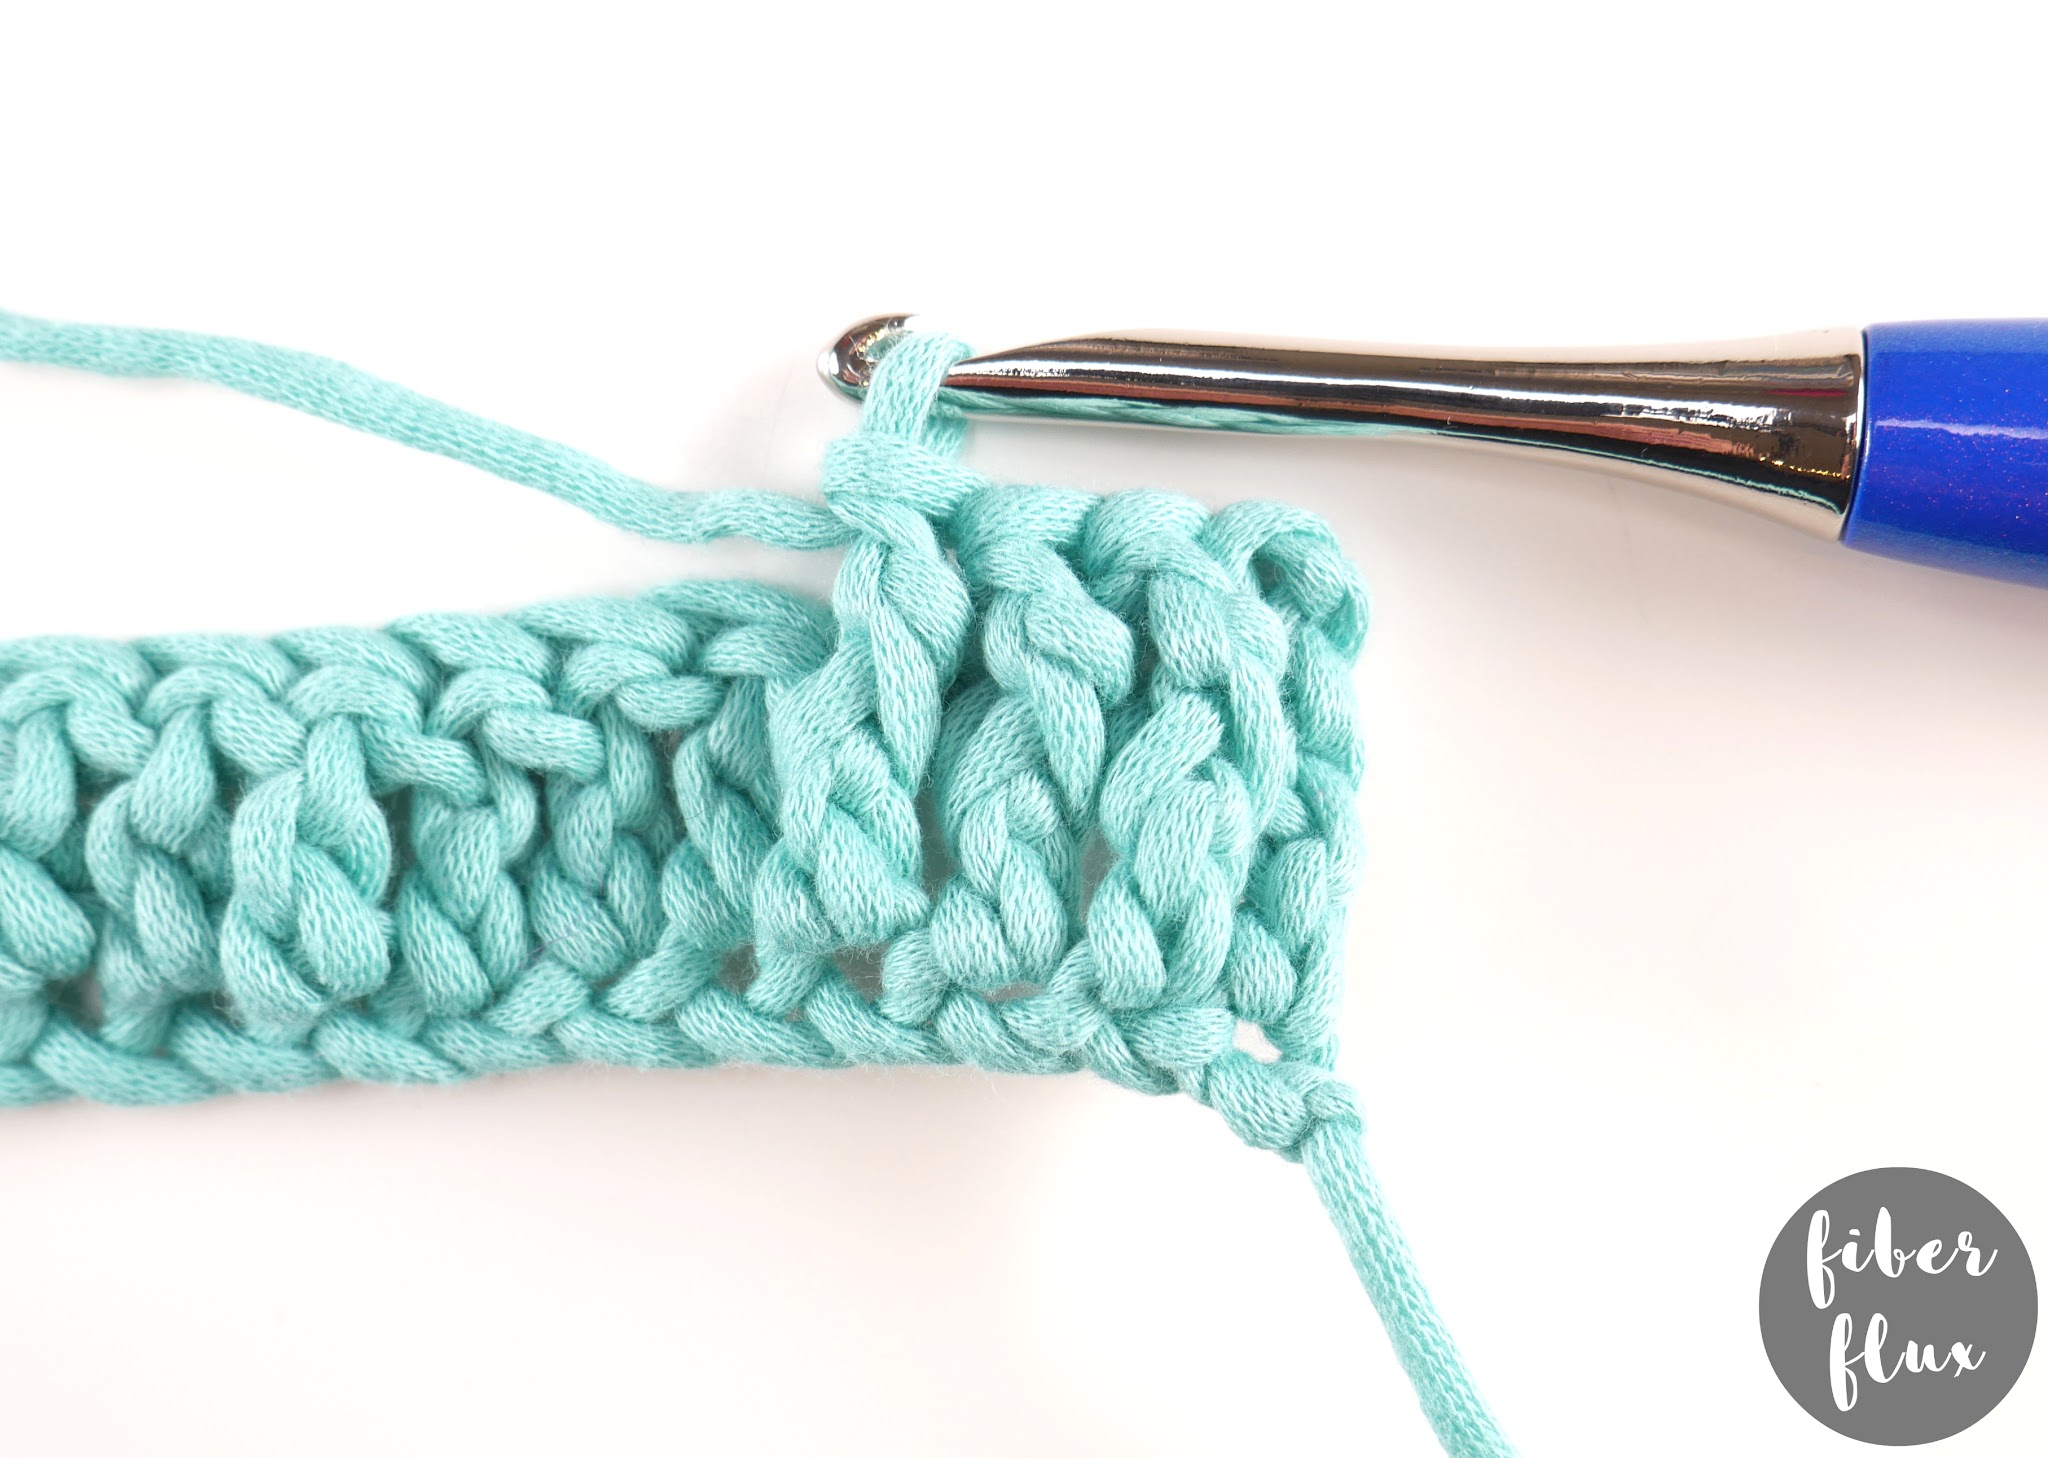
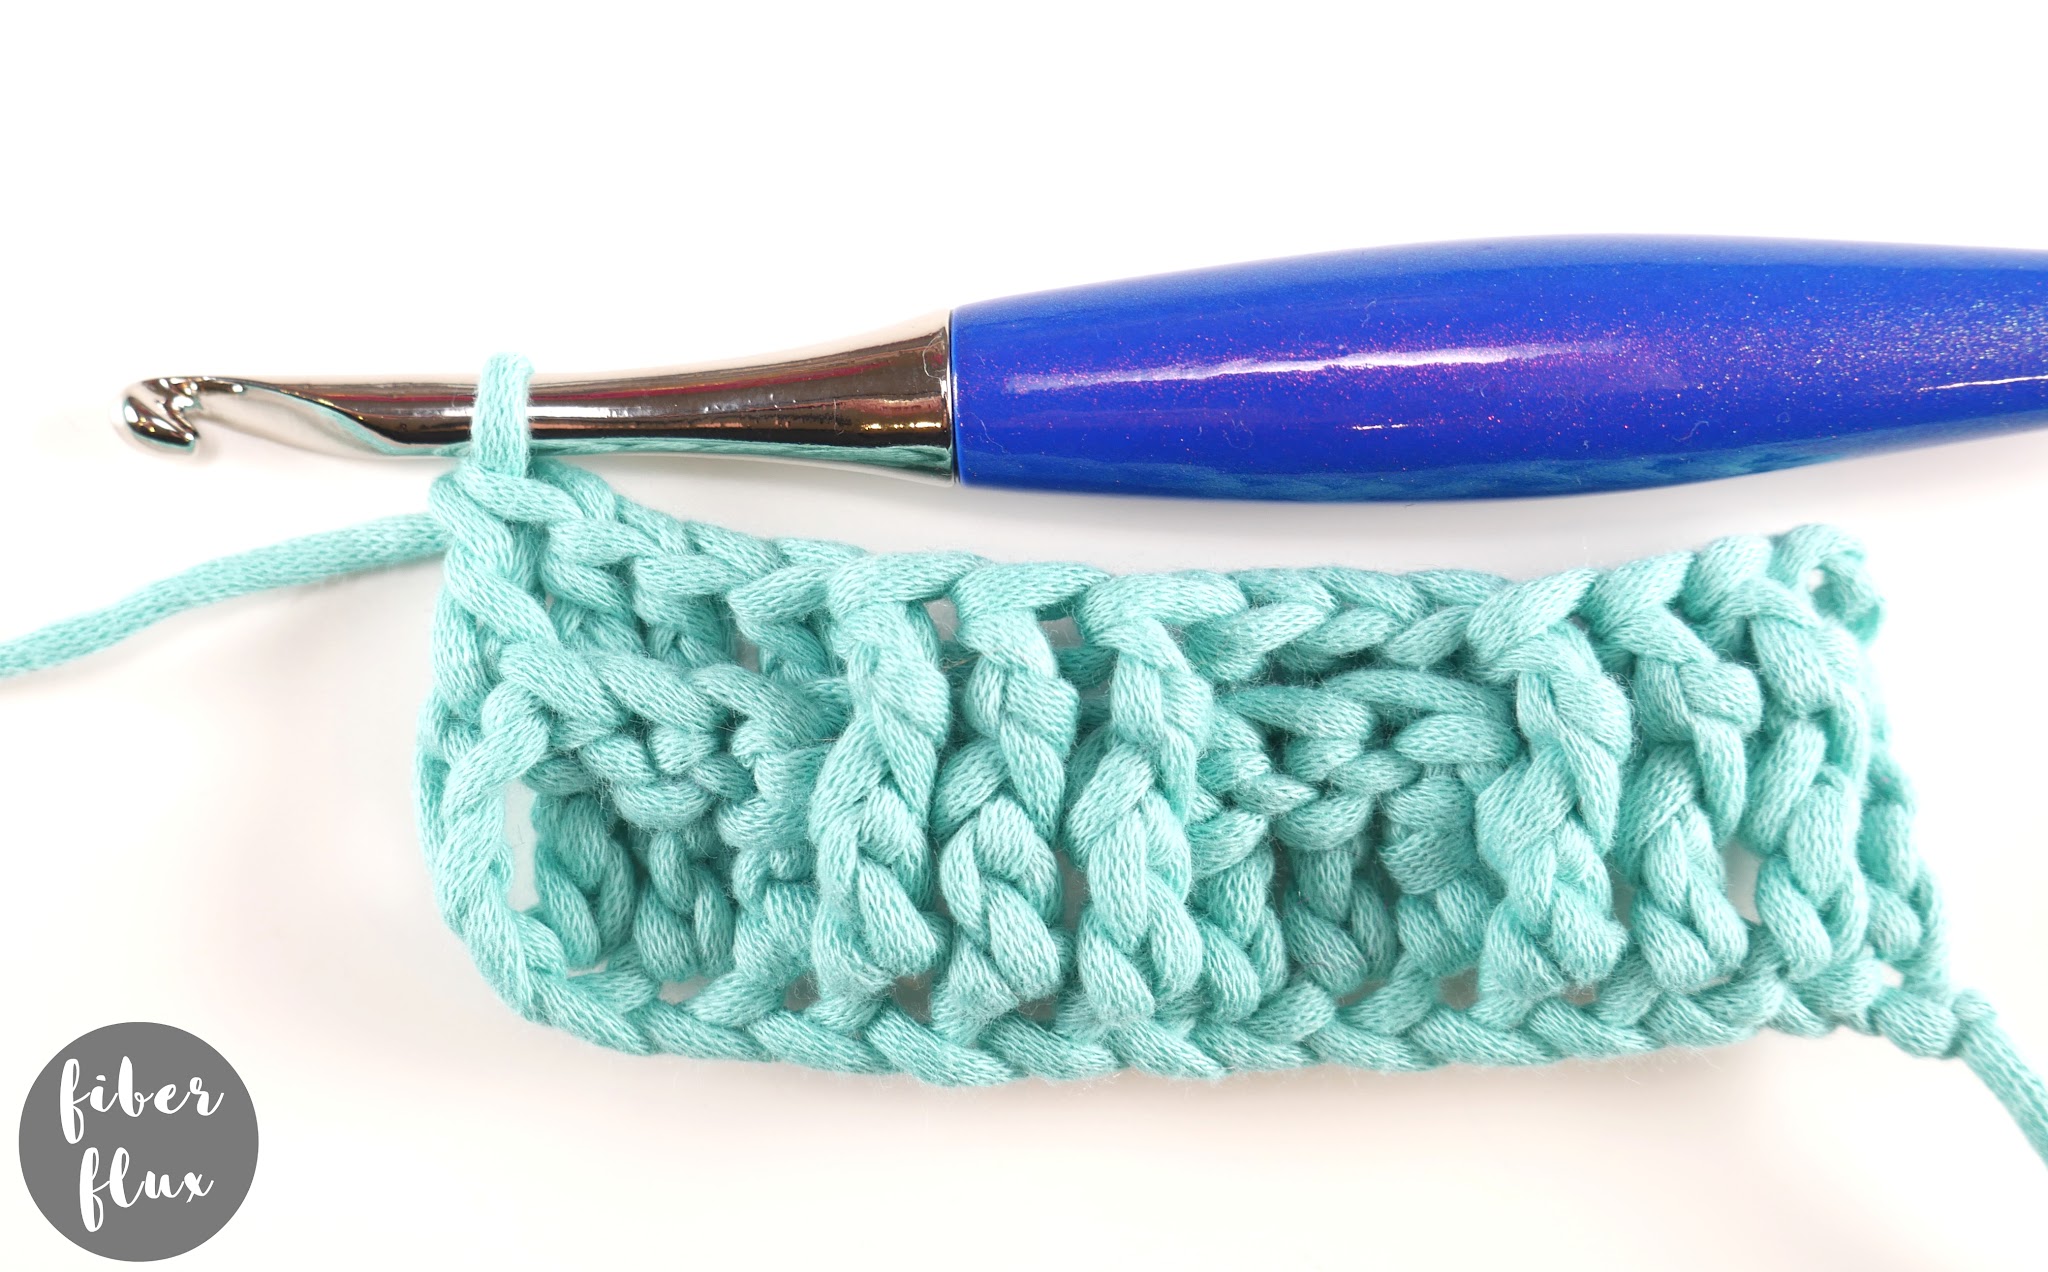
Work a bpdc (back post double crochet) in each of the next three stitches,
Work a fpdc in each of the next 3 stitches,
Bpdc in each of the next 3 stitches,
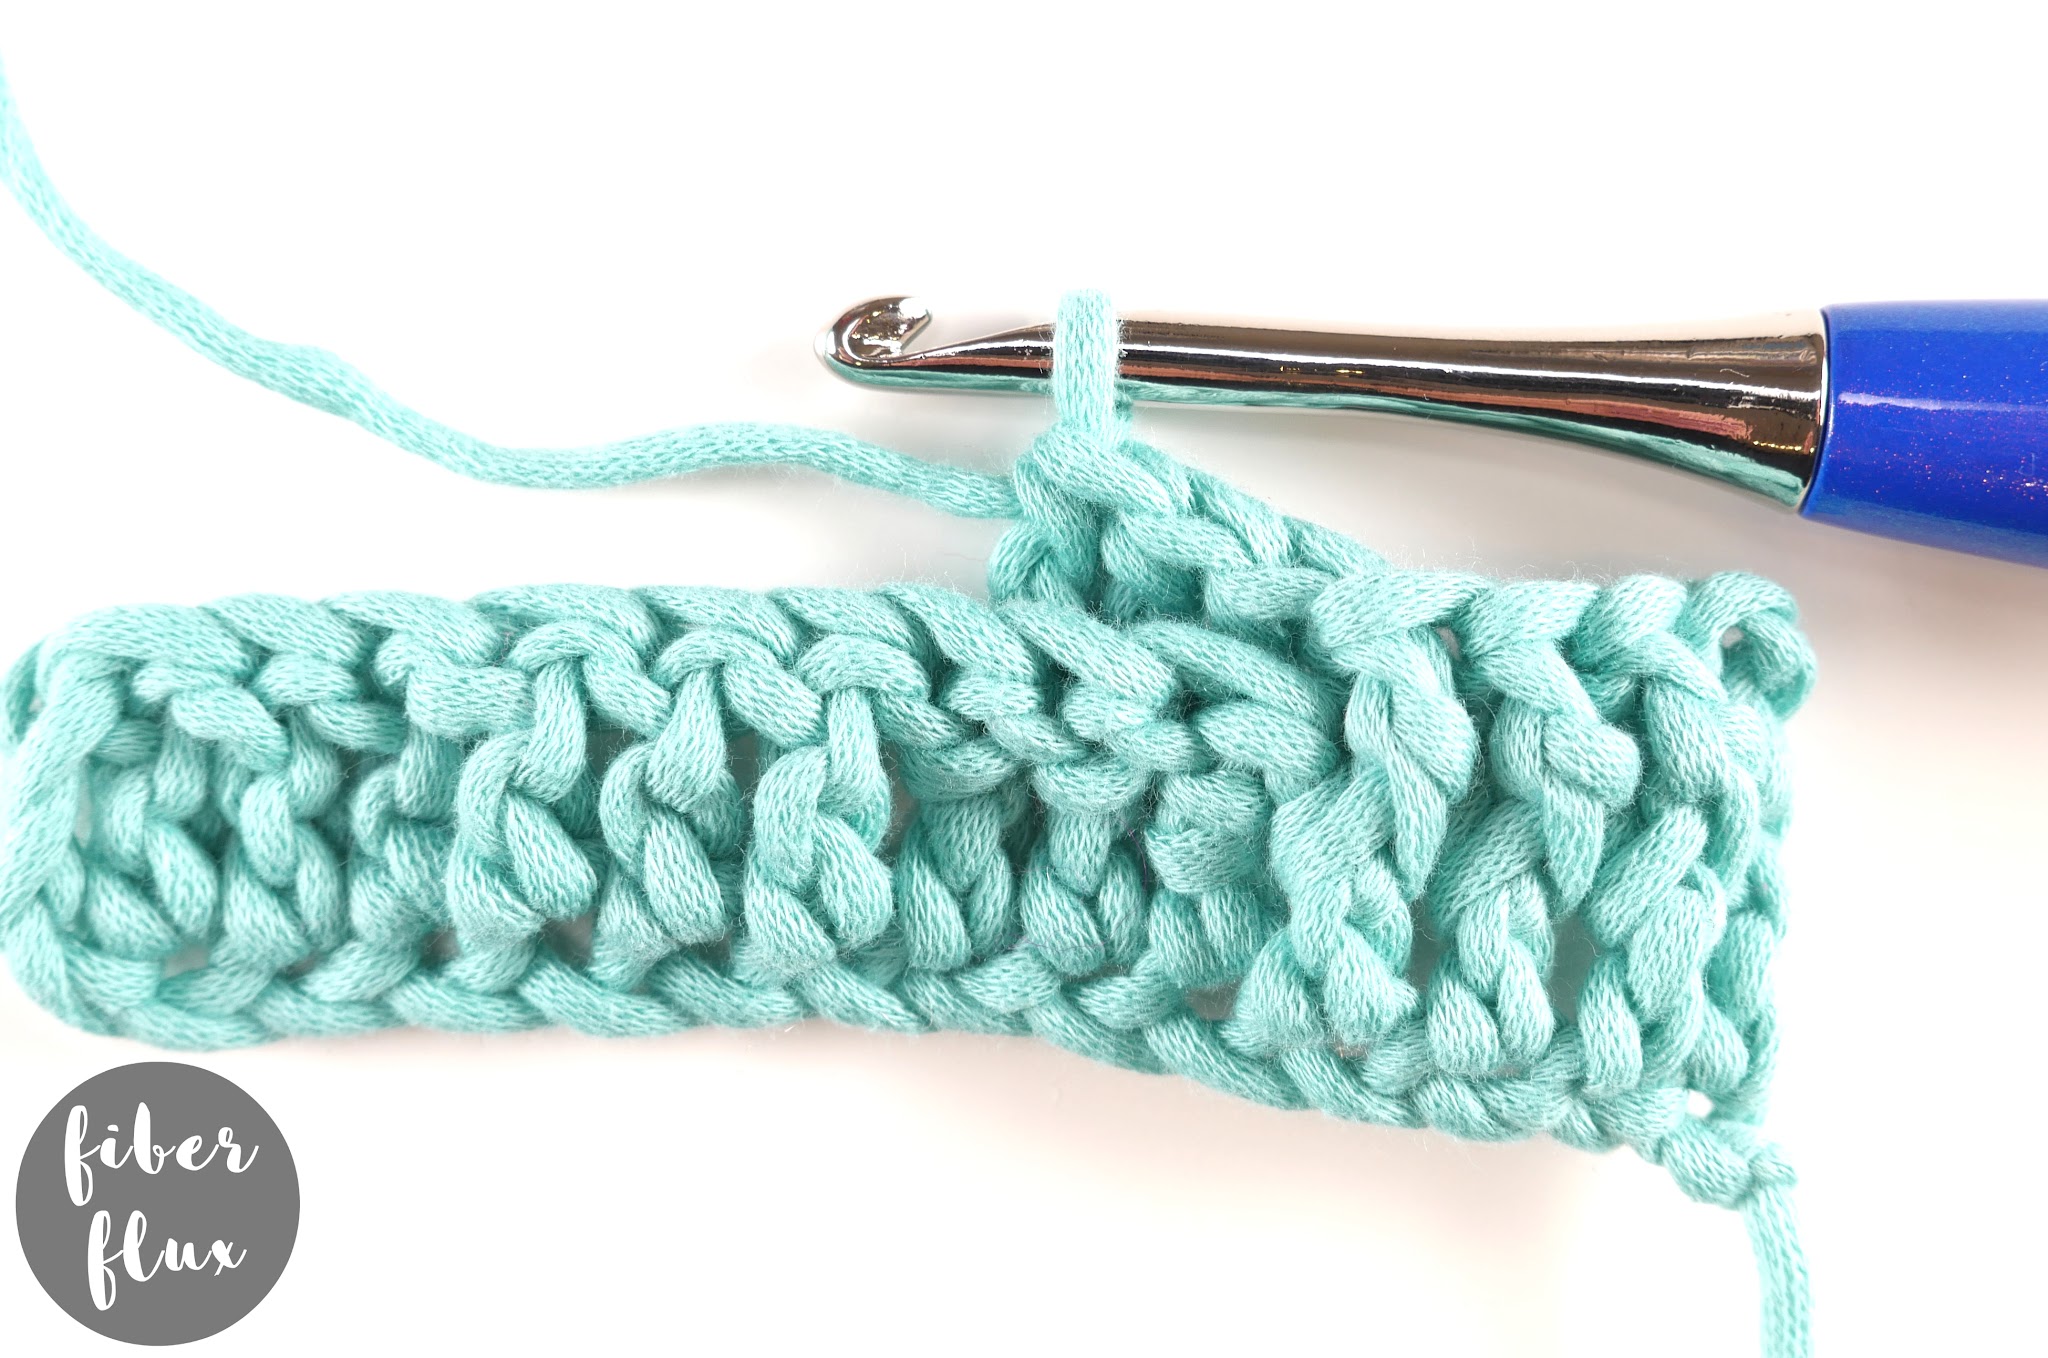
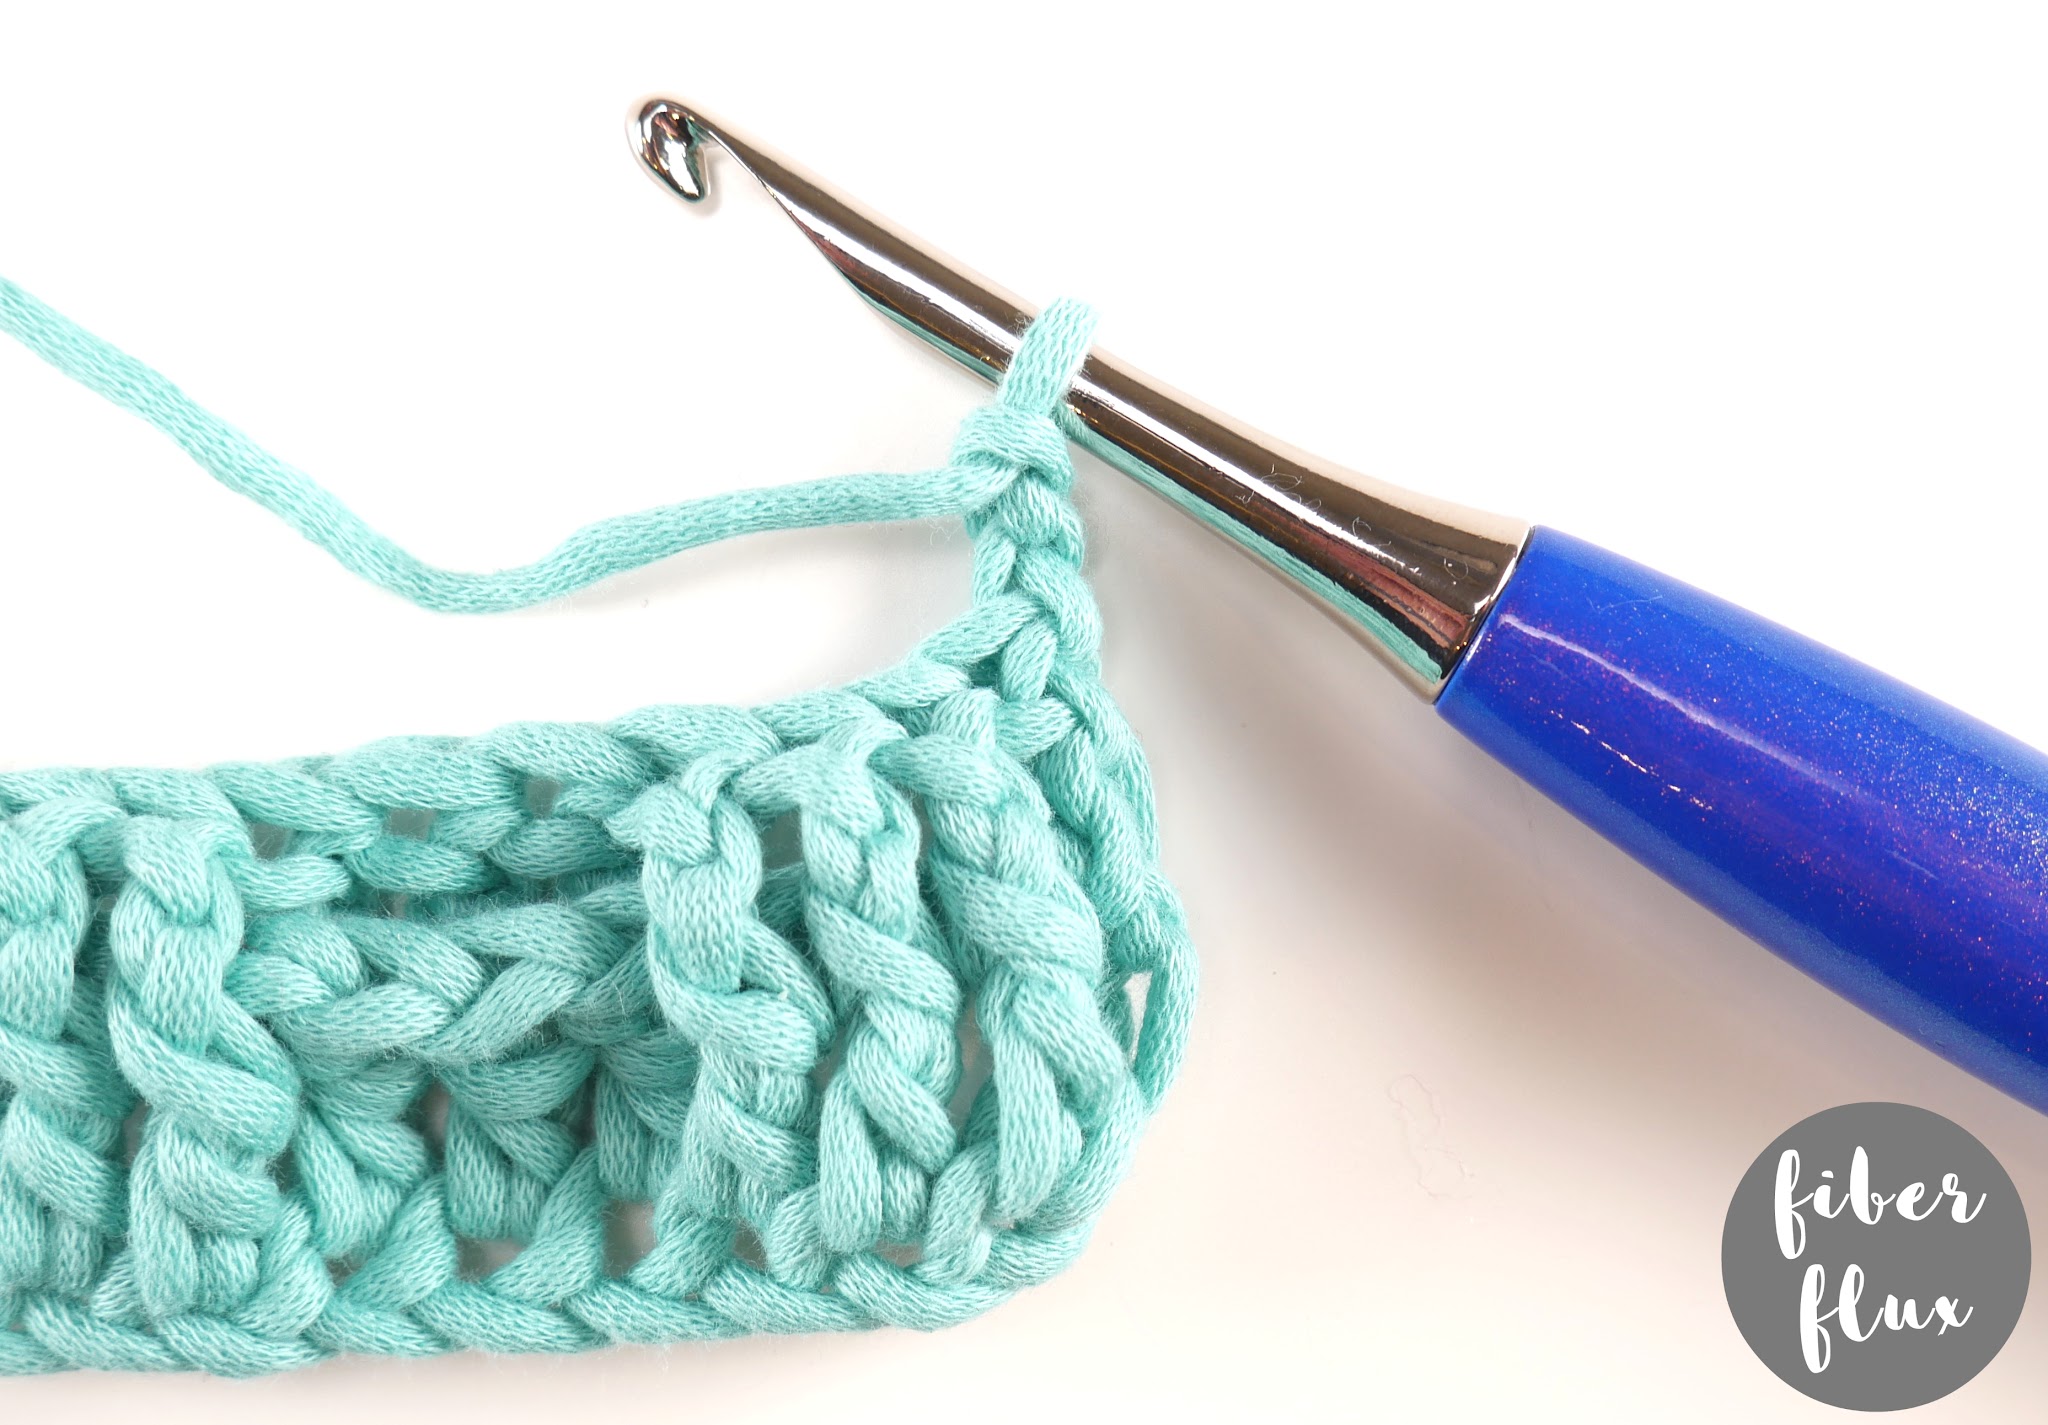
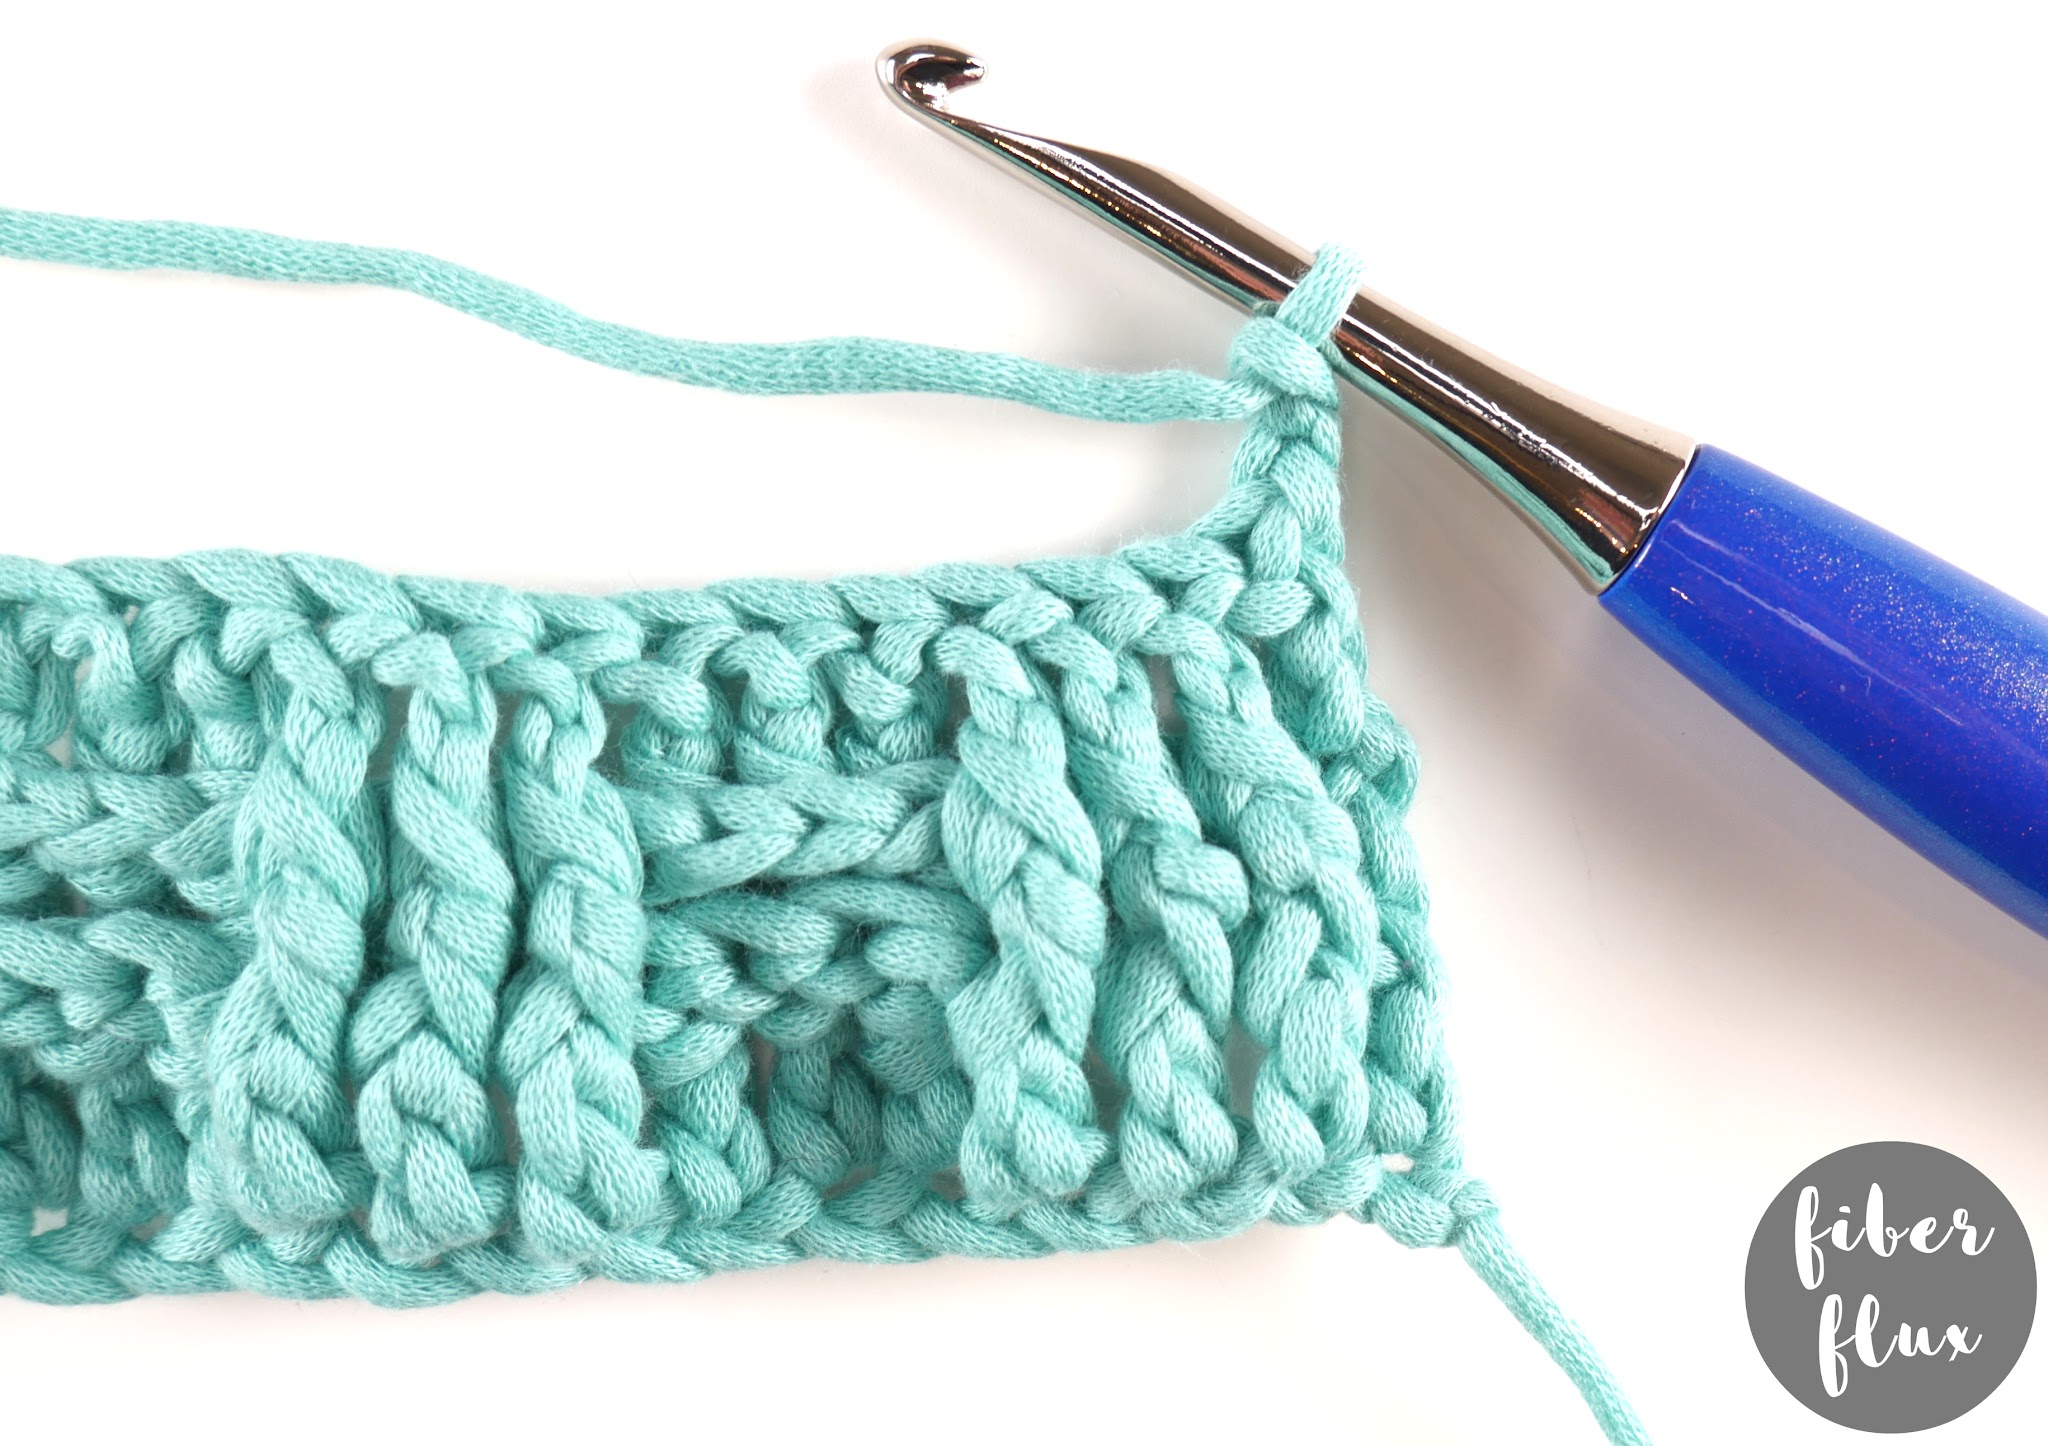
Dc in the top chain of the turning chain to finish the row,
Chain 2 and turn your work,
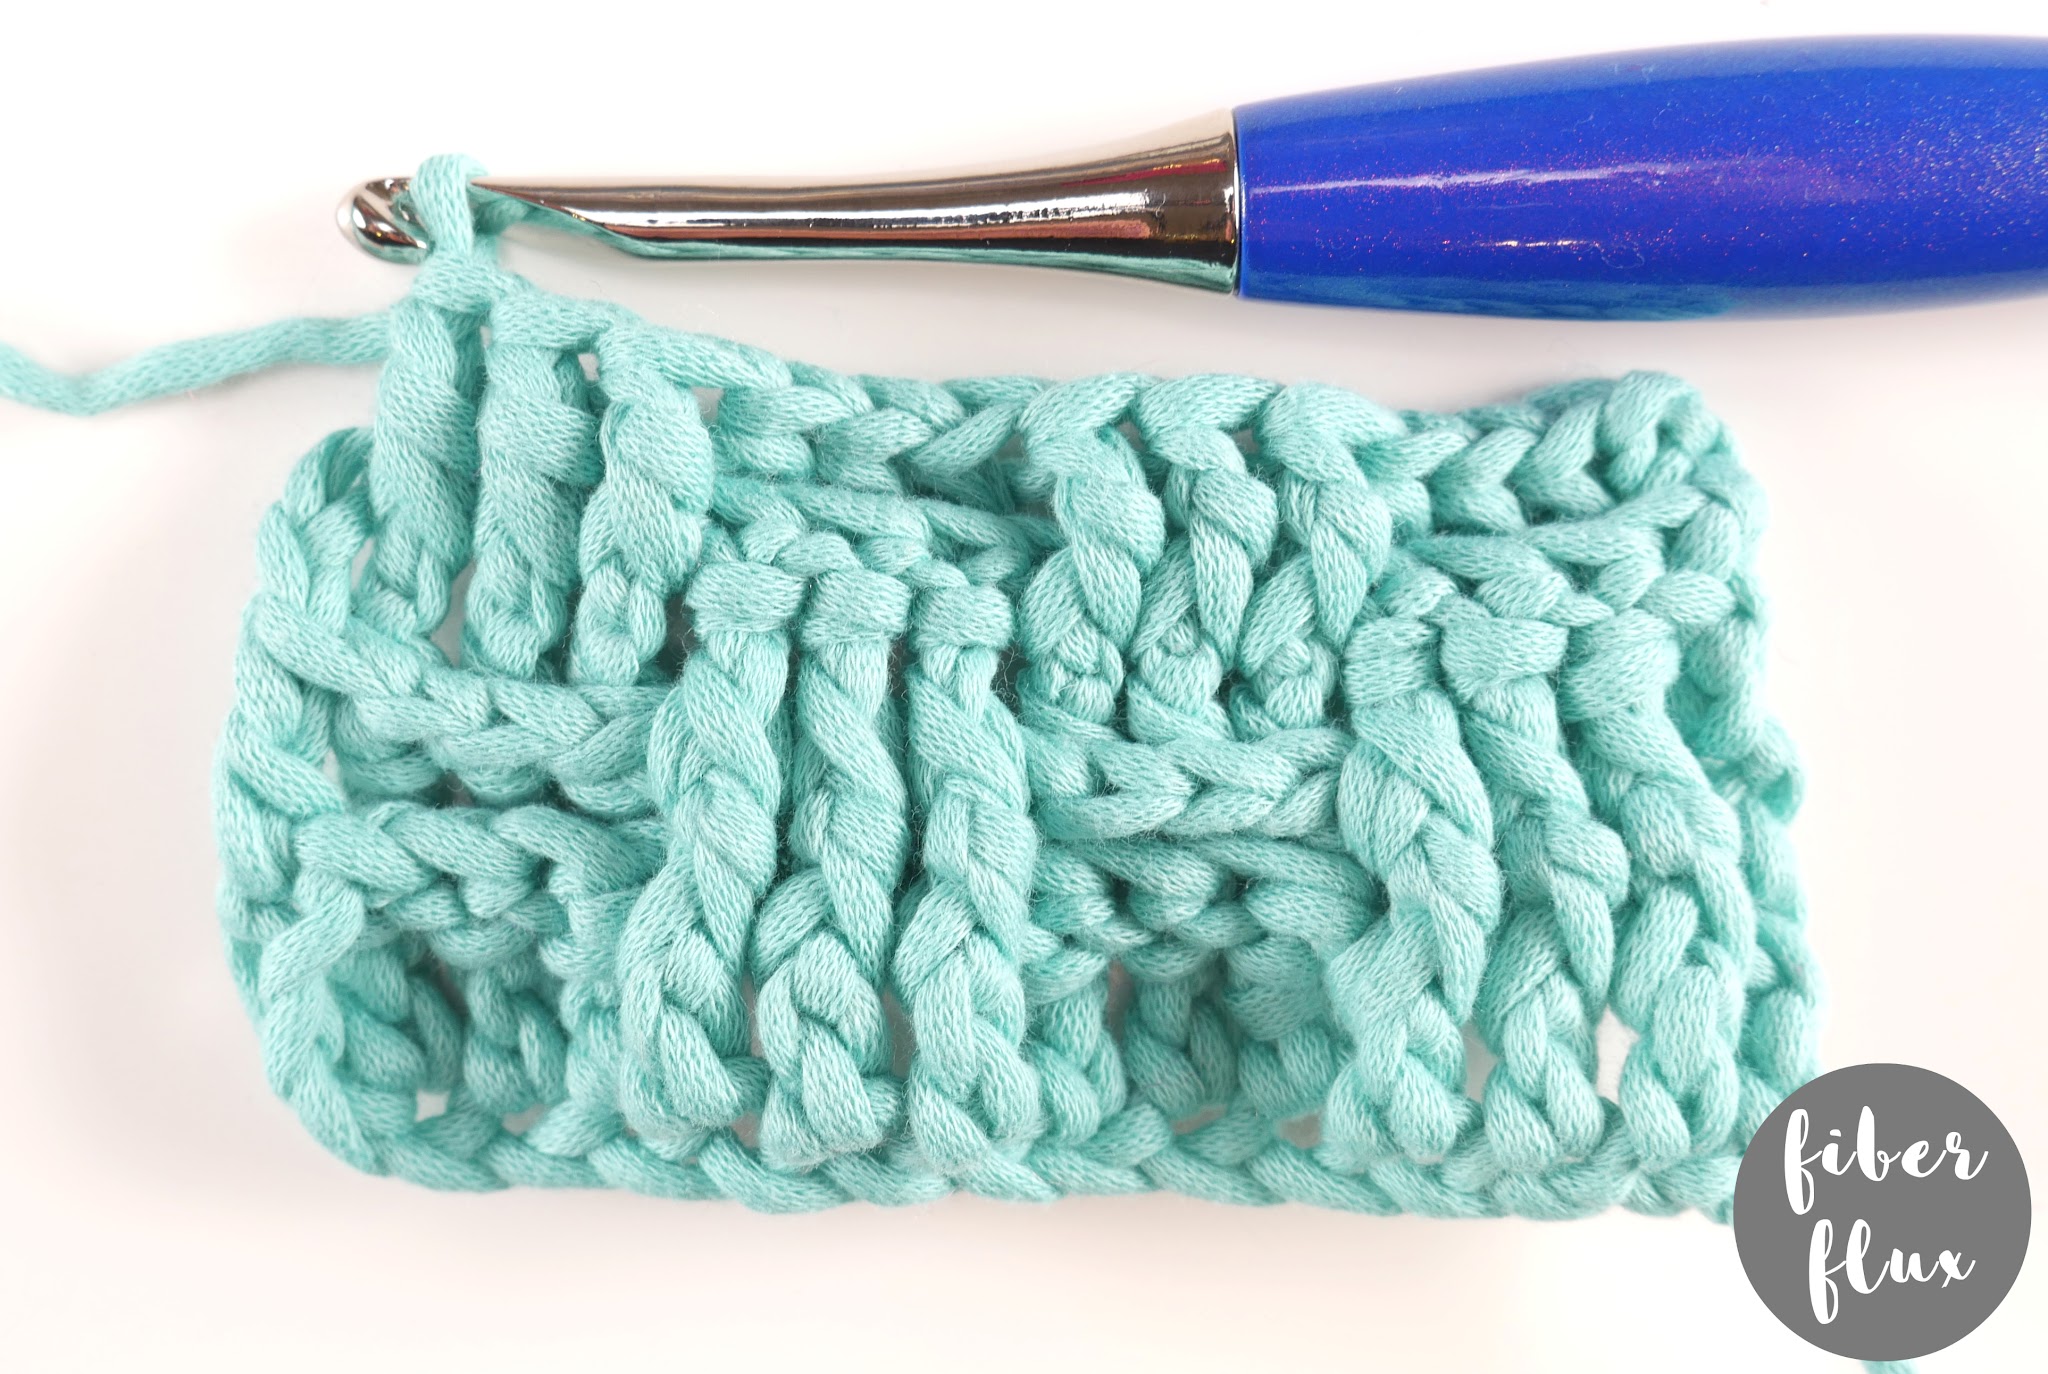
Then for row 3 repeat what you did for row 2,
Chain 2 and turn,
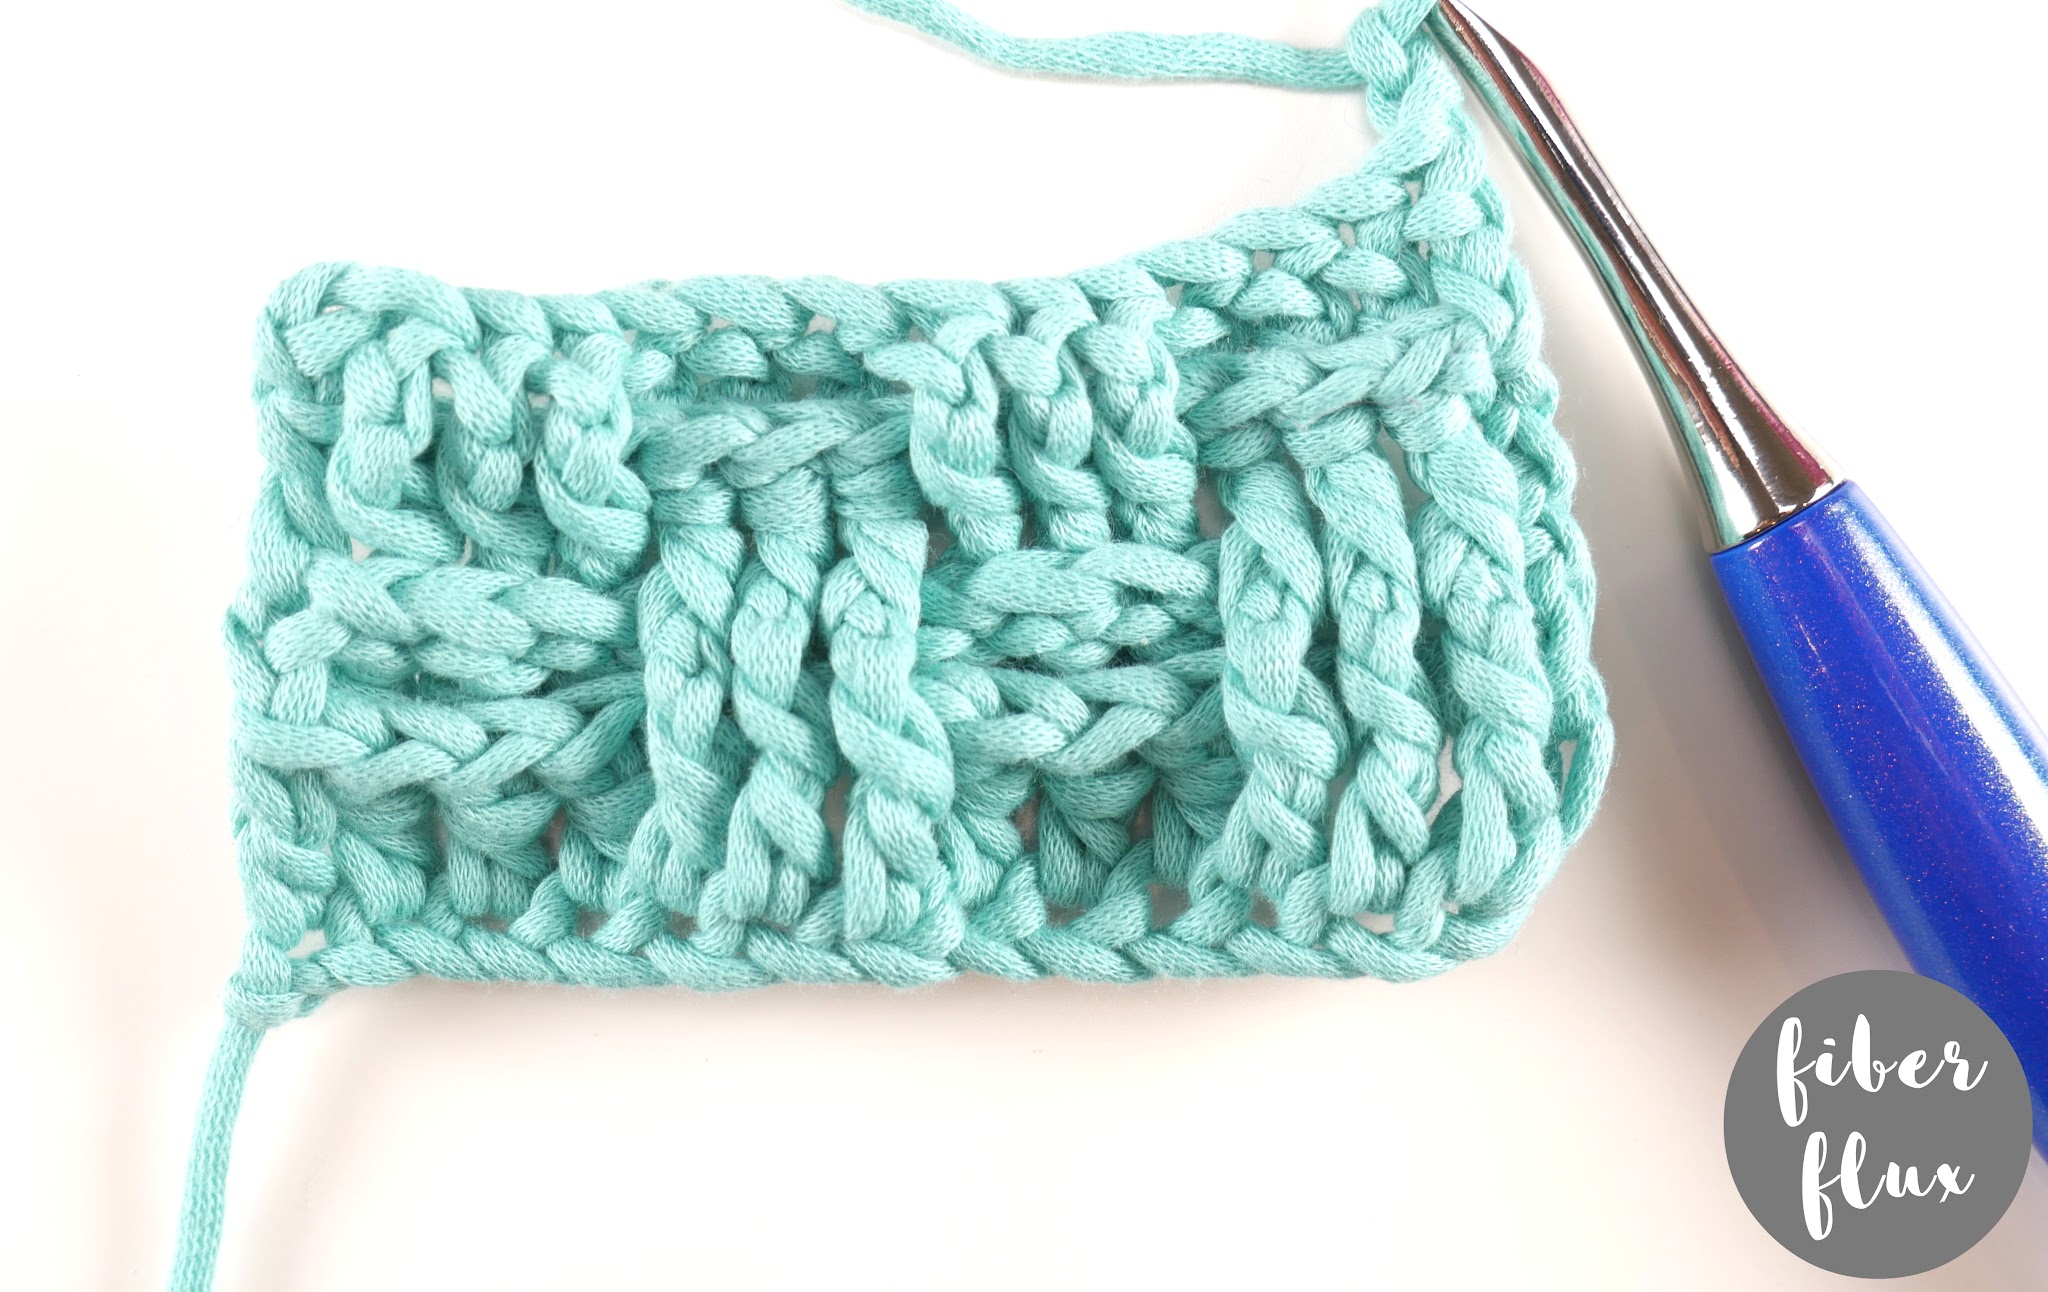
For row 4, skip the first dc and work a bpdc in each of the next three stitches,
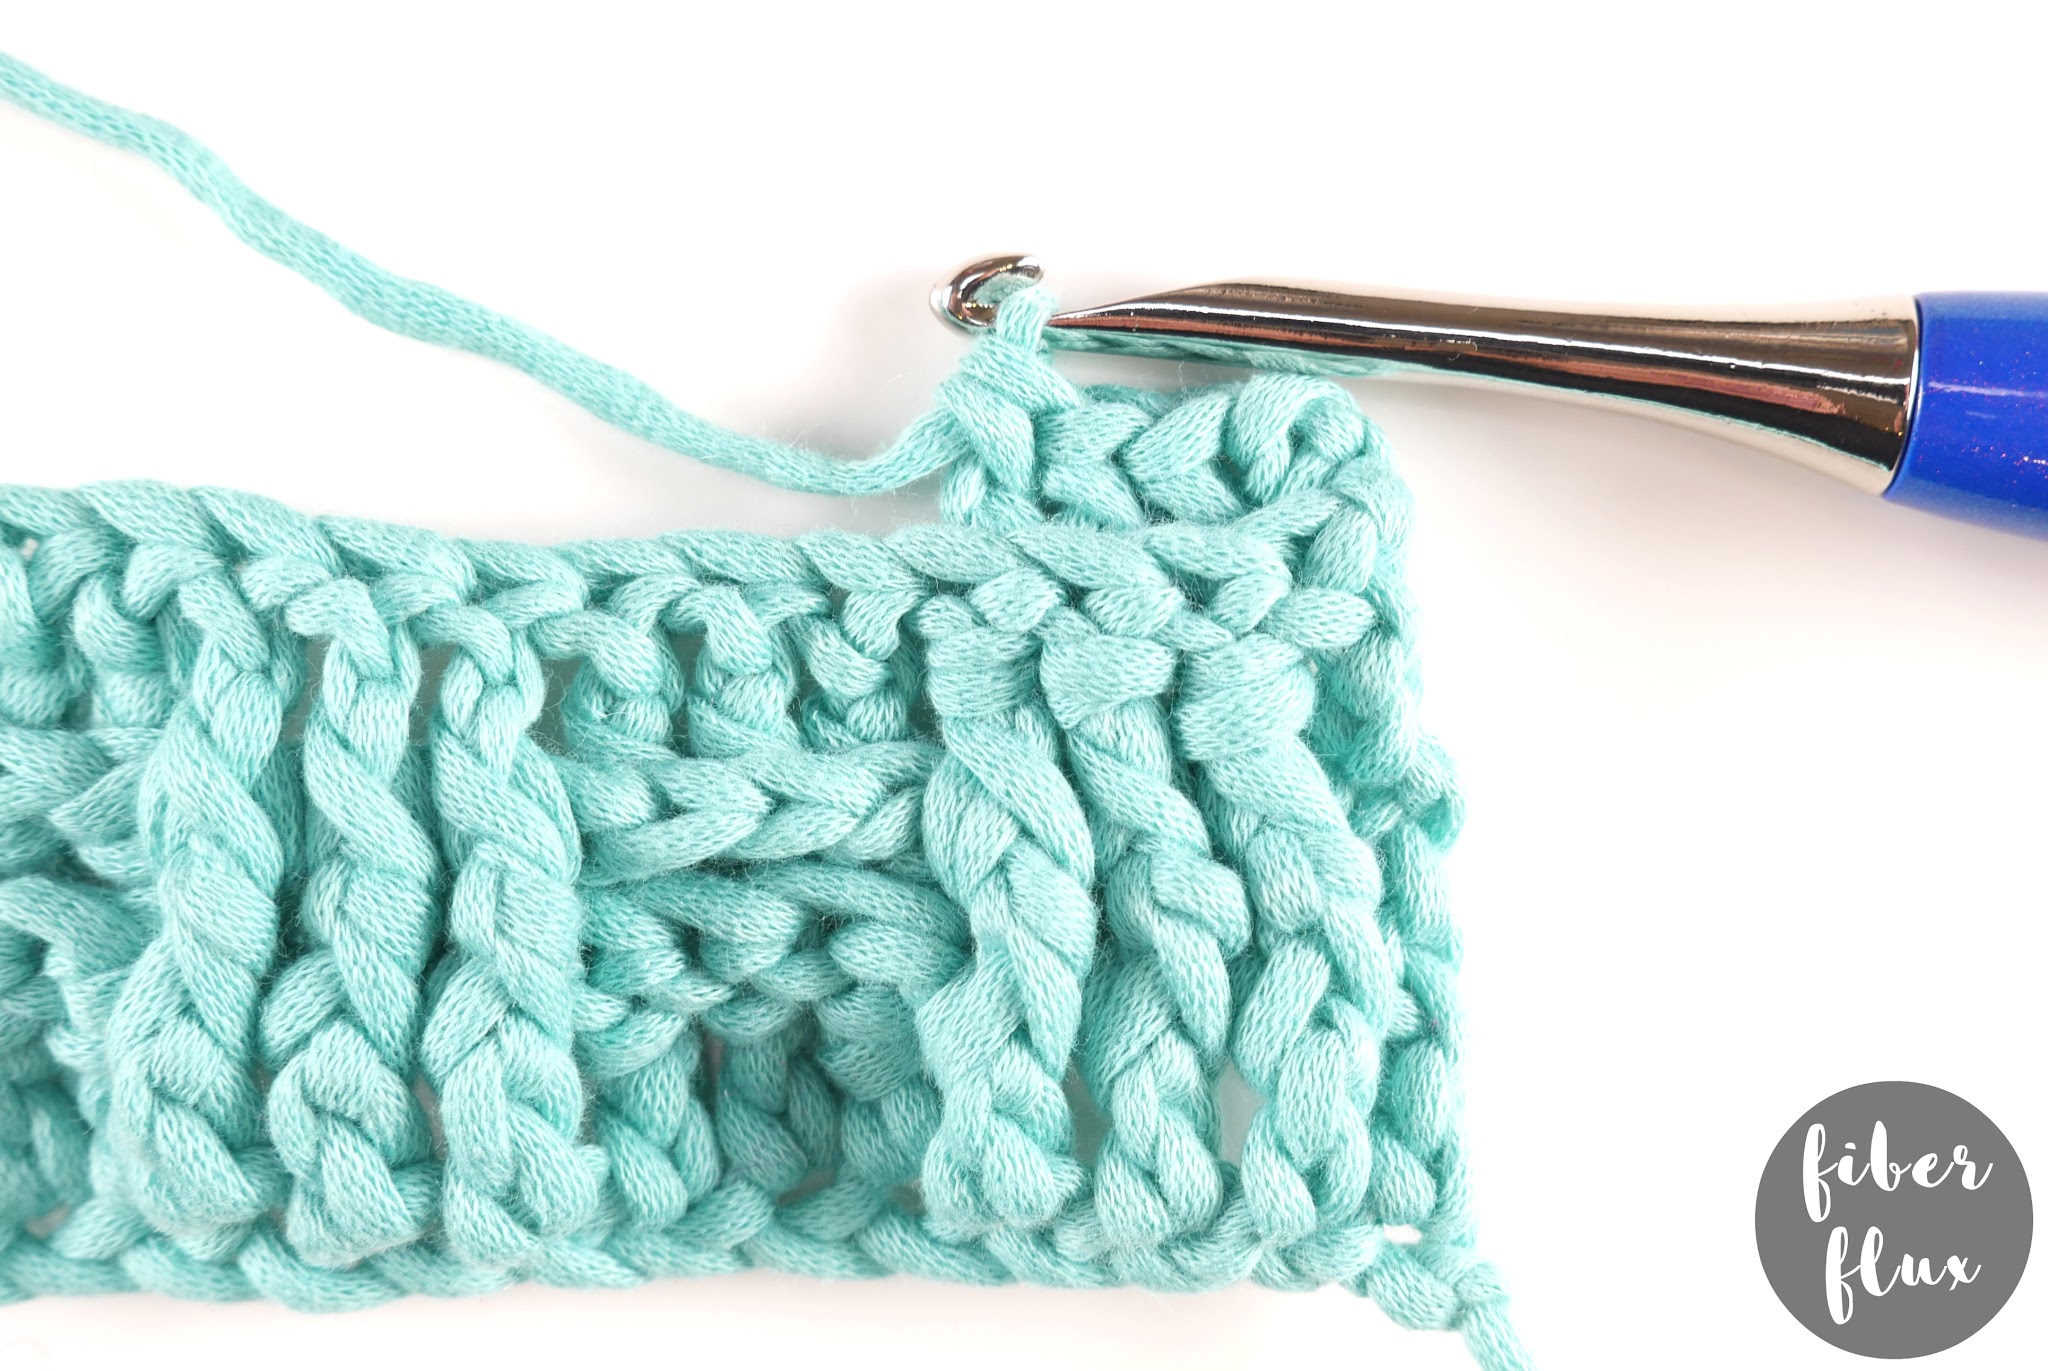
Fpdc in each of the next three stitches,
Bpdc in each of the next three stitches,
Work a fpdc in each of the next three stitches, then a double crochet in the top chain of the turning chain to finish the row,
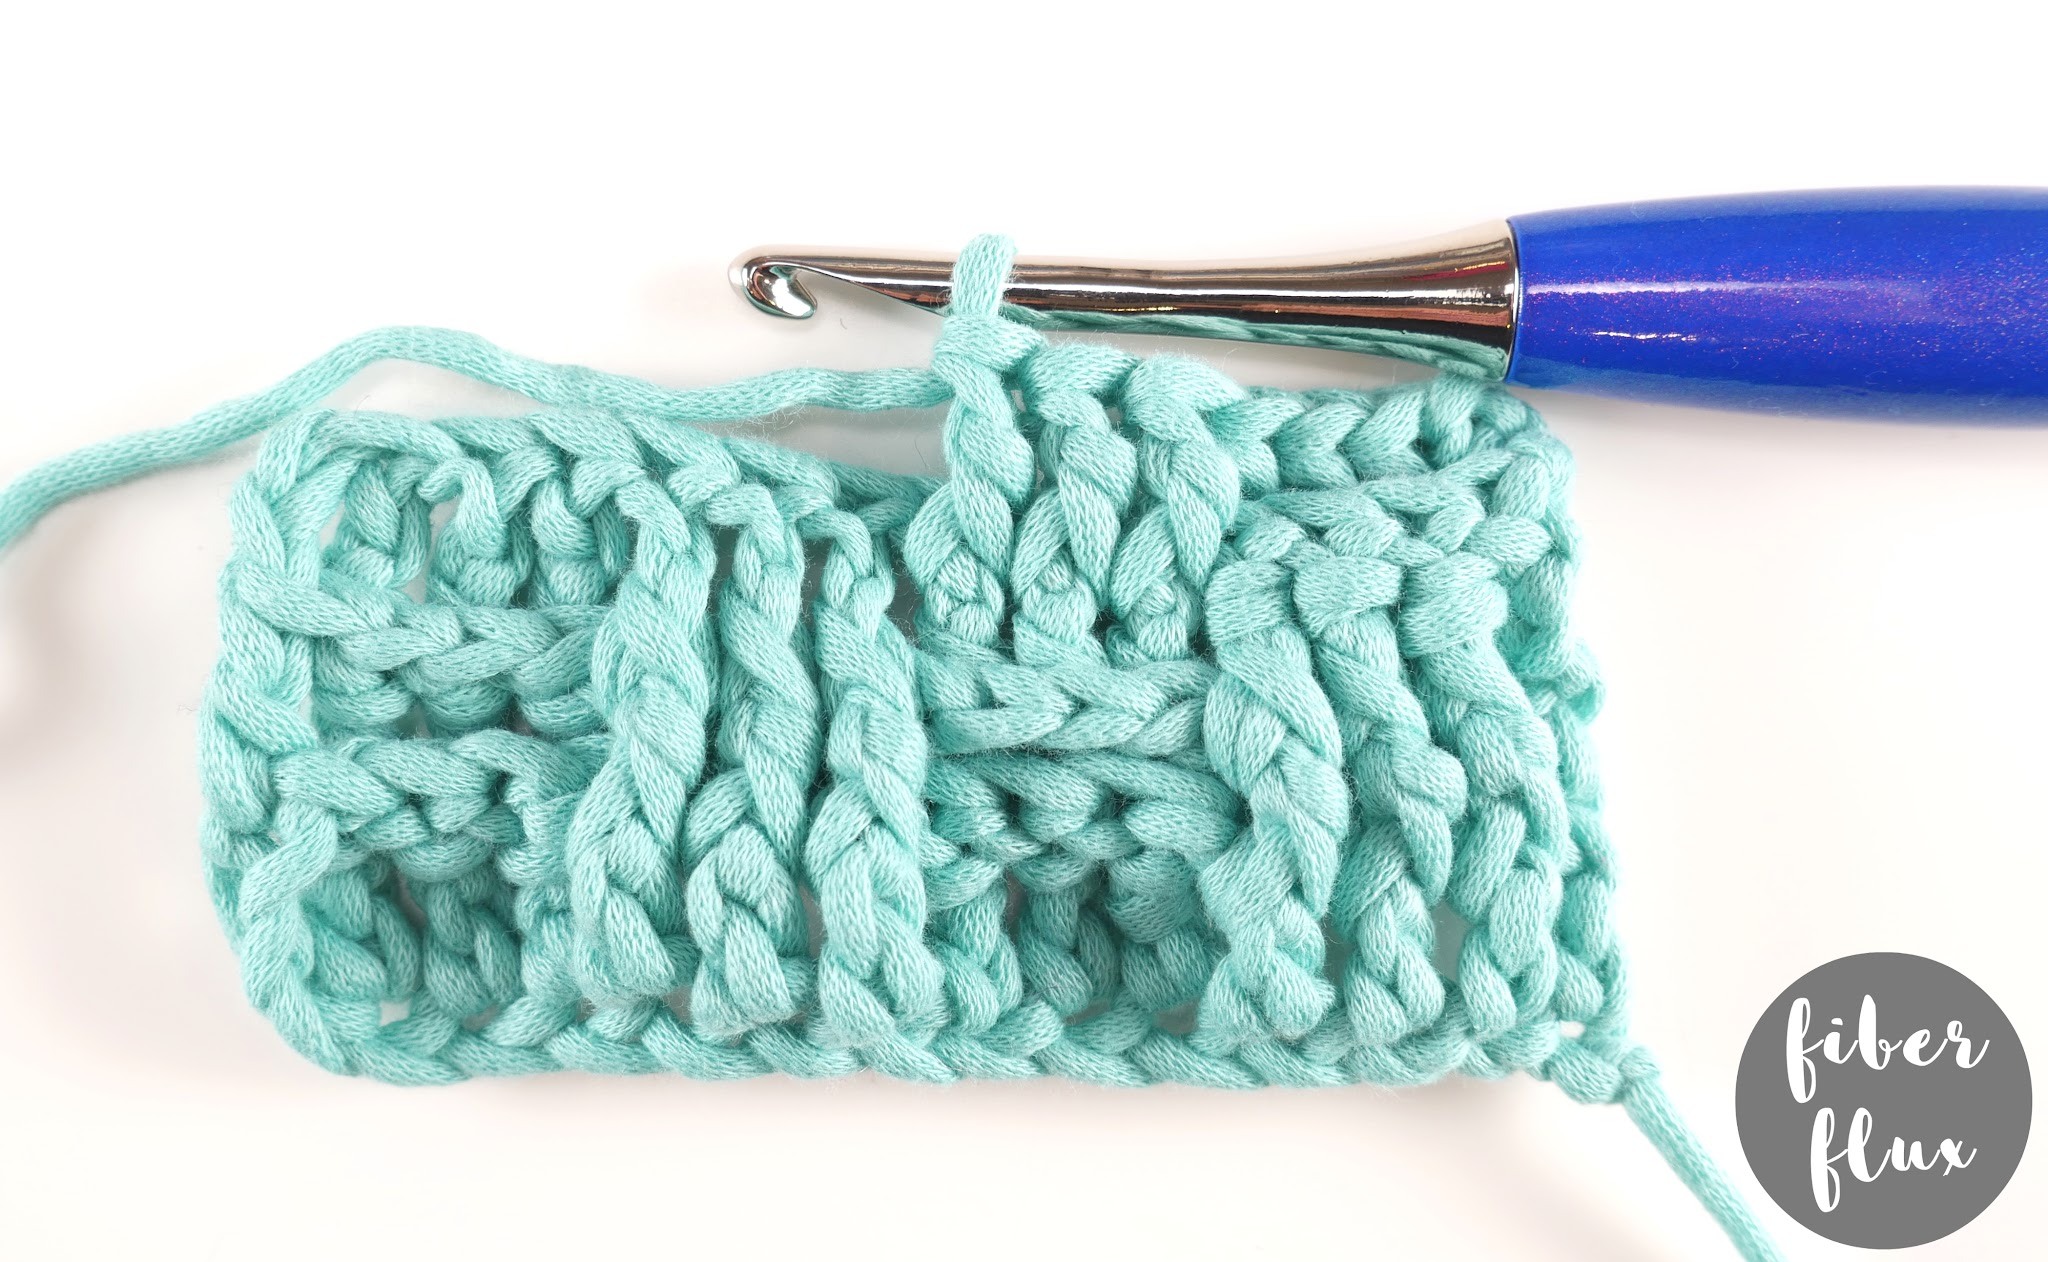
Next chain 2,
Then for row 5 repeat what you did for row 4,
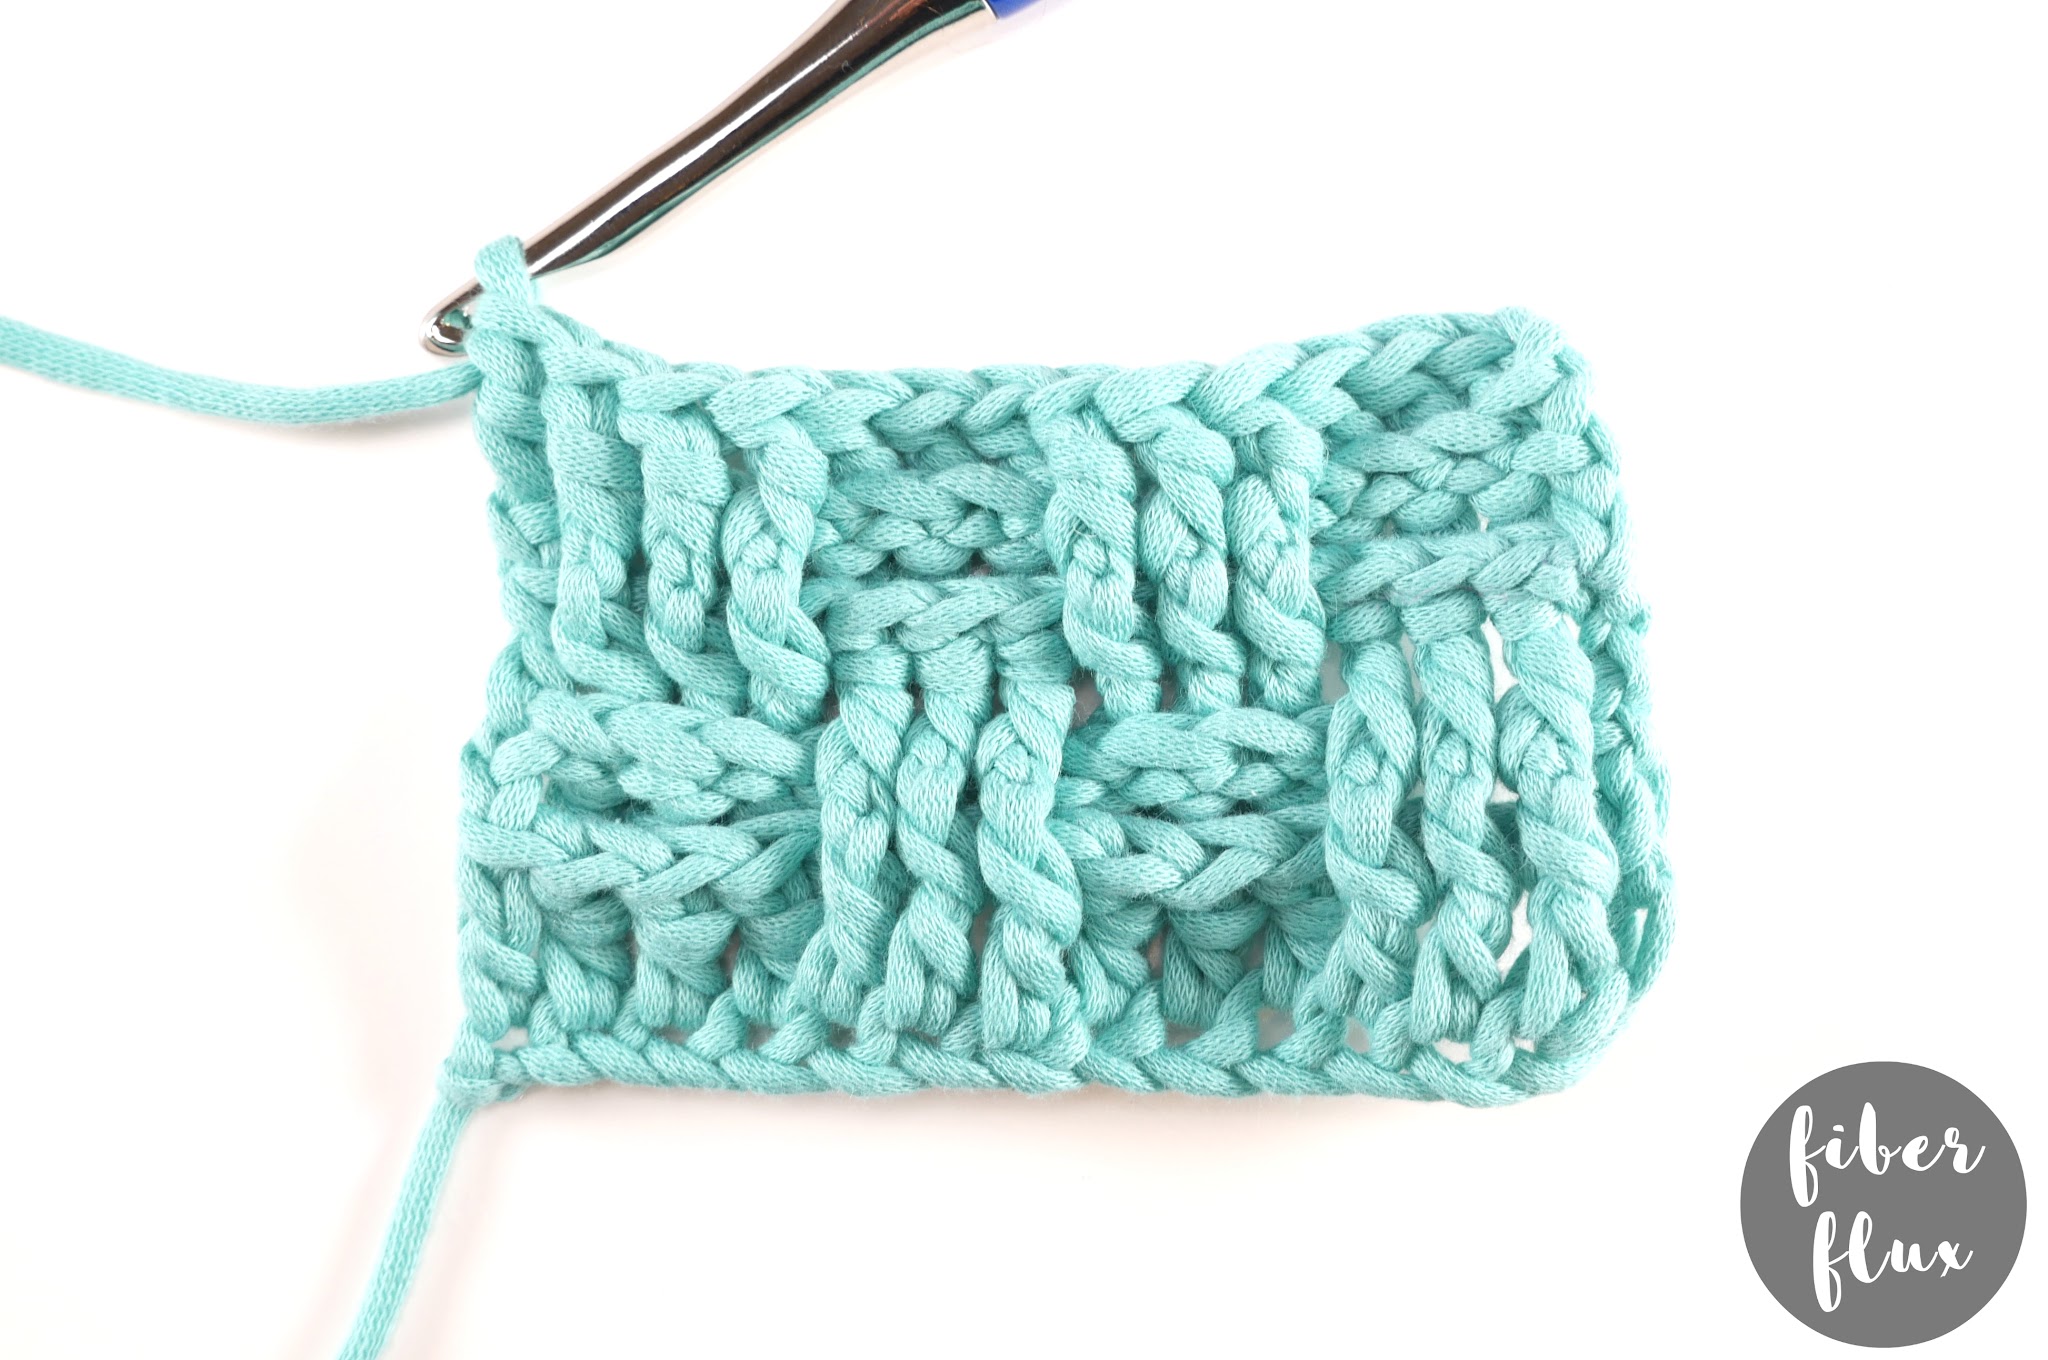
To continue, repeat rows 2-5 until it is as tall as you like! Happy crocheting!


© Fiber Flux LLC 2023