
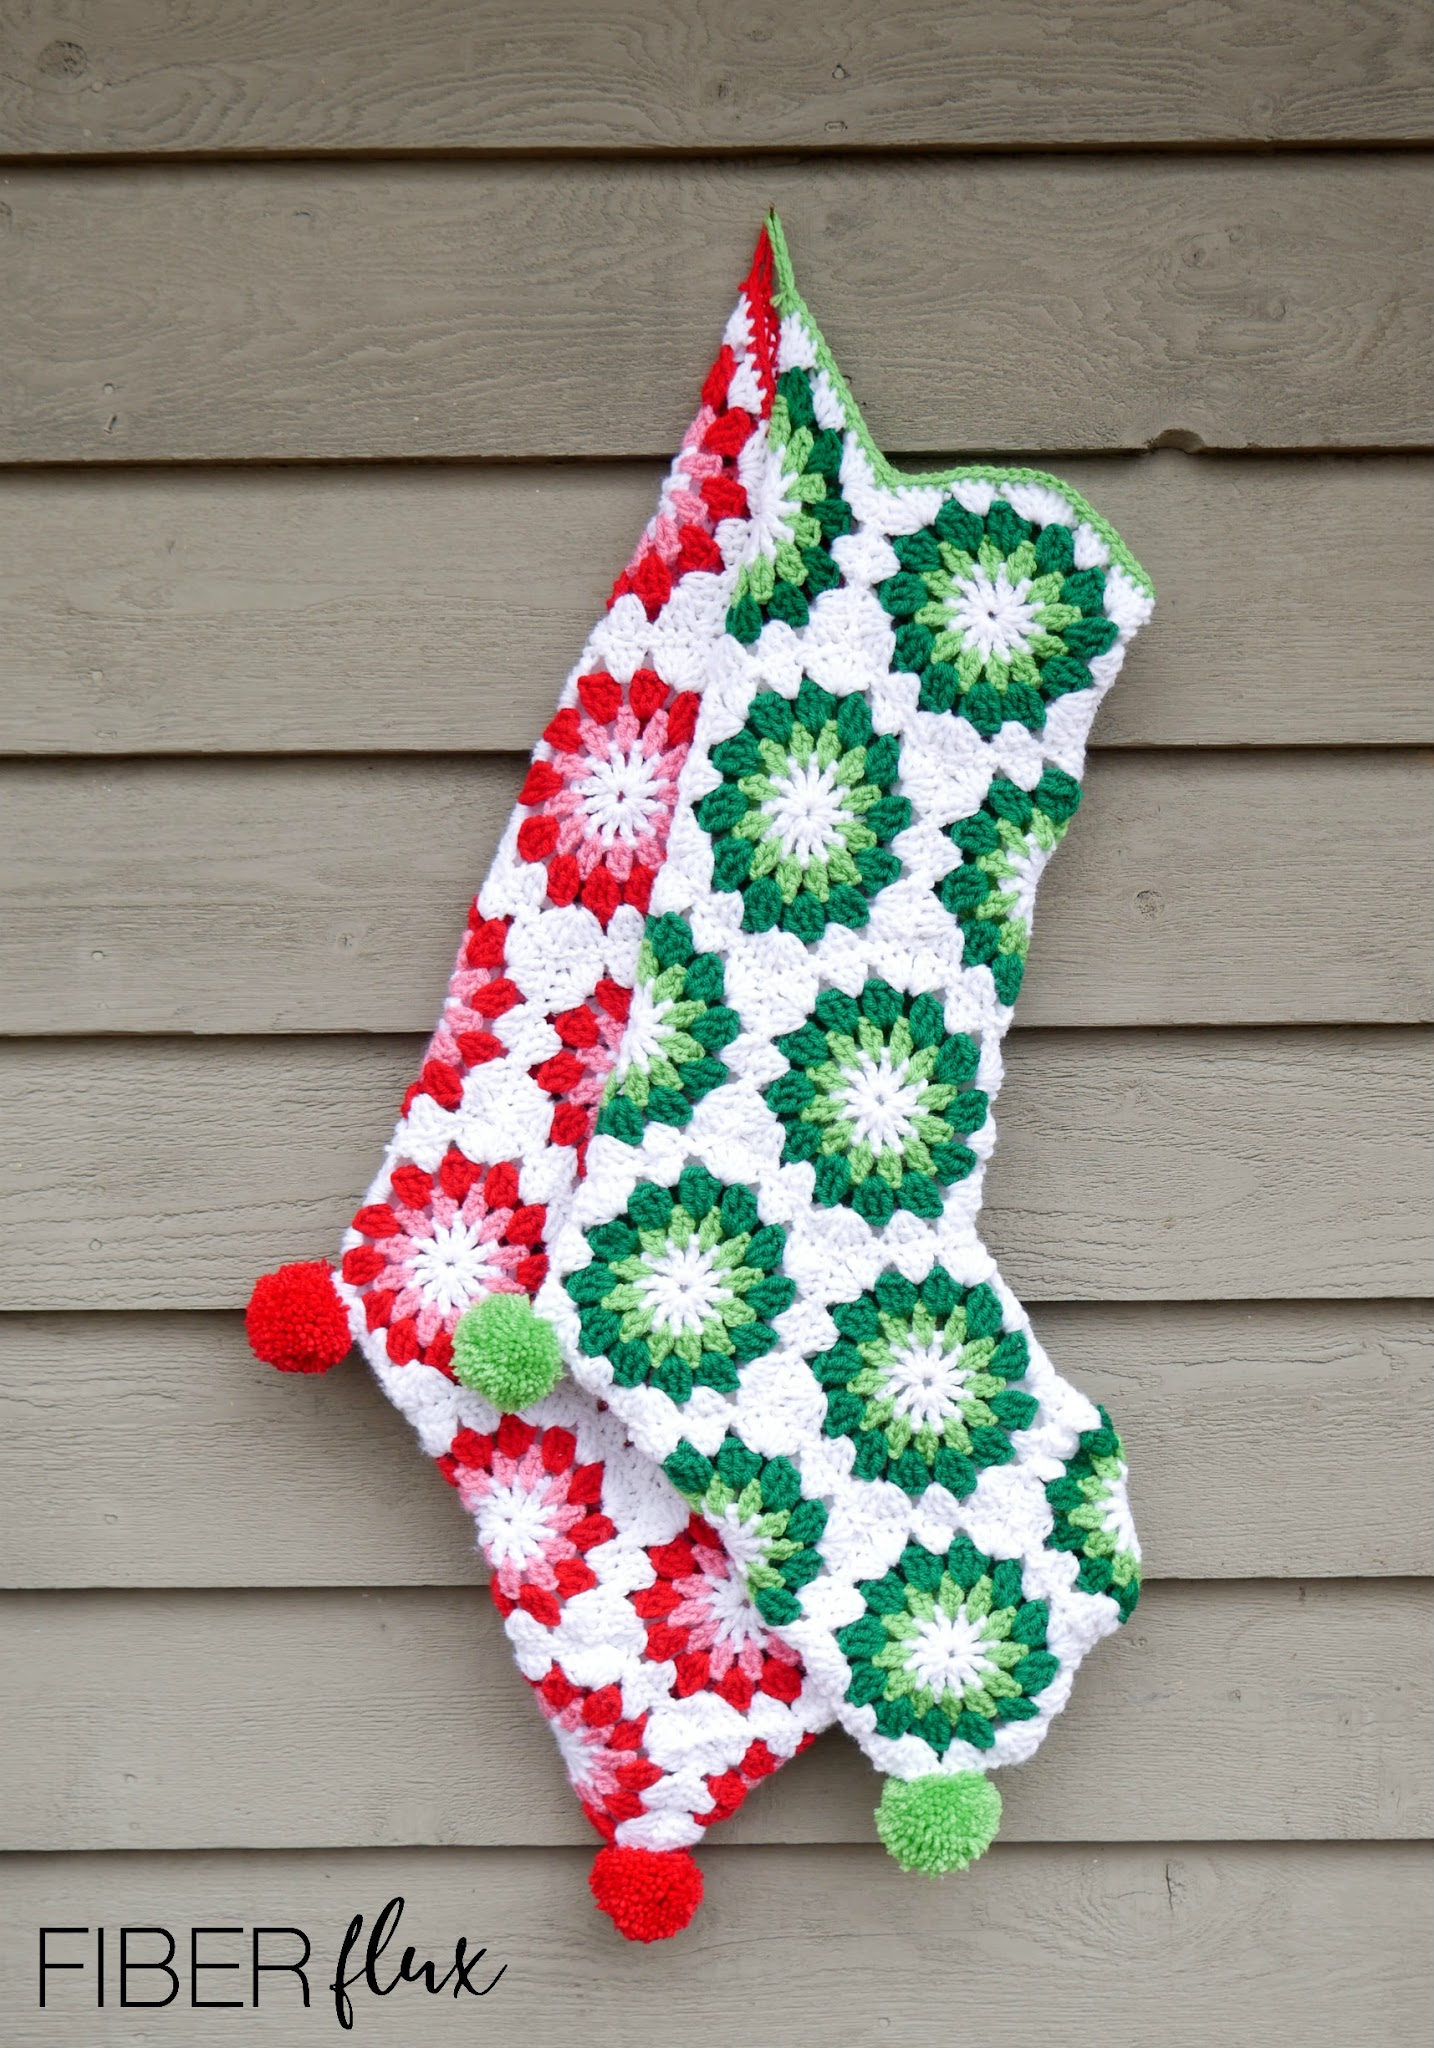
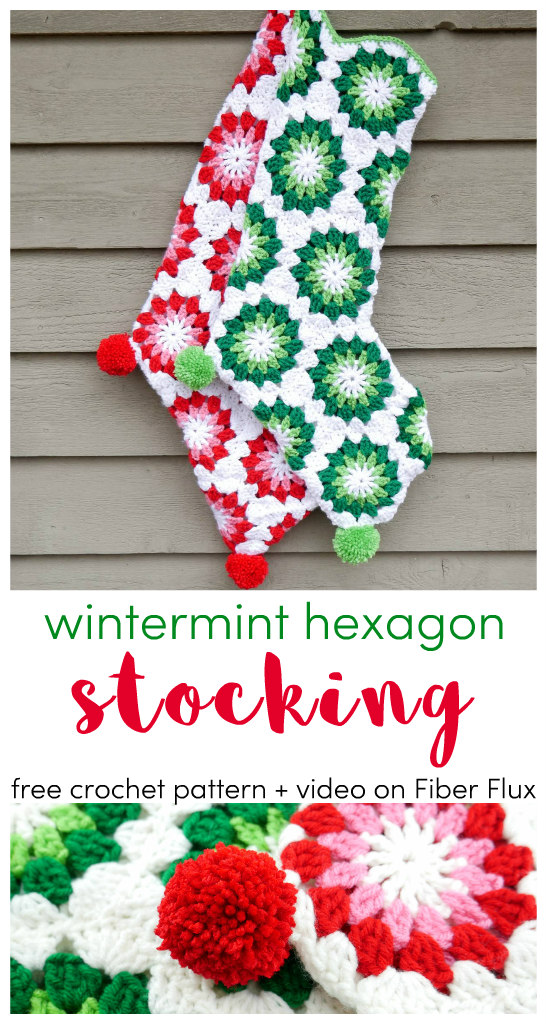
The Wintermint Crochet Hexagon Stocking is a lovely item to add to your holiday decor this season! Lovely granny hexagons in both a spearmint and peppermint color scheme give it a fun retro look too! This stocking is nice and big, so you can stuff it full of lots of treats!
👉Get the ad-free crochet pattern PDF from my shop here!👈
Watch a full video tutorial on how to make the Wintermint Crochet Hexagon Stocking:
Love video tutorials? Click here to subscribe to the Fiber Flux YouTube channel for more stitchy fun!
Materials:
- 6.0 mm J crochet hook
- Worsted weight yarn in color of your choice (I used Red Heart Super Saver in white, cherry red, perfect pink, spring green, and paddy green)
- Tapestry needle
- Scissors
- Tape measure
- Stitch marker or scrap piece of yarn
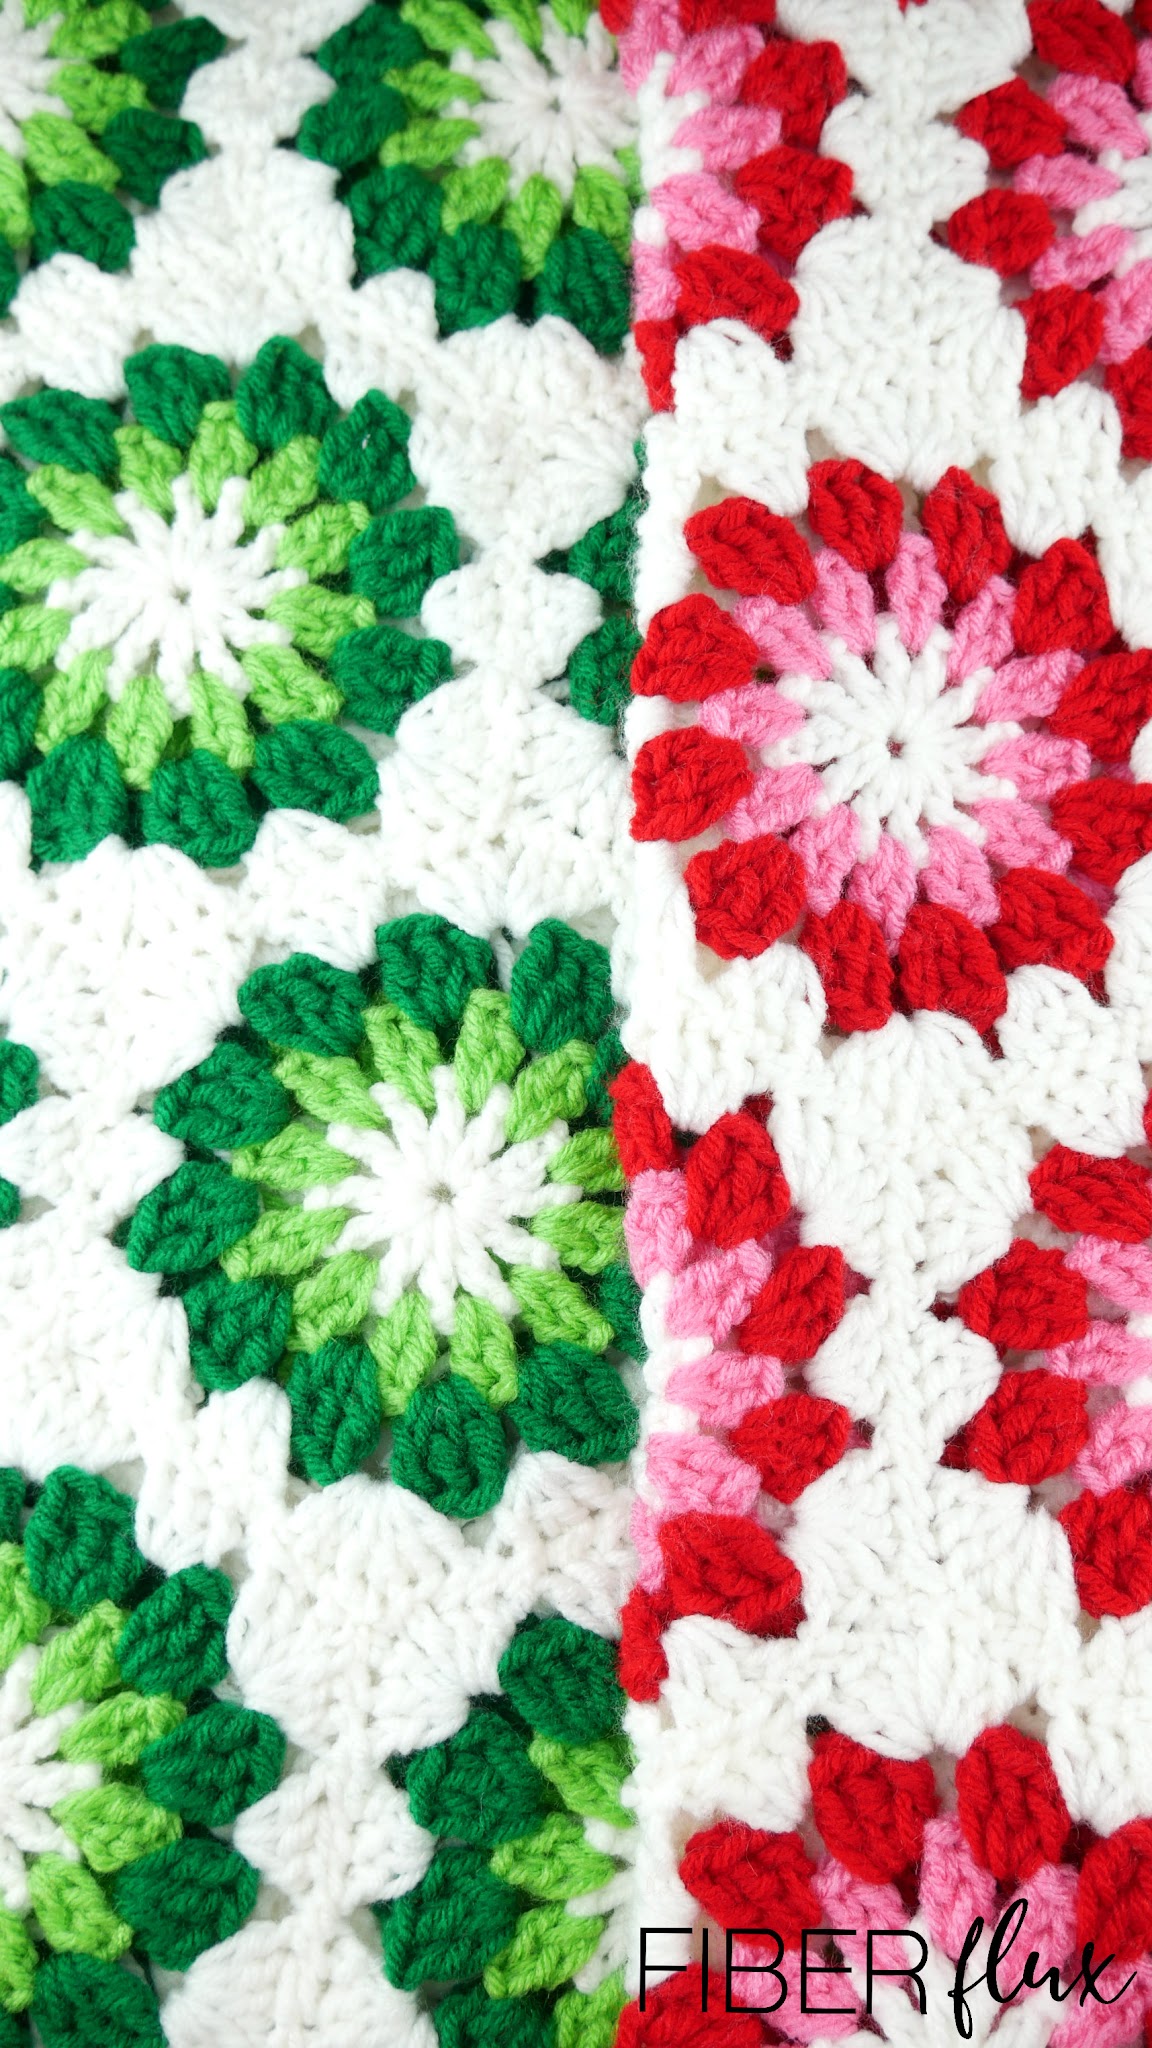
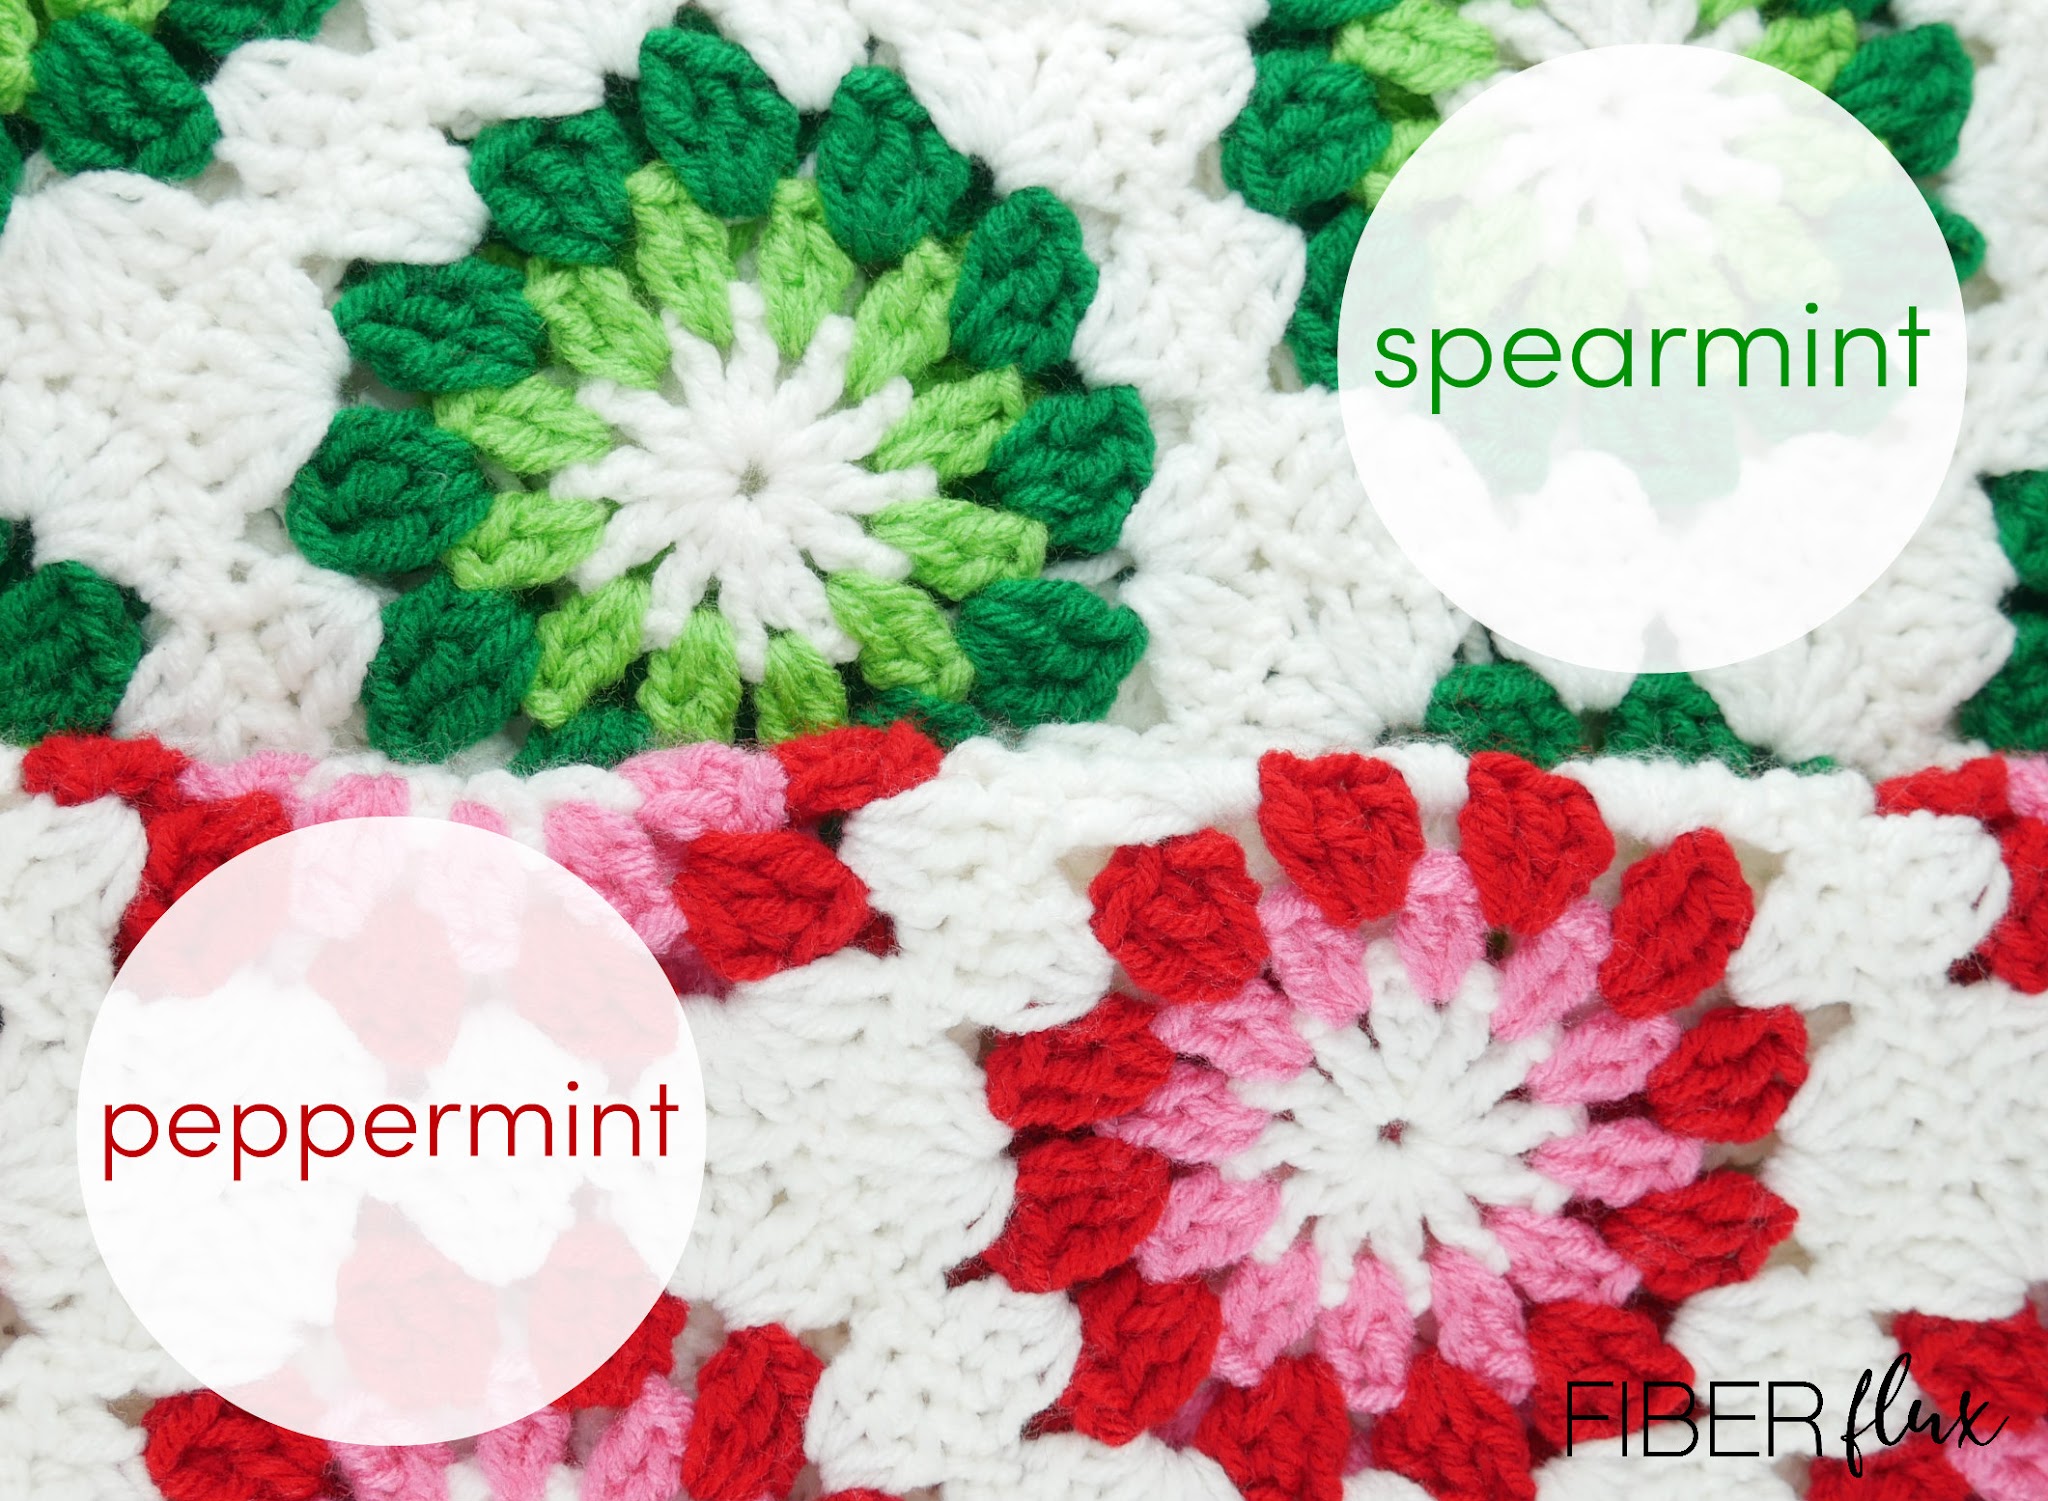
The stockings were made in two different color schemes, but you can get creative and do anything you like! I did round 1 of each hexagon in white, round 2 in the lighter color (pink/light green), round 3 in the darker color (red/dark green) and round 4 in white.
- “Peppermint” made in white, pink, red
- “Spearmint” made in white, light green, dark green
Finished Sizing:
- 8 inches wide
- 20 inches from heel to top
- 31 inches from toe up
- 15 inches along bottom part
Instructions for granny hexagons (make 17):
Chain 4 and join into a ring with a slip stitch.
Round 1: Chain 4 (counts as a dc), then work (a dc into center of ring, chain 1) 11 times. Join to close with a slip stitch.
Note: If you want to make round 2 in the same color, simply slip stitch until you reach a ch 1 space and keep going. If you want to switch colors…cut yarn and join the new yarn at one of the ch 1 spaces and tie securely.
Round 2: Chain 3 and work a dc in the same space. Chain 1, then work two double crochet in the next (chain 1) space. Keep doing this all the way around, working 2 dc in each space, then a chain 1. Join to close with a slip stitch.
Round 3: Chain 3, then work 2 dc in the same space, then chain 1. In the next space, work three dc, then chain 1. Keep doing this all the way around the circle…3 dc, then a chain 1 in each space. Join with a slip stitch to close.
Round 4 (circle becomes hexagon in this round): Chain 4, and in the first space work 2 dc, chain 1, then 3 dc all in the same space. This creates the first hexagon corner. In the next space, to work the hexagon side, chain 1, then work 3 dc in next space. Keep going in this manner, working a corner of two “clusters” and a side of 1 cluster (each cluster being separated by a chain 1). Join with a slip stitch to close the round.
Repeat for a total of 17 hexagons.
Assembly and Finishing:
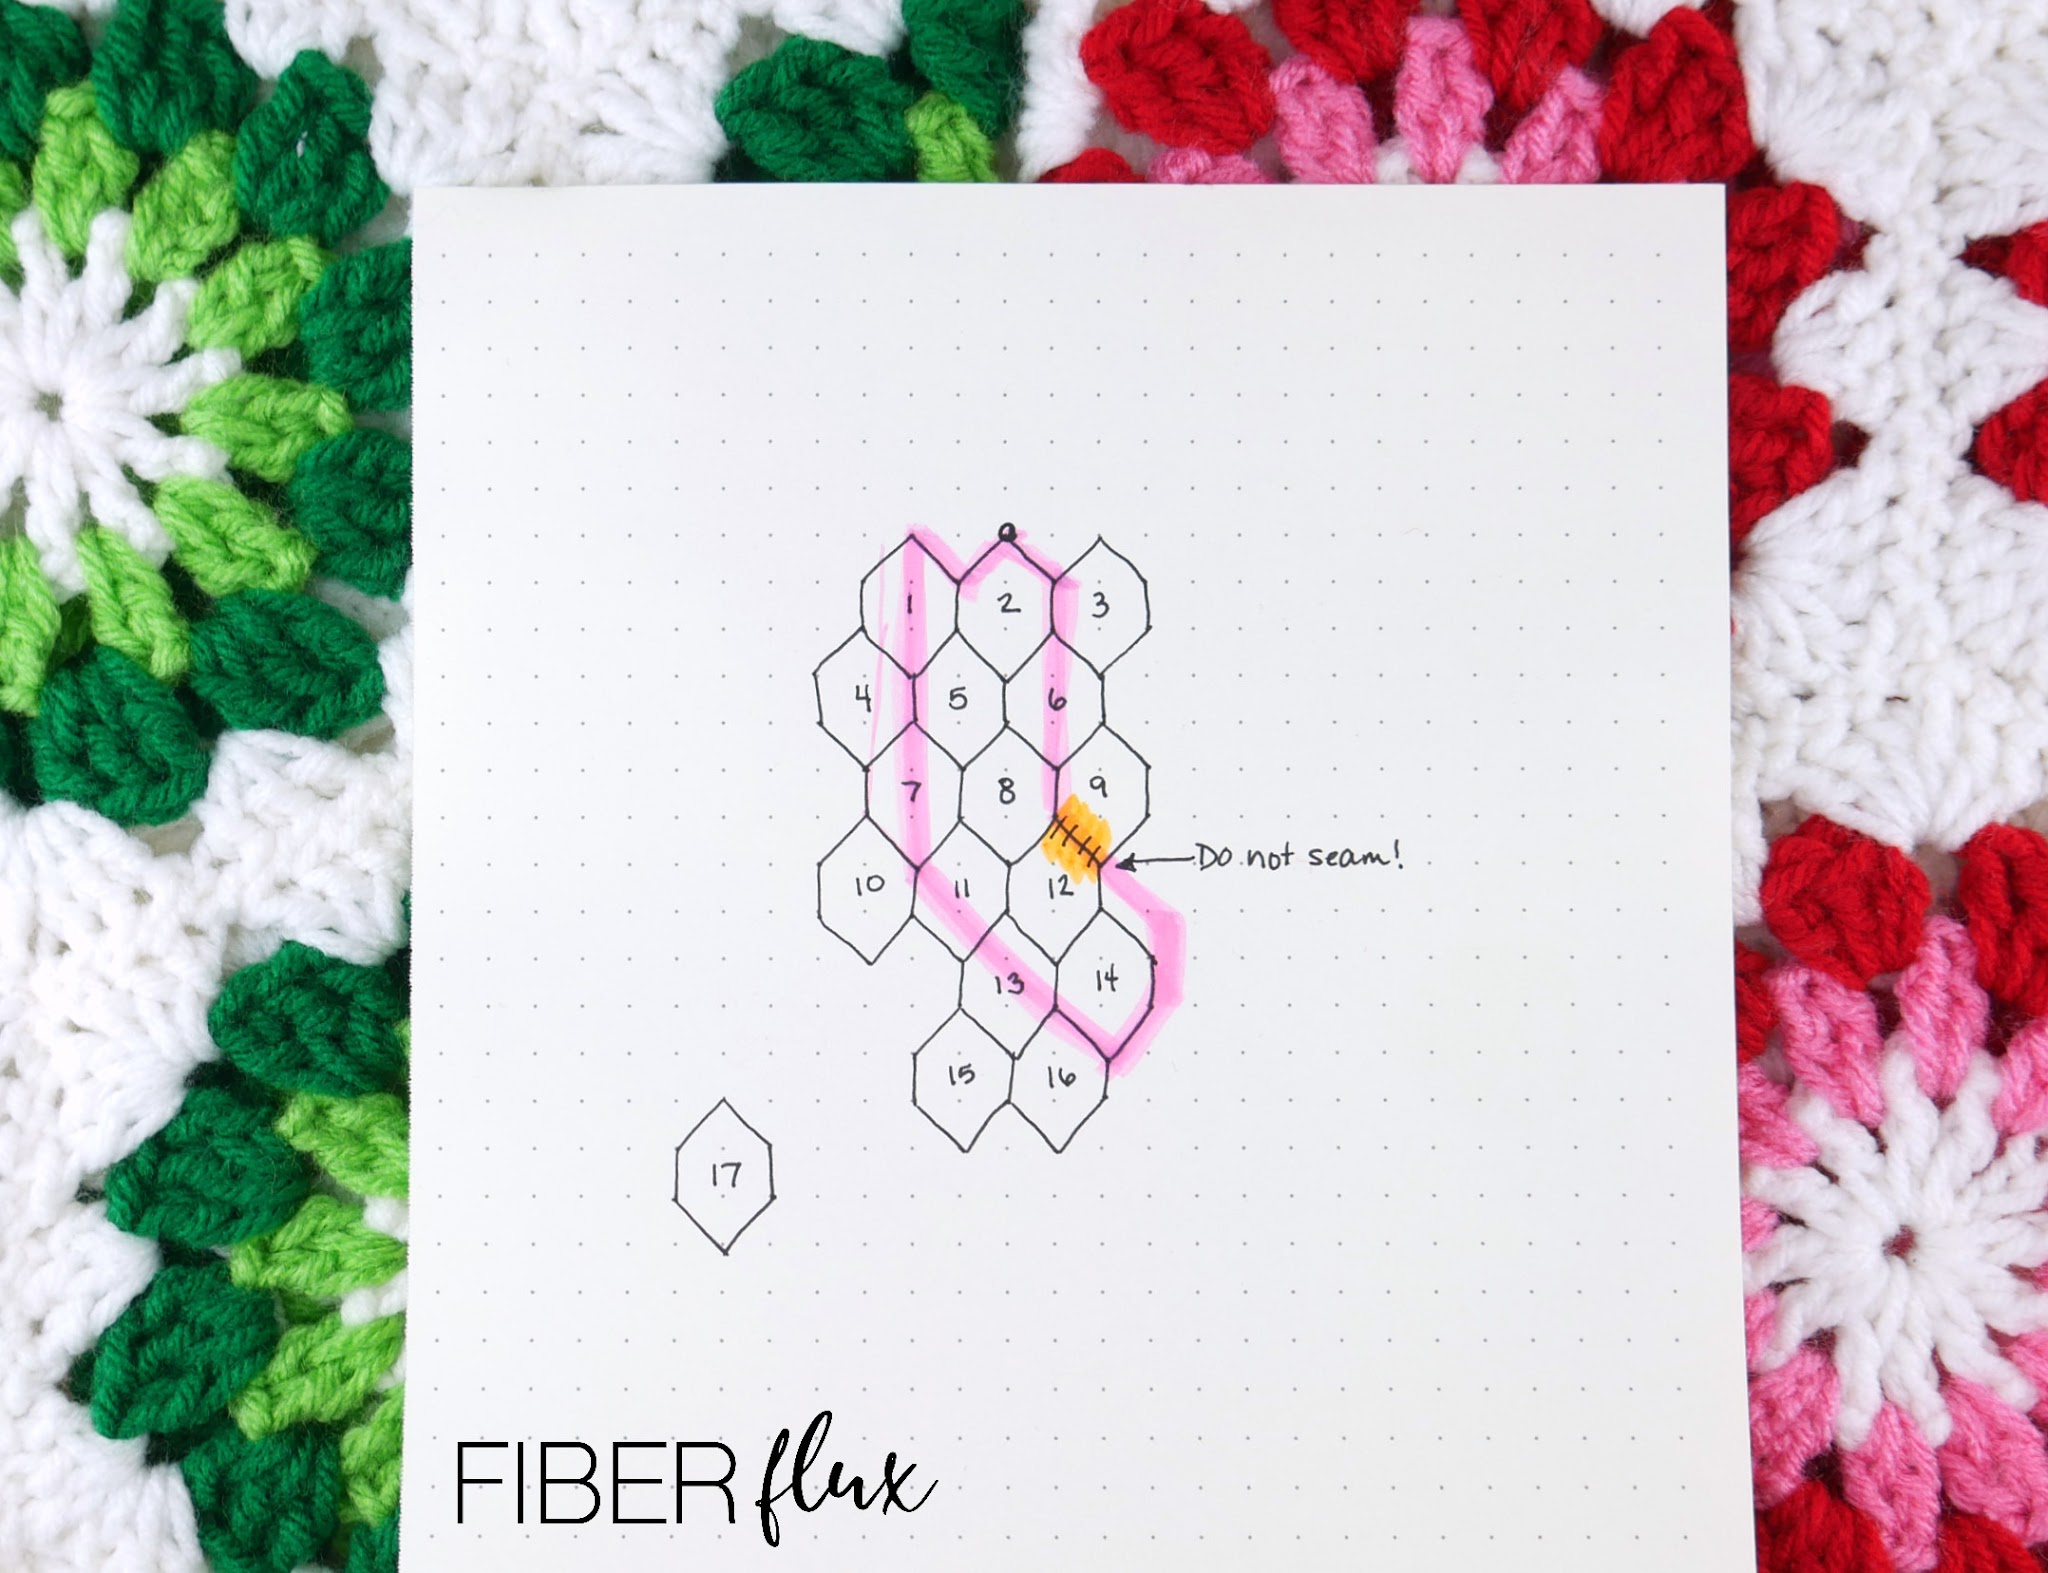
- Above is a diagram of the hexagon placement for seaming. You’ll need 17 hexagons total.
- Note that the areas inside the pink outline are the front of the stocking. Areas outside of the pink outline are folded to the back of the stocking and seamed.
- Using the chart above, seam hexagons together as shown. Note the orange area where you do not seam that area and hexagon #17 which does not get seamed yet.
- Be sure all hexagons are facing outward (side that faced you as you made each one) and none are flipped over.
- Place a stitch marker or scrap yarn bow at the top to mark the top of your project as you start to piece them together. This helps tremendously as the projects is moved all around as you seam everything together.
- When everything is seamed flat, fold as indicated on the chart…everything outside of the pink lines will be folded back and seamed.
- Seam together where you folded everything. It helps quite a bit to lay everything on a flat work surface while you do this.
- Once it’s all seamed up, fold hexagon #17 in half from point to point and add it to the top of the foot right above the toe. There will be sort of a stair step looking area where you need to add it to the top of the foot.
- When you’re done seaming, weave in all ends and move to the next section to add the finishing touches!
Top Edge + Hanging Loop:
- Locate the back top point of the stocking (where a hanging loop would be–see pics for finished stocking for reference) and tie yarn into that space.
- Work a sc into the same space, then work a sc into each stitch and space all around the top edge.
- When the
- Chain 8 (for a larger loop, work more chains)
- Then go back down into that first sc worked and work a slip stitch.
- Fasten off and weave in ends.
Fasten off and weave in any ends that remain.
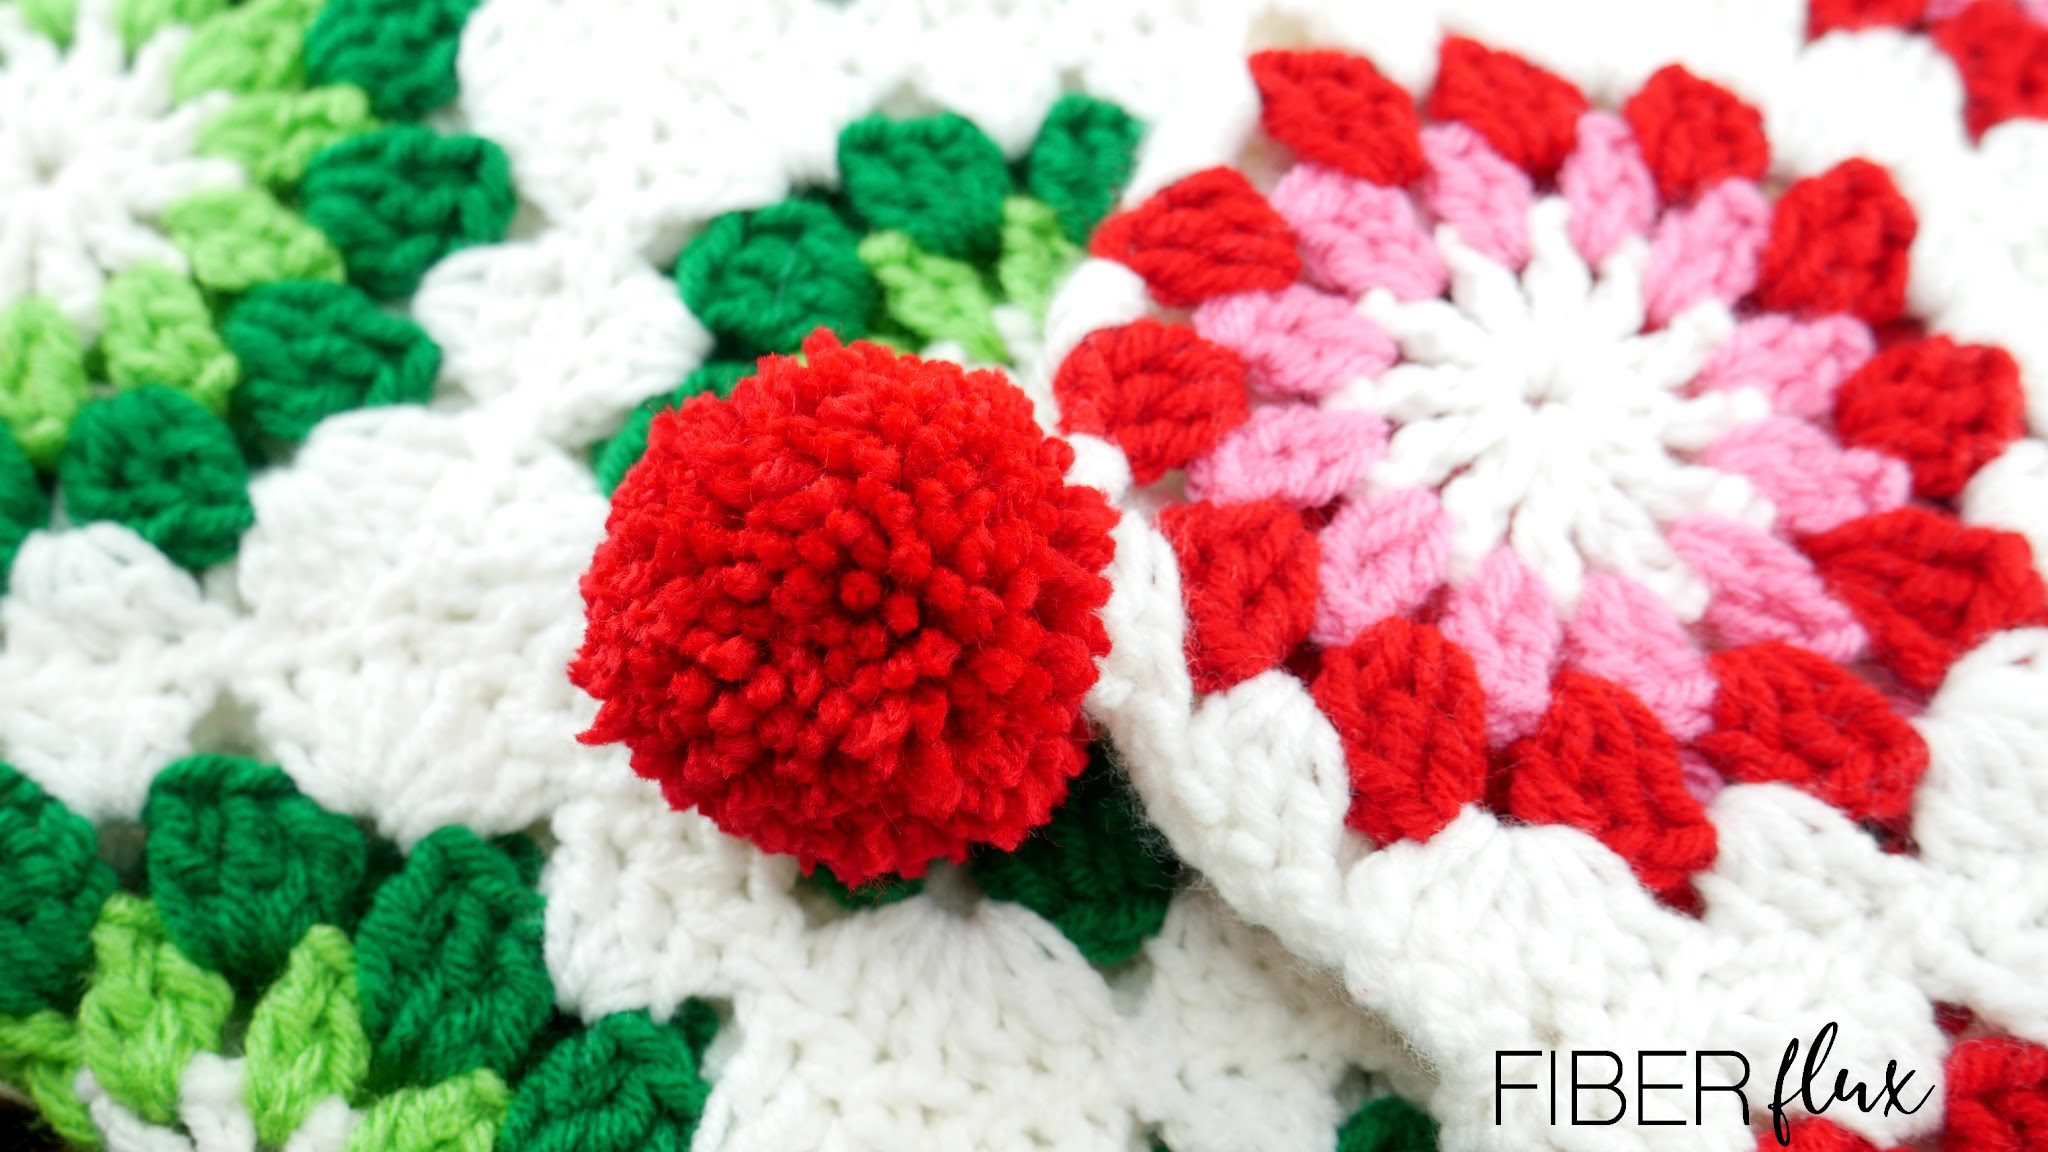
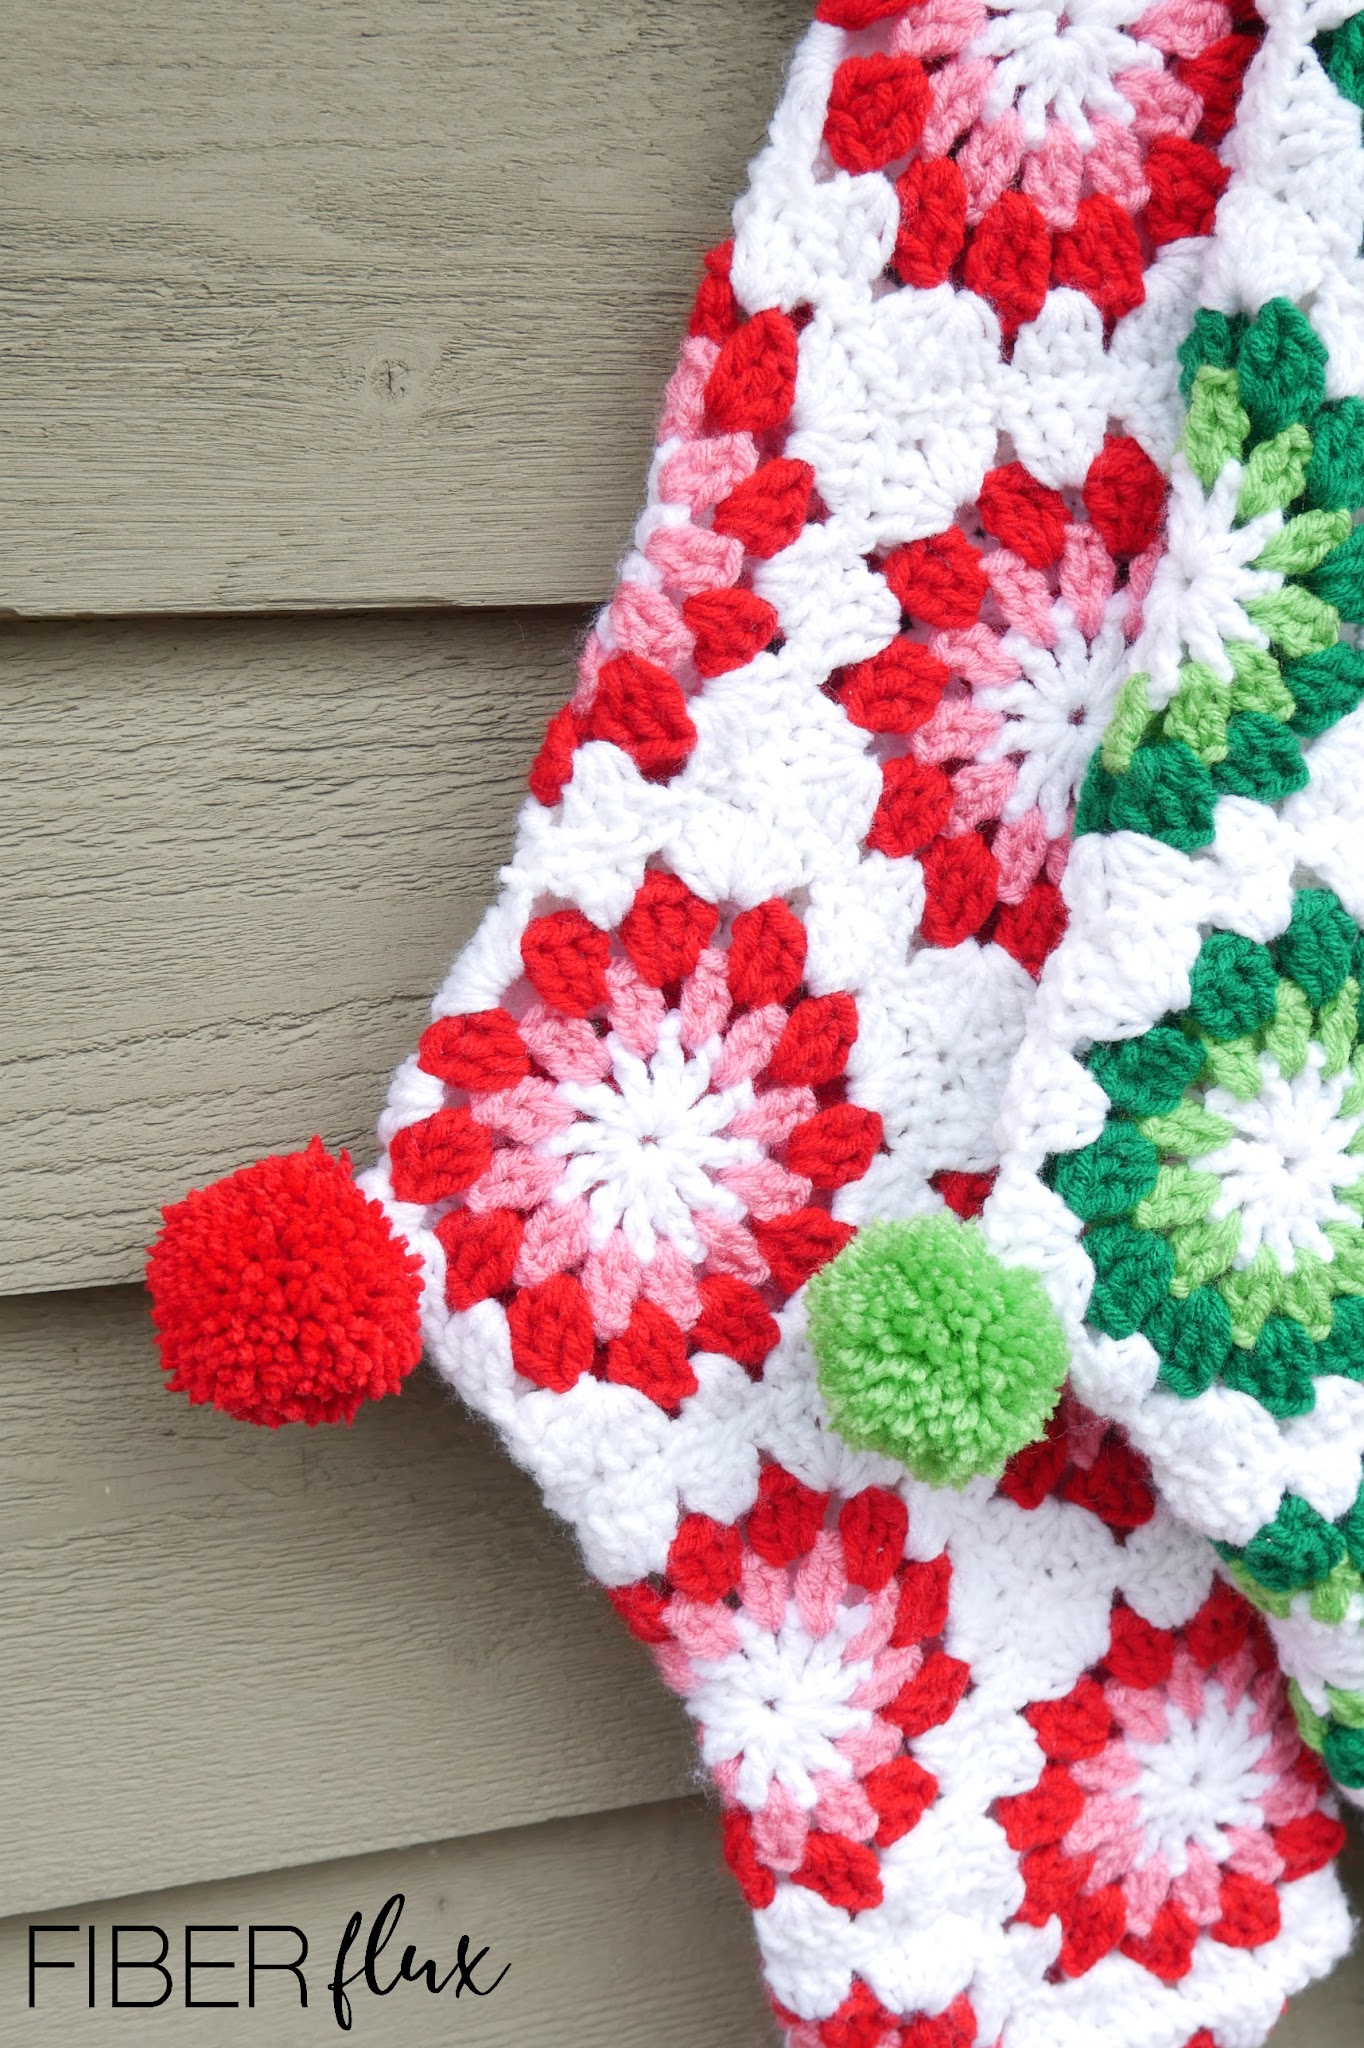
Pom Poms:
If you’d like to add pom poms at the heel and toe like I did, cut two pieces of yarn each about 12 inches long and set aside. Wrap the same color yarn around all four fingers about 100 times. Carefully slip the yarn bundle off of your fingers and tie around the middle of the bundle. Using the second piece of yarn, tie it around the top part of the bundle. Trim all loops, then trim until pom pom looks uniform and has a dense fluffy look. Tie onto the stocking and weave ends. Your Wintermint Crochet Hexagon Stocking is ready to hang!


I love these two stockings. They're beautiful!
I love the colours and I've started to make one for my daughter. We can't get together this year at Christmas because of Covid, so this will be a colourful way of giving her presents this year! Your video tutorials are always very helpful! Thank you!