
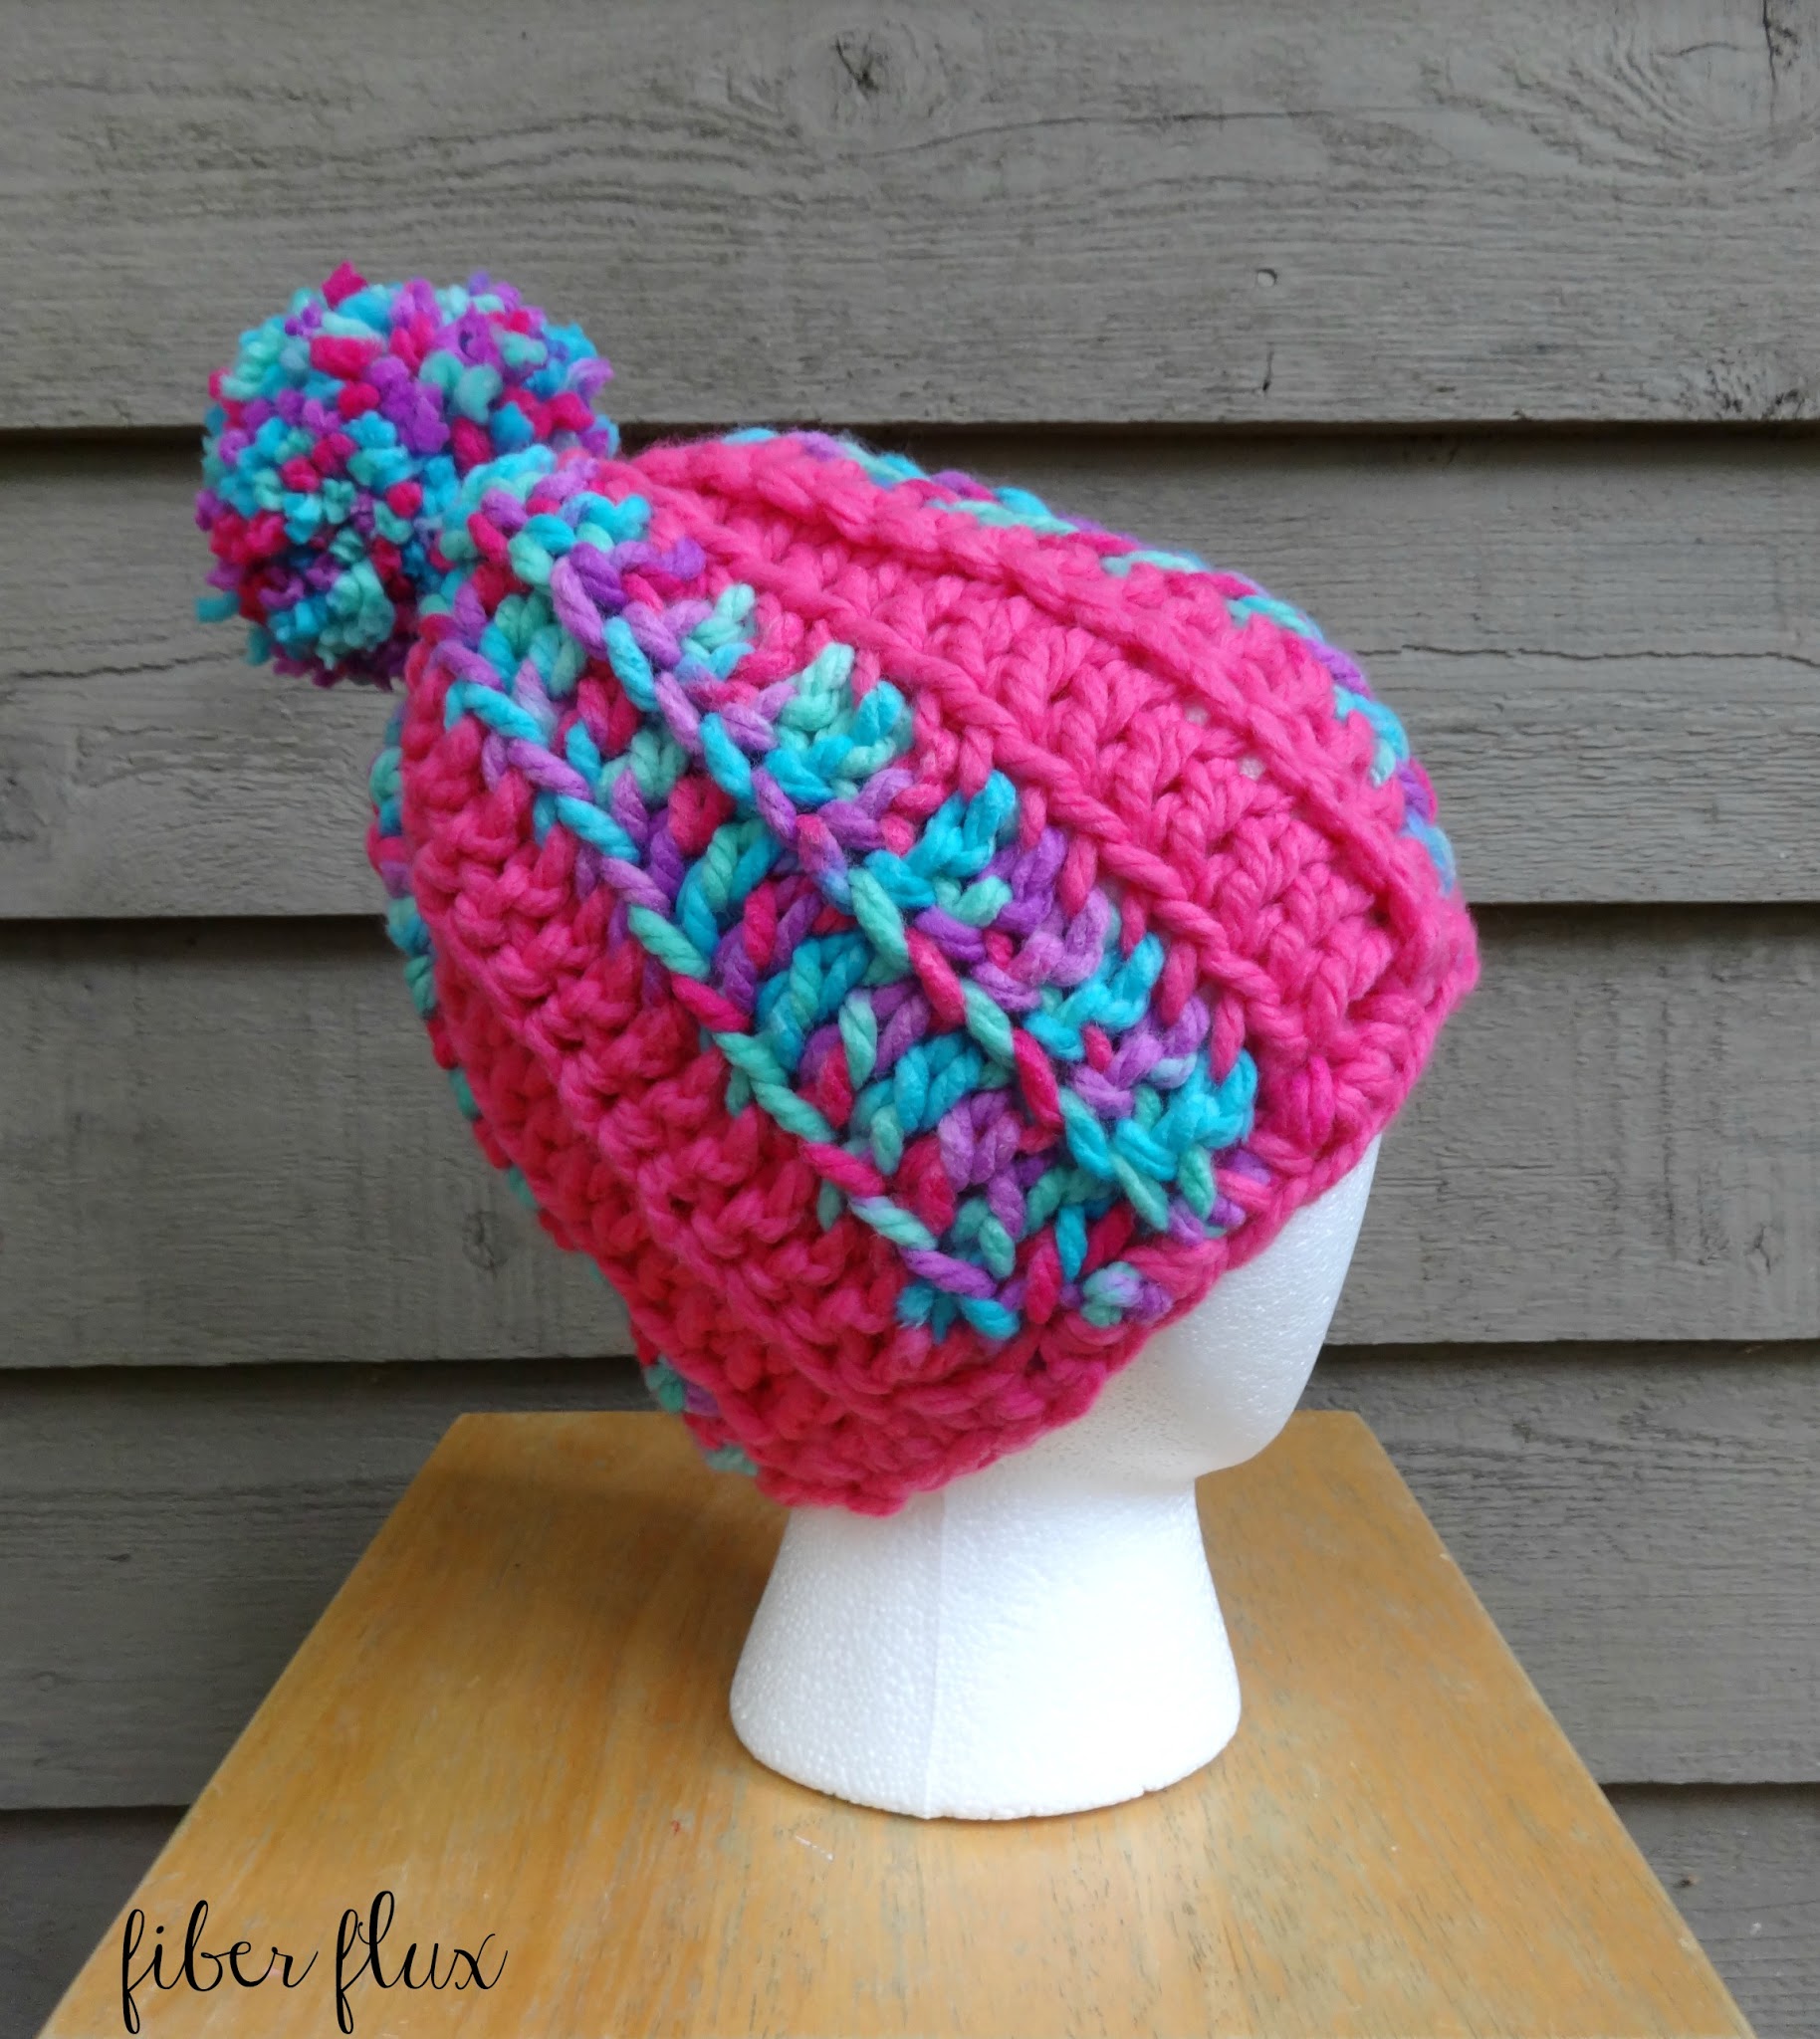
The All About Fun Crochet Hat is cozy, lofty, and very colorful…perfect for kids! Mixing it up with chunky super bulky yarn, it makes for a fun and lightning fast project too. This is a super warm hat for kids and would make a fantastic charity hat as well!
Watch a full video tutorial on how to make the All About Fun Crochet Hat:
Materials:
- 2 Skeins of Mixology by Red Heart “Party” Prints and “Pink” Solids used for the hat in the photo (note: you can use any super bulky yarn for this project, just look for one that recommends a 9 mm crochet hook.
- 9 mm Crochet hook
- Tapestry Needle
- Scissors
Sizing:
- 9 inches tall (can be cuffed if desired)
- 17 inch circumference
- Pom pom is 3.5 inches tall
Tutorial Links:
- Chain (ch)
- Slip Stitch (sl st)
- Double Crochet (dc)
- How To Crochet in the Back Loops Only (blo)
- How to Crochet into the Front Loops Only (flo)
- How To make A Pom Pom with Your Hands Only
Instructions:
Note: Hat is constructed as a rectangle, then seamed. The top is cinched by working a whip stitch across the top and pulling it closed.
For the sizing shown in the photo (see “sizing” section above, I made a starting chain of 20. This will determine the height of the hat. For best results measure the wearer’s head before beginning, both height and circumference.
Ch 20
Row 1: In the 3rd chain from the hook, work a dc. Work a dc in each ch across.
Row 2: Ch 3 and turn. Work a dc in the blo of each st. Work a dc into the top of the turning ch.
Row 3: Ch 3 and turn. Work a dc in the flo of each st. Work a dc into the top of the turning ch.
Repeat rows 2 and 3 until desired hat circumference.
Finishing, Assembly & Pompom:
Seam edges together with a slip stitch seam to create a tube. Be sure that the outside (where the ribs are showing) in are facing inward when working the seam. To create a matching rib as the rest of the hat, work into the back loop only (blo) on one of the layers, Fasten off and weave in and ends.
After tube is created, add a simple edge to the bottom of the hat. Begin by tying yarn into any stitch. Ch 1, then work a sc into each stitch/space along the edge. Fasten off and weave in ends.
To make the “cinch” at the top (crown) of hat, turn the hat inside out and cut a matching piece of yarn and loosely whip stitch the top. Pull ends in the scrunch it together to make the cinched top. Tie the two ends of yarn tightly together with a secure knot to close. Weave in any ends.
Add a pom pom to the top of hat (if you need help, check out this tutorial…no fancy tools needed!)
Weave in any ends that remain and you’re finished!


