
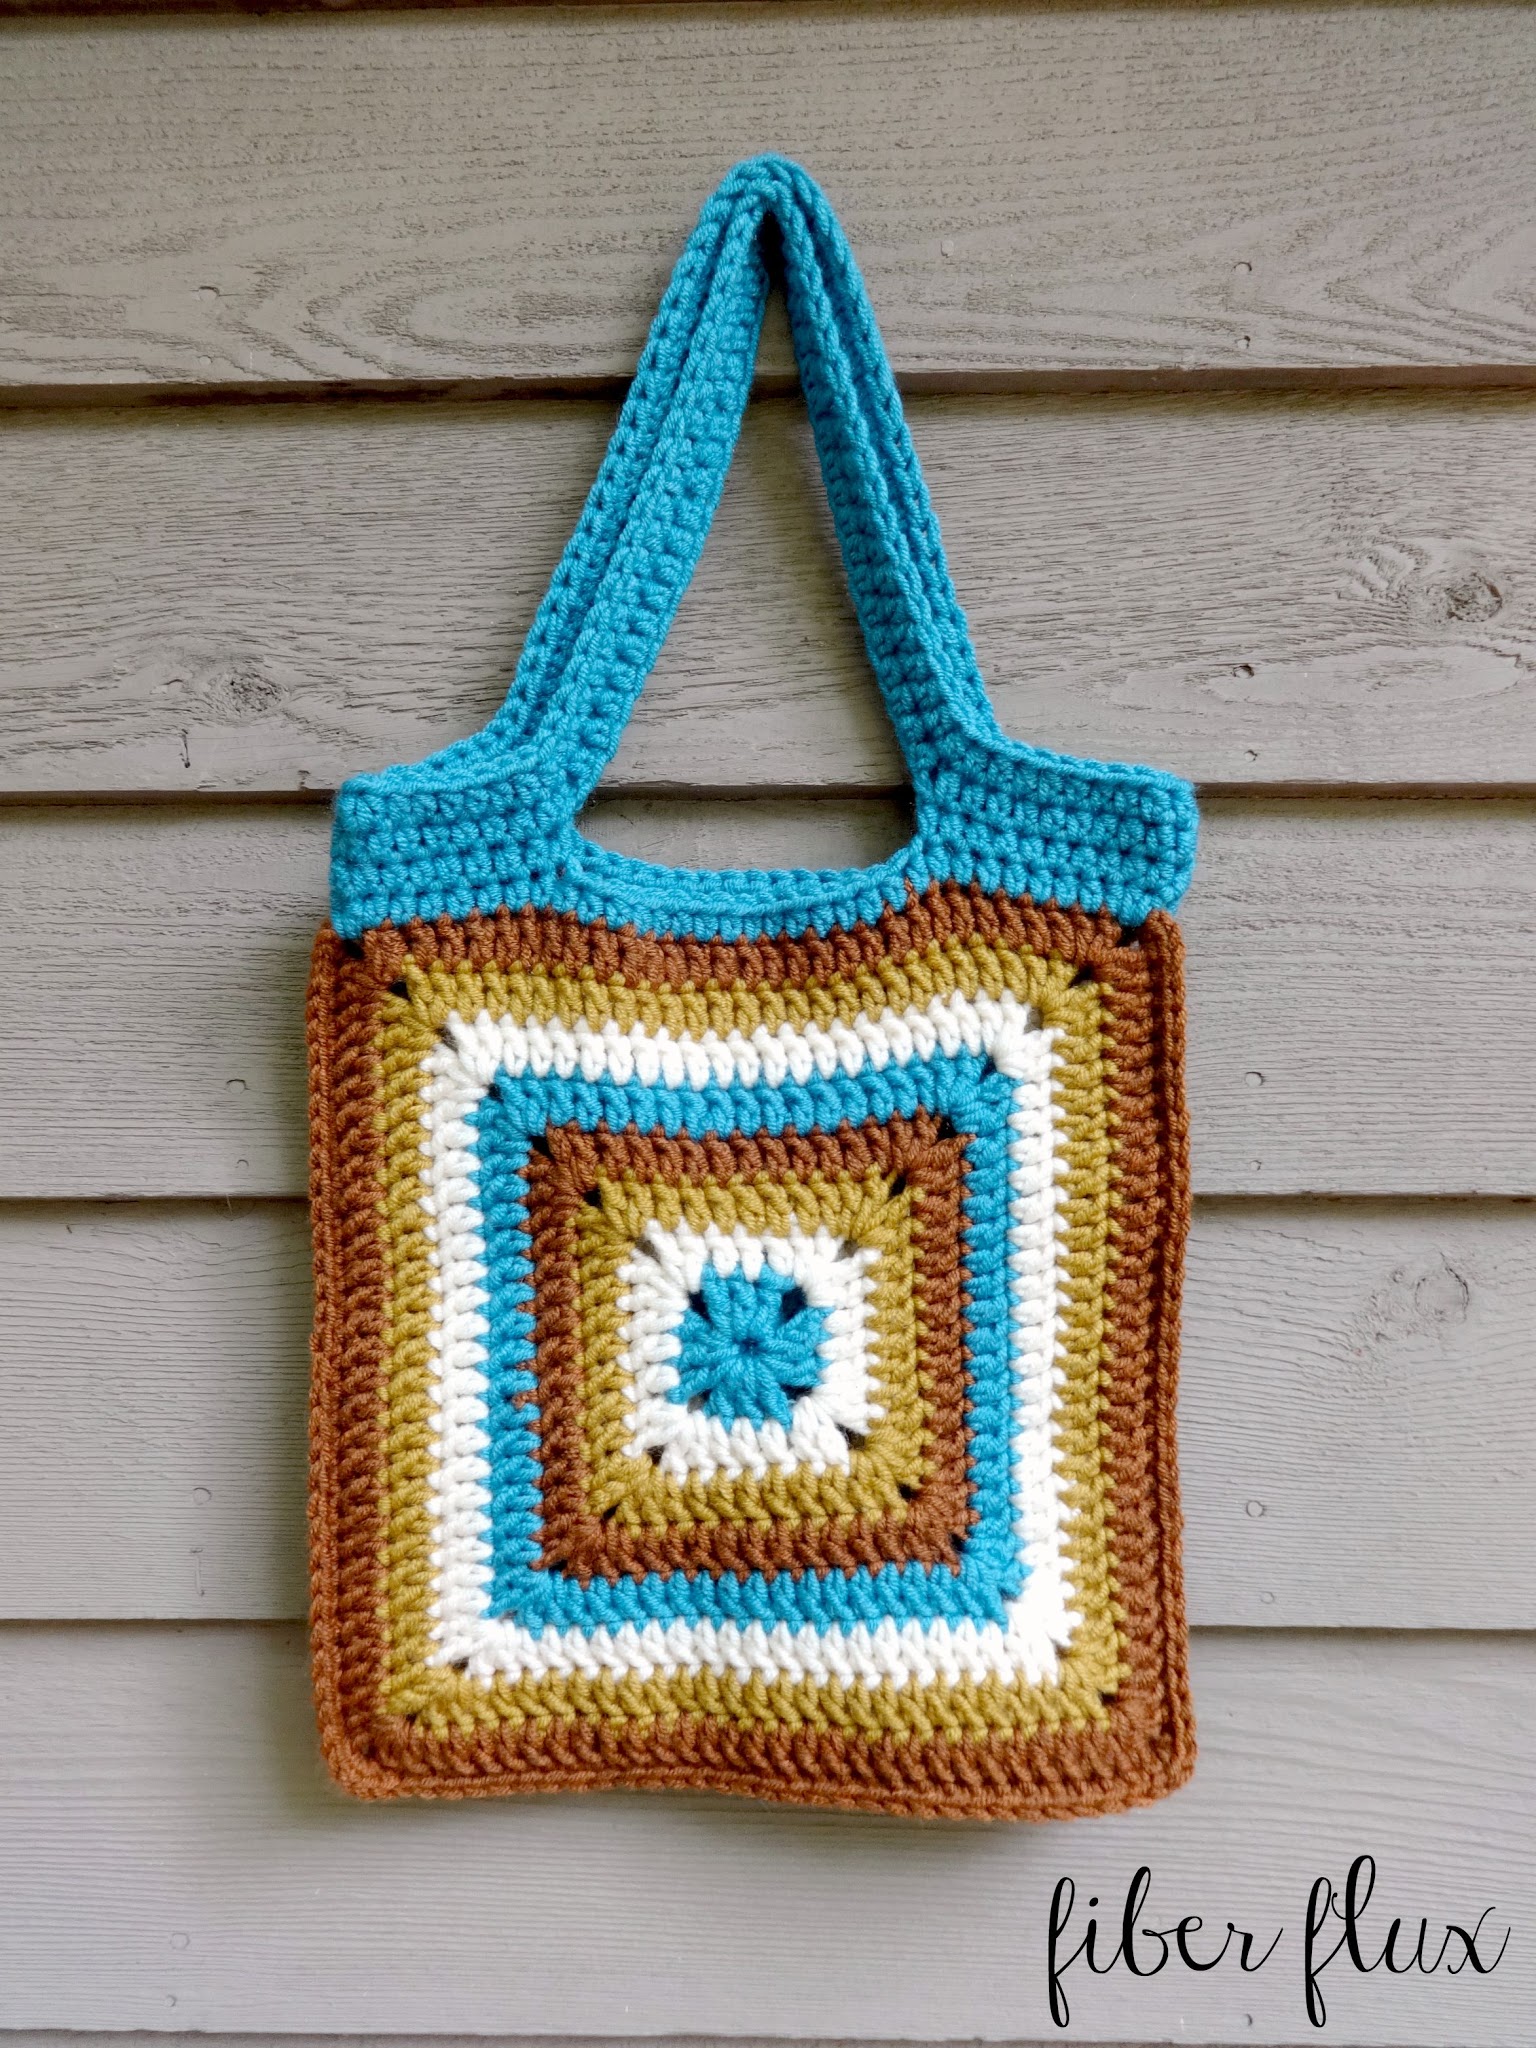
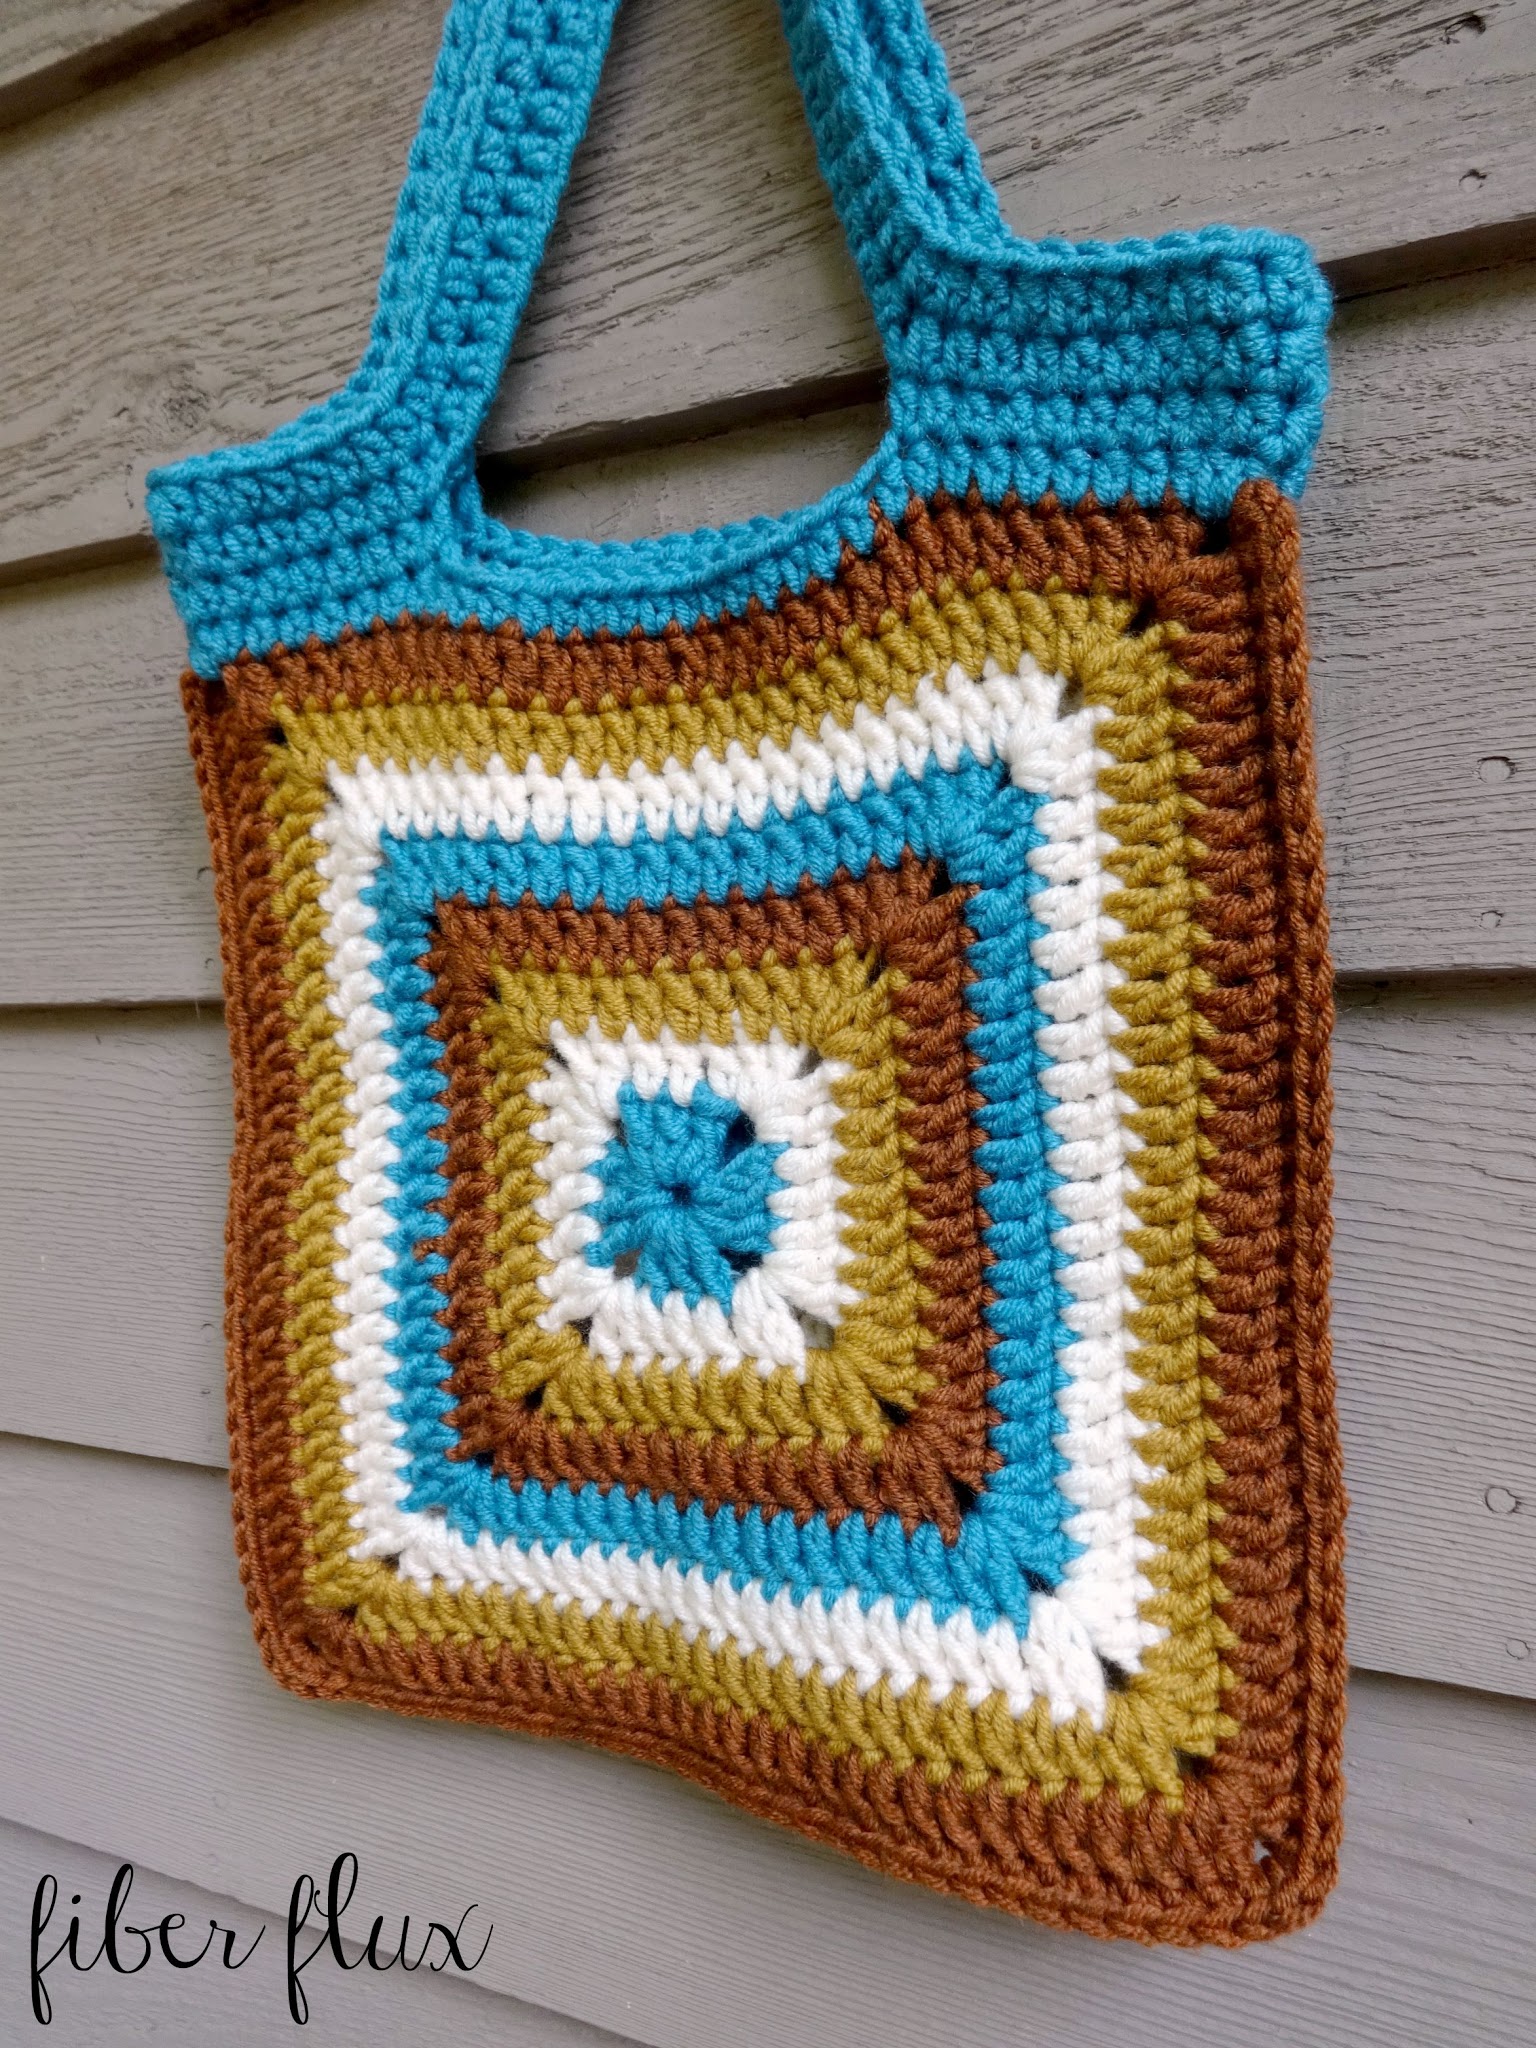
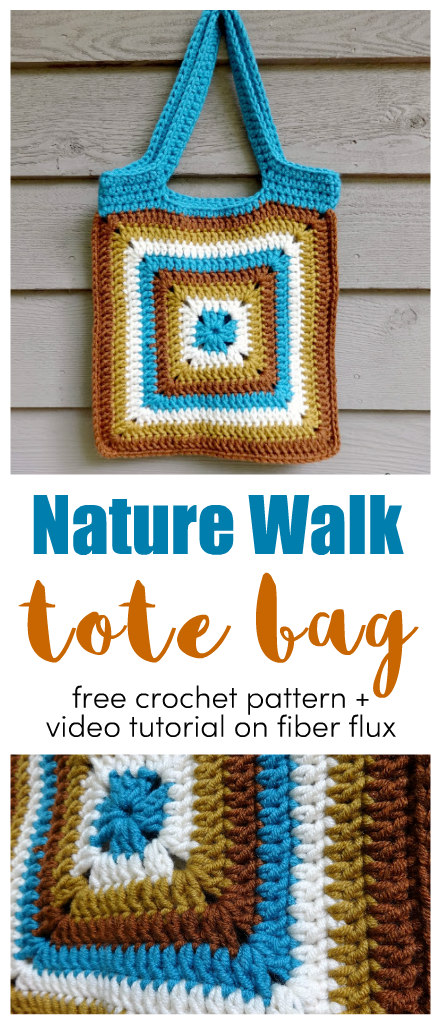
The Nature Walk Crochet Tote is a fun tote that is also easy to stitch up. Two squares are sandwiched together and topped off with pretty handles. Have fun experimenting with colorful stripes for your tote too!
Materials:
- 4 balls Lion Brand Woolspun (colors shown are “Honey” “Mahogany” “Aquamarine” “Fisherman”
- K (6.5 mm) crochet hook
- 4 stitch markers
- Tapestry needle
Sizing:
- Squares are 12 inches tall and 12 inches wide, however you can make squares larger or smaller to change the size of your tote.
Tutorial Links for the Nature Walk Crochet Tote:
- Chain (ch)
- Slip Stitch (sl st)
- Single Crochet (sc)
- Half Double Crochet (hdc)
- Double Crochet (dc)
- How to Crochet A Solid Granny Square
Instructions for Square (make 2):
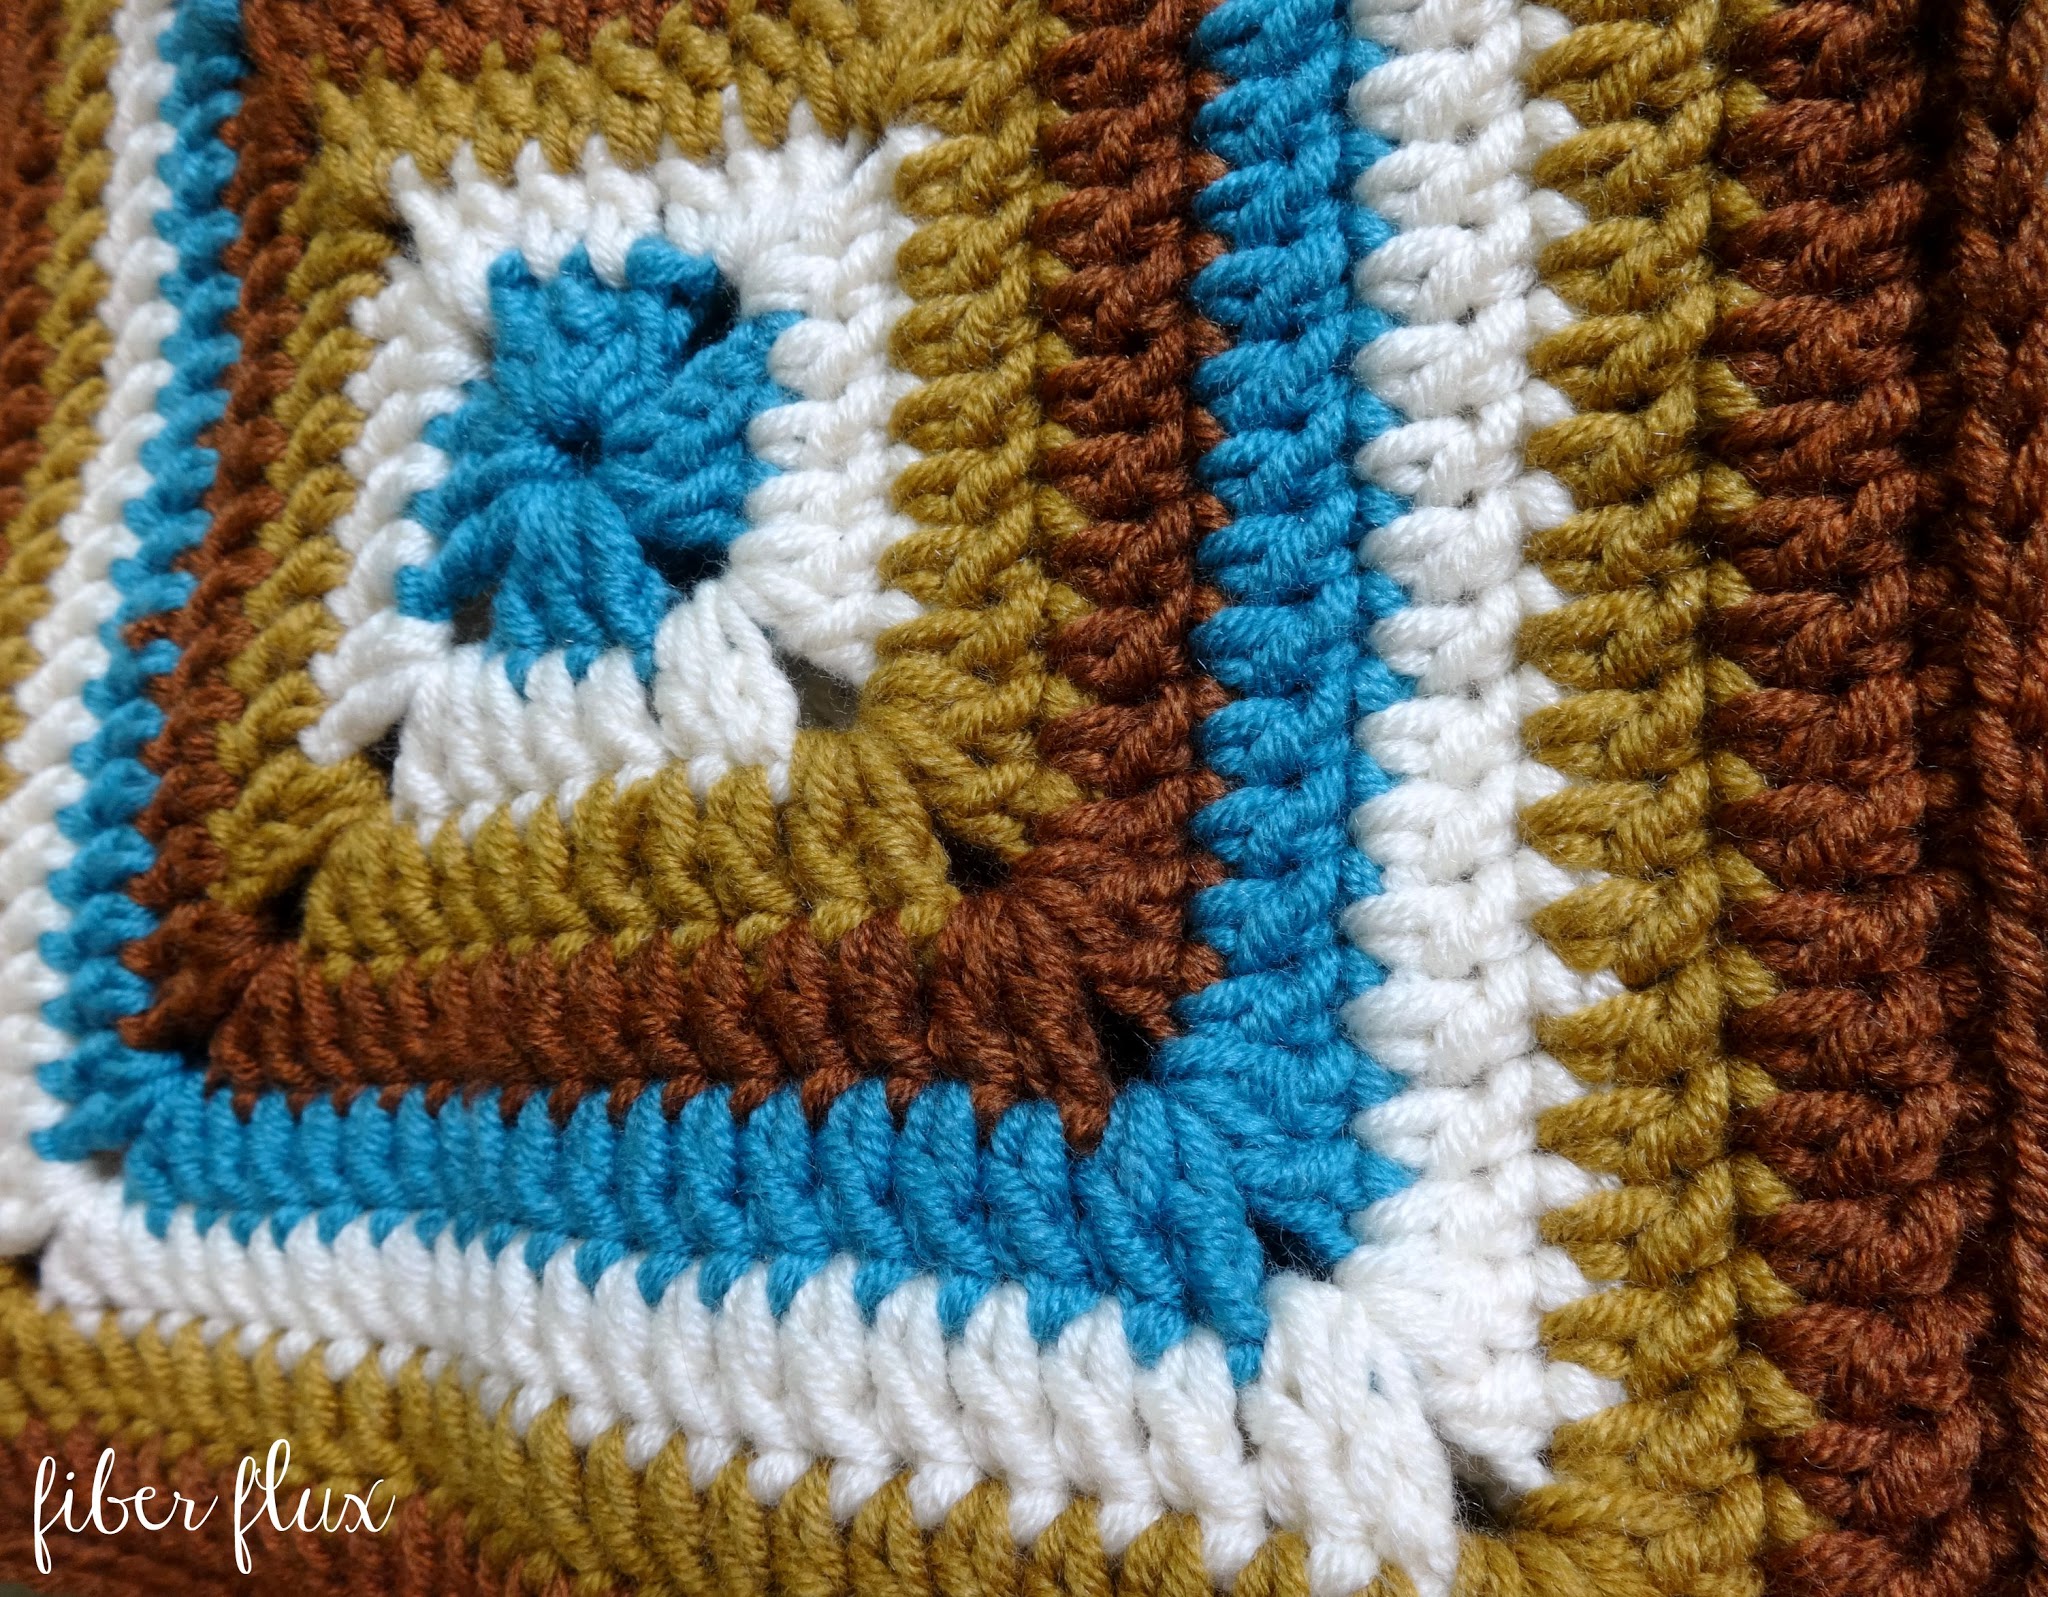
Note: Each round is worked in a different color.
Ch 4 and join with a slip stitch to form a ring.
Round 1: Chain 5, then work 3 dc into the center of the ring, then ch 2. Work the (3 dc, ch 2) two more times into the center of the ring. Work 2 more dc into the center of the ring, and join with a sl st to close.
Round 2: In any corner, tie on a new color then ch 5. Work two dc into the center of the ring. Work a dc in each of the next three stitches. To work the corner, work two dc, ch two, then two more dc in the ch 2 space from the previous round. Work the next side the same way, working a dc in the next three stitches, then work the next corner by working 2 dc, ch 2, 2 dc all in the same space. Keep working in this manner all the way around the square. At the corner where the round began, work one more dc in the corner space, Join with a sl st to close round.
Round 3: In any corner, tie on a new color then ch 5. Work 2 dc in the same space. Work a dc in each stitch across the top (there will be seven this time), Work the corner the same way as the previous round (2 dc, ch 2, 2 dc) Keep going in this manner all the way around, working the corners and the sides as before. When reaching the last corner, work one more dc, and join with a slip stitch to close.
Repeat round 3 until square measures about 12 inches across. Each side will grow in stitch count as square get larger, but corners are always worked the same way.
Do not fasten off.
Sandwich squares together so right sides are facing outward. Beginning at the top left corner, work a sc in each stitch along the sides. When you get to the corner spaces, work 3 sc in each corner space. Seam along left side, then the bottom, then up the right side. Leave the top unseamed.Instructions for bag top and handles:
Round 1: Tie on new color into a stitch (upper right corner) and ch 2. Work a hdc in each st across. When you reach the edges where bag was seamed, work 2 hdc in the first corner space you reach, skip over the seam then 2 hdc in the other corner space. Continue working a hdc in each st across and repeat when you get to the seam on the other side. Join with a sl st to close round.
*Before proceeding, place stitch markers for bag handles. Be sure there is the same number of stitches in between the front two stitch markers and the back two stitch markers. Also be sure that the sides of the bag have an equal number as well. I had 15 in between-front and back (where the handle openings will be, where an arm will go through) I had 17 stitches on either sides of the handles. Please note: your stitch count may vary slightly than what I had, but just be sure that the numbers match up (mine were 15 and 15, then 17 and 17 if that makes sense).
Round 2: Ch 2 and work a hdc in each st. When you come to the stitch markers, remove it and work a hdc in that stitch. For the handles shown, ch 42. Skip over to the next stitch marker and work a hdc in that st. Work a hdc in each stitch until you arrive at the next marker, then repeat for the other handle. Continue working a hdc in each st until you reach the end of the round. Join with a sl st to close round.
Round 3: Ch 2, then work a hdc in each st all the way around. Join with a sl st to close round and fasten off.
Note: If you would like thicker handles than the ones shown in the photos, simply work round 3 until they are the desired width.
Weave in any ends that remain and you’re finished!
Watch a full video tutorial on how to make the Nature Walk Crochet Tote stitch by stitch:
Want to see more crochet bags? Check out my crochet bags and totes pattern library here!


ne güzel bir çanta olmuş çok beğendim
http://ayselmelike.blogspot.com.tr/