
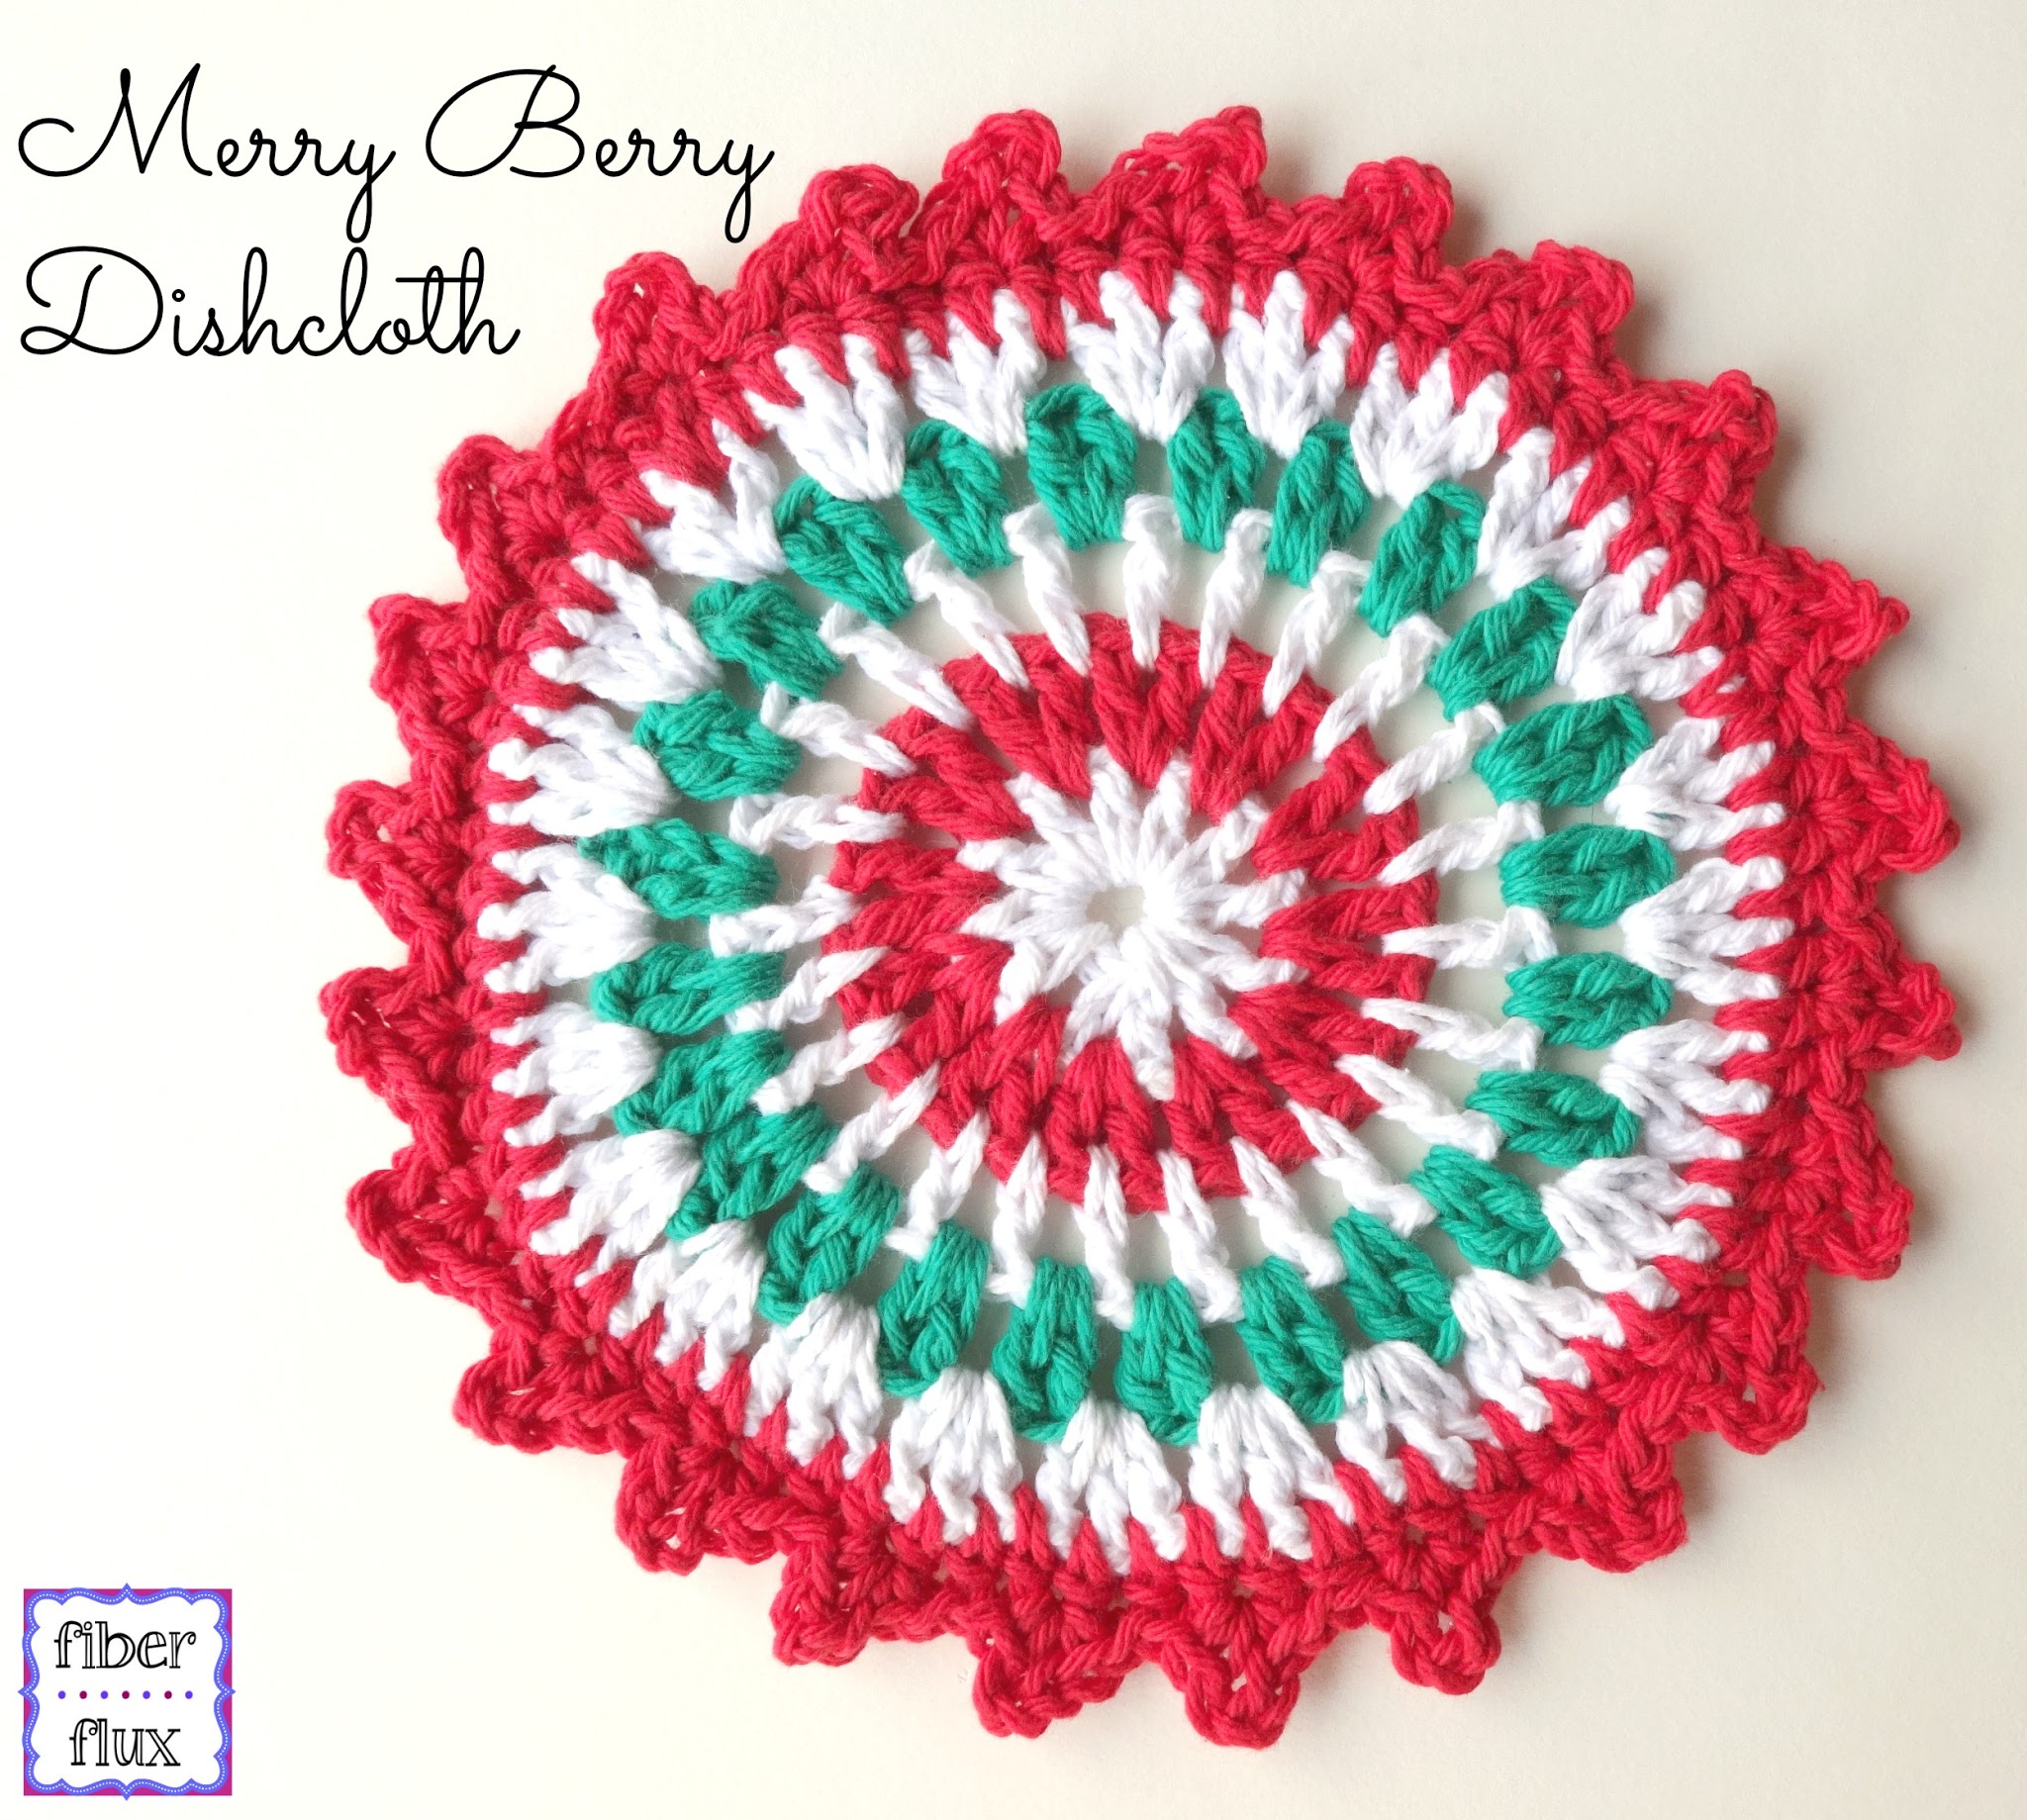
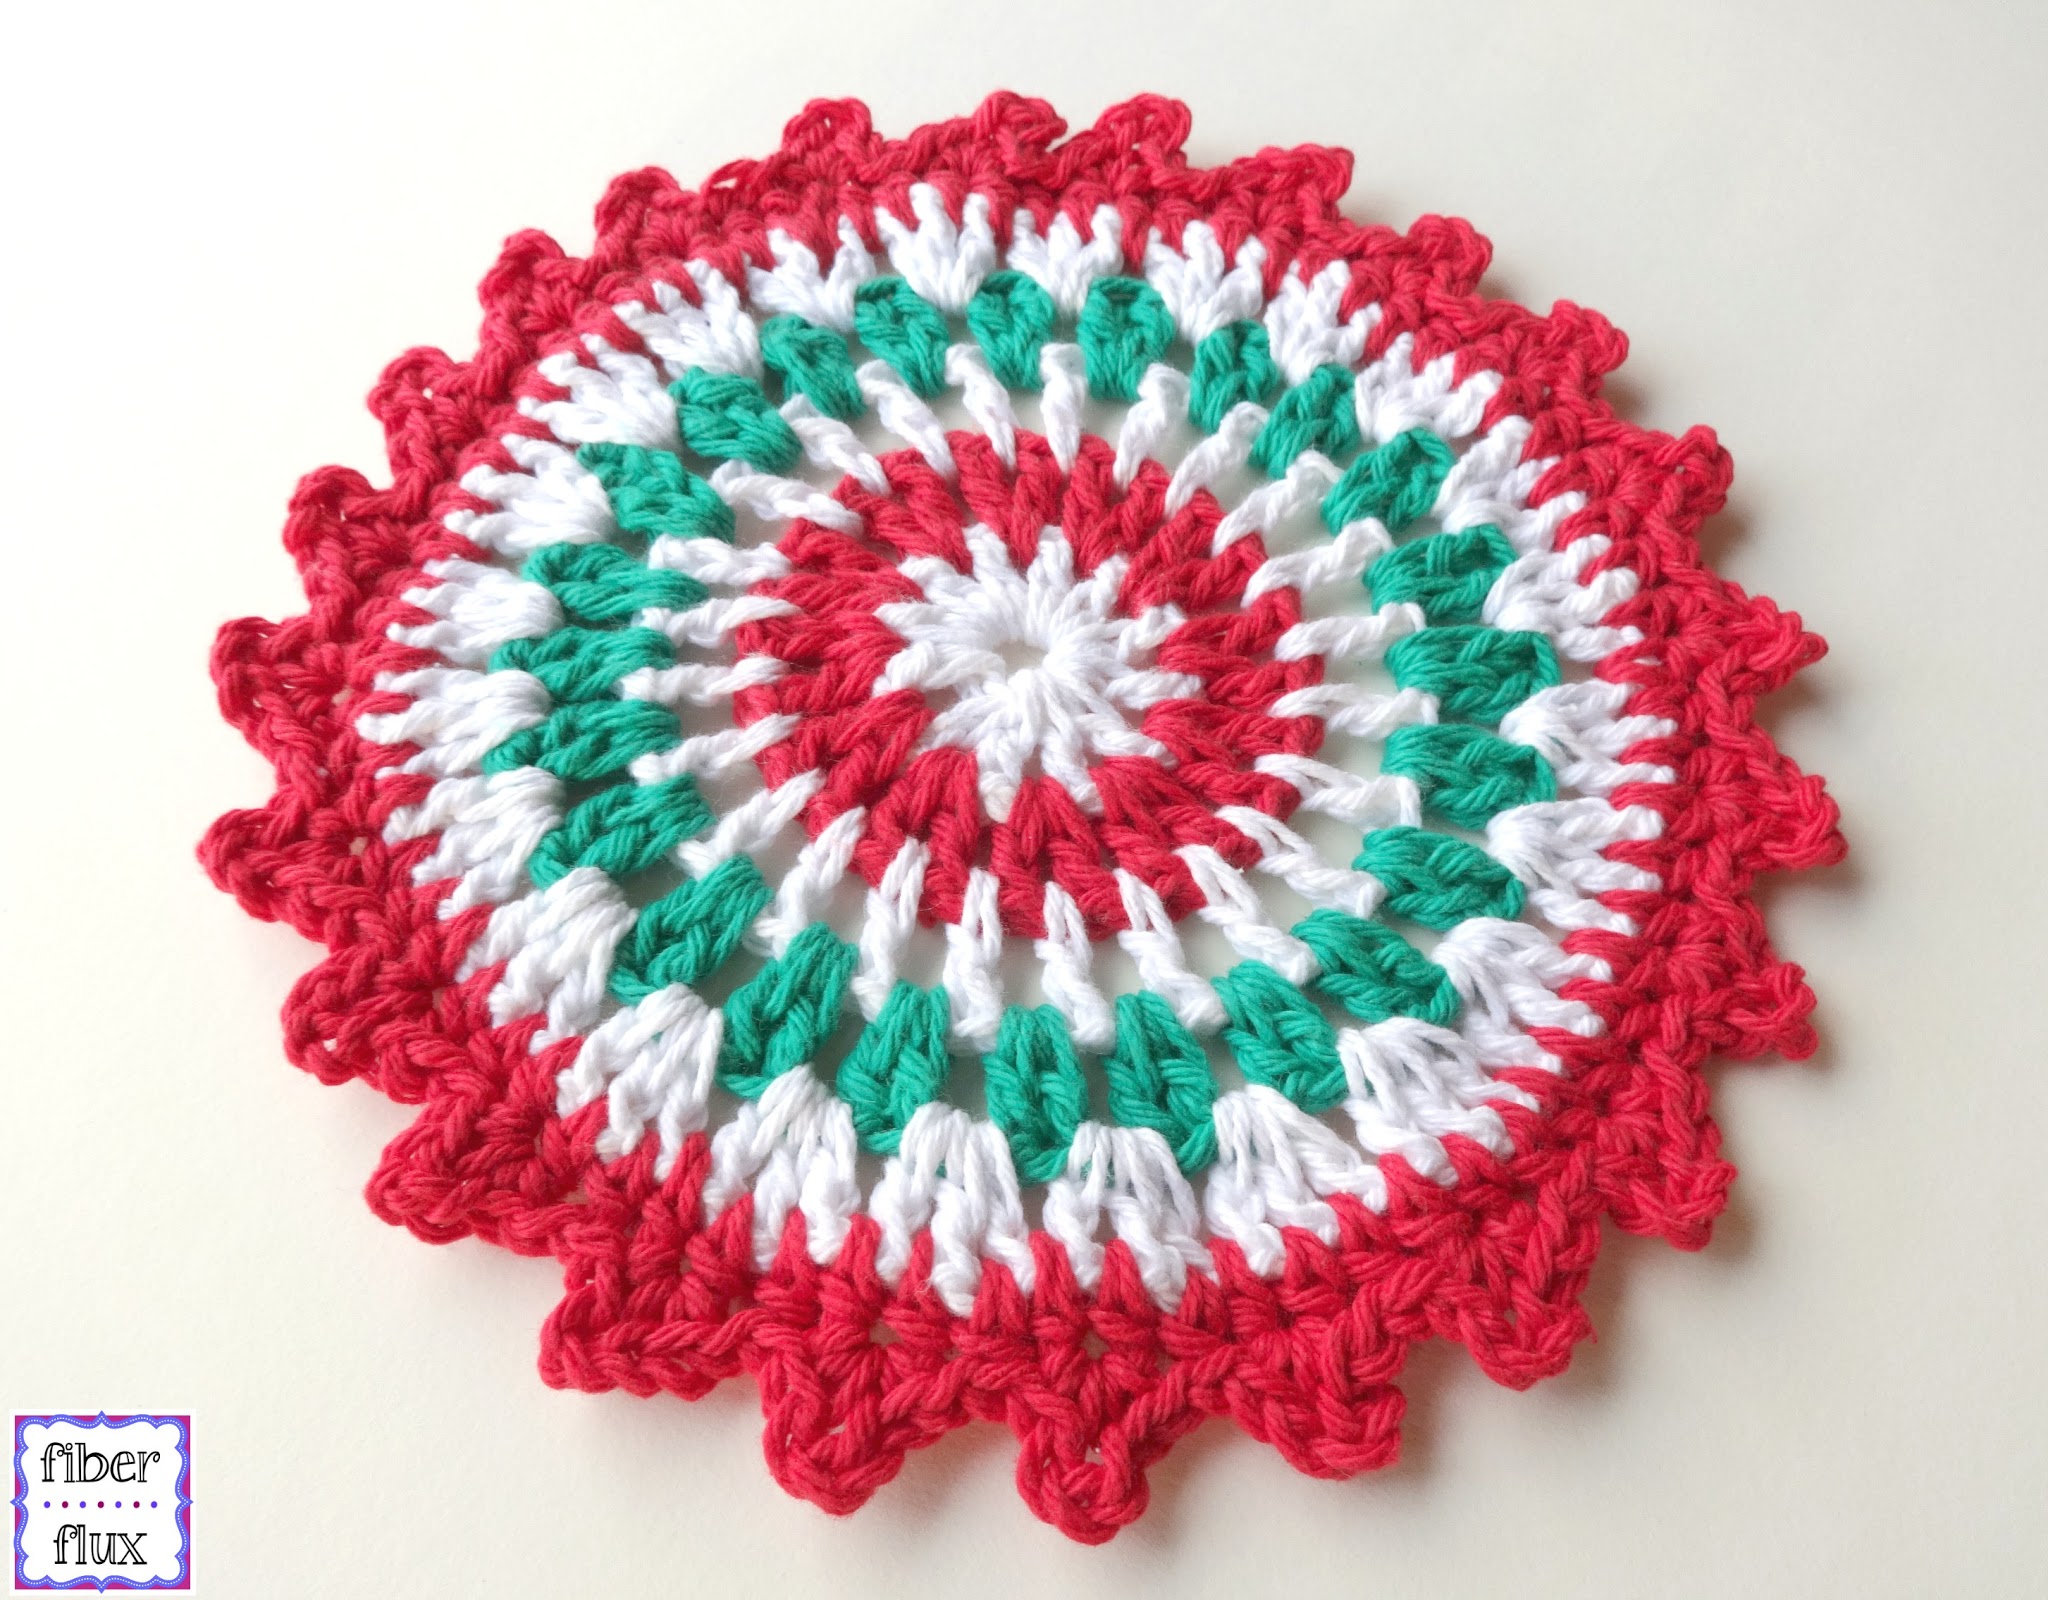
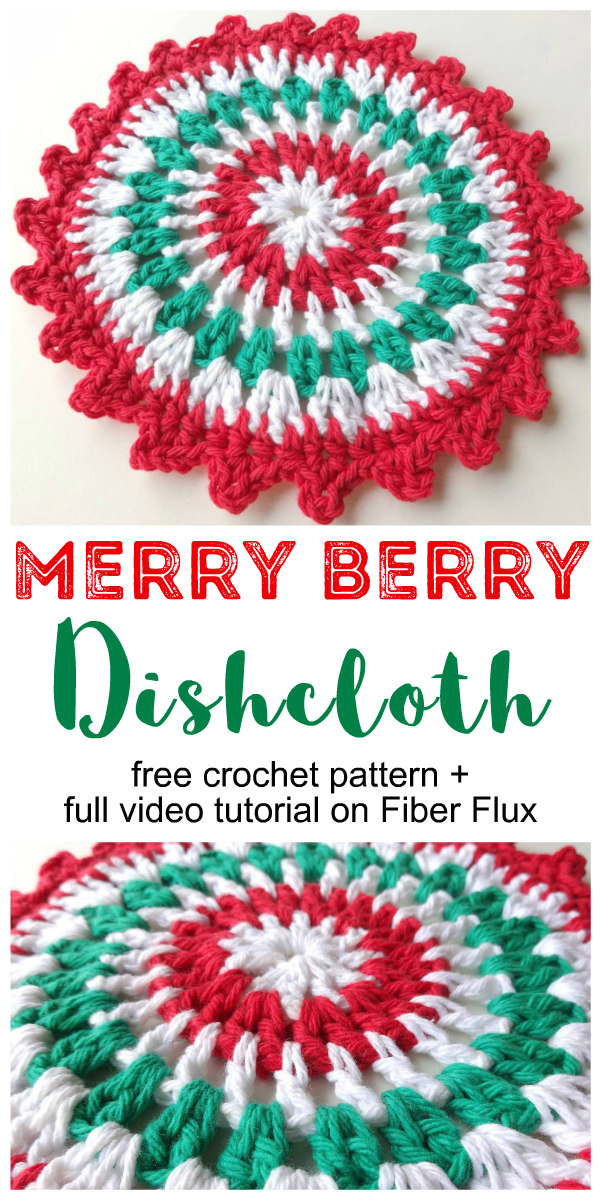
The Merry Berry Crochet Dishcloth is a fun, easy, and pretty way to add a little holiday cheer to the kitchen this season. Crocheted in festive stripes and finished with a pretty edging, the Merry Berry Dishcloth makes a great gift too…try working a few up to make a set of them!
Watch the full video tutorial on how to make the Merry Berry Crochet Dishcloth here!
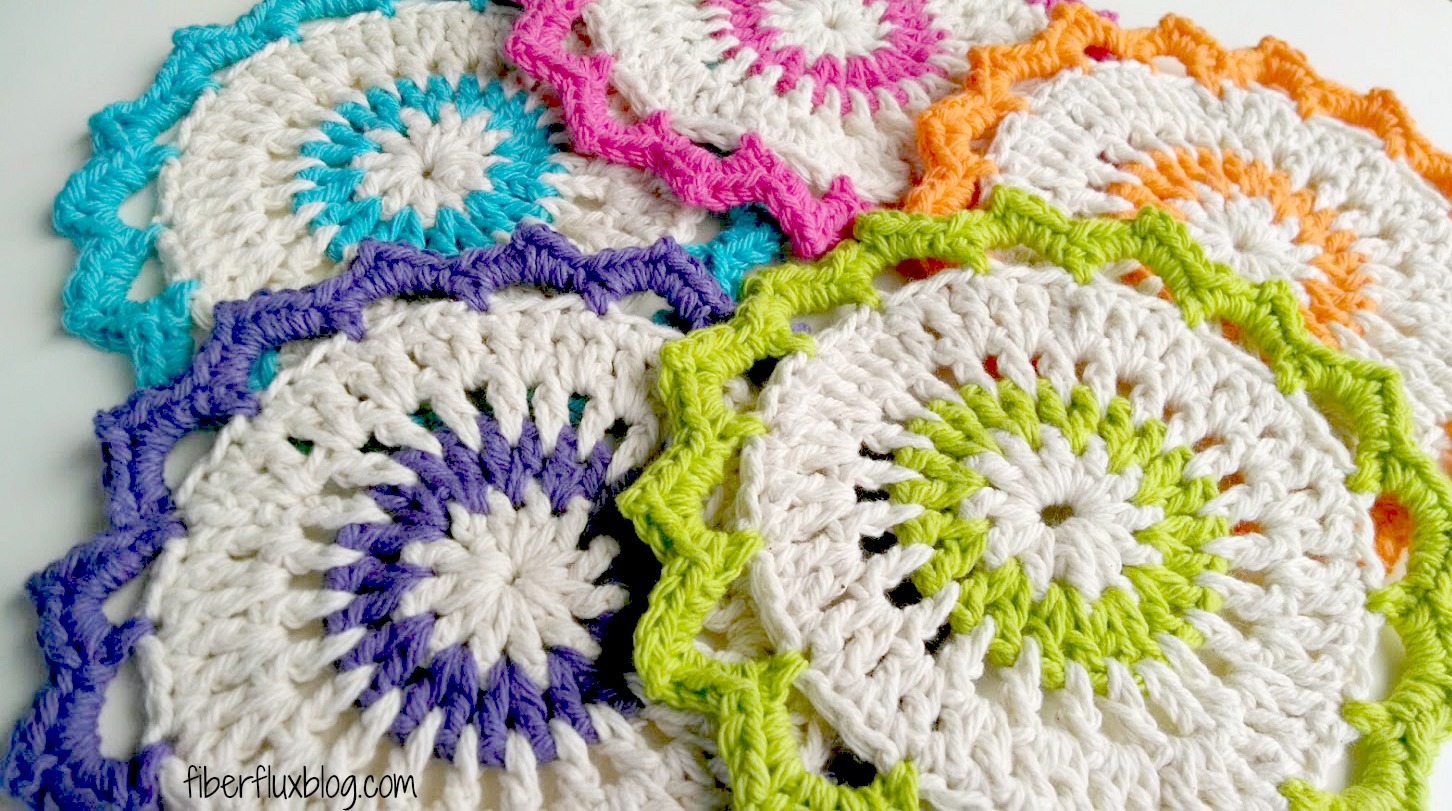
This Dishcloth was inspired by my Lotus Bloom Dishcloth pattern, get the pattern here!
Materials:
- Cotton Dishcloth Yarn of your choice (this pattern is perfect for using up yarn leftovers)
- H (5.0 mm) Crochet Hook
- Tapestry/Yarn Needle
- Scissors
Sizing:
- 8 Inches Across
Instructions:
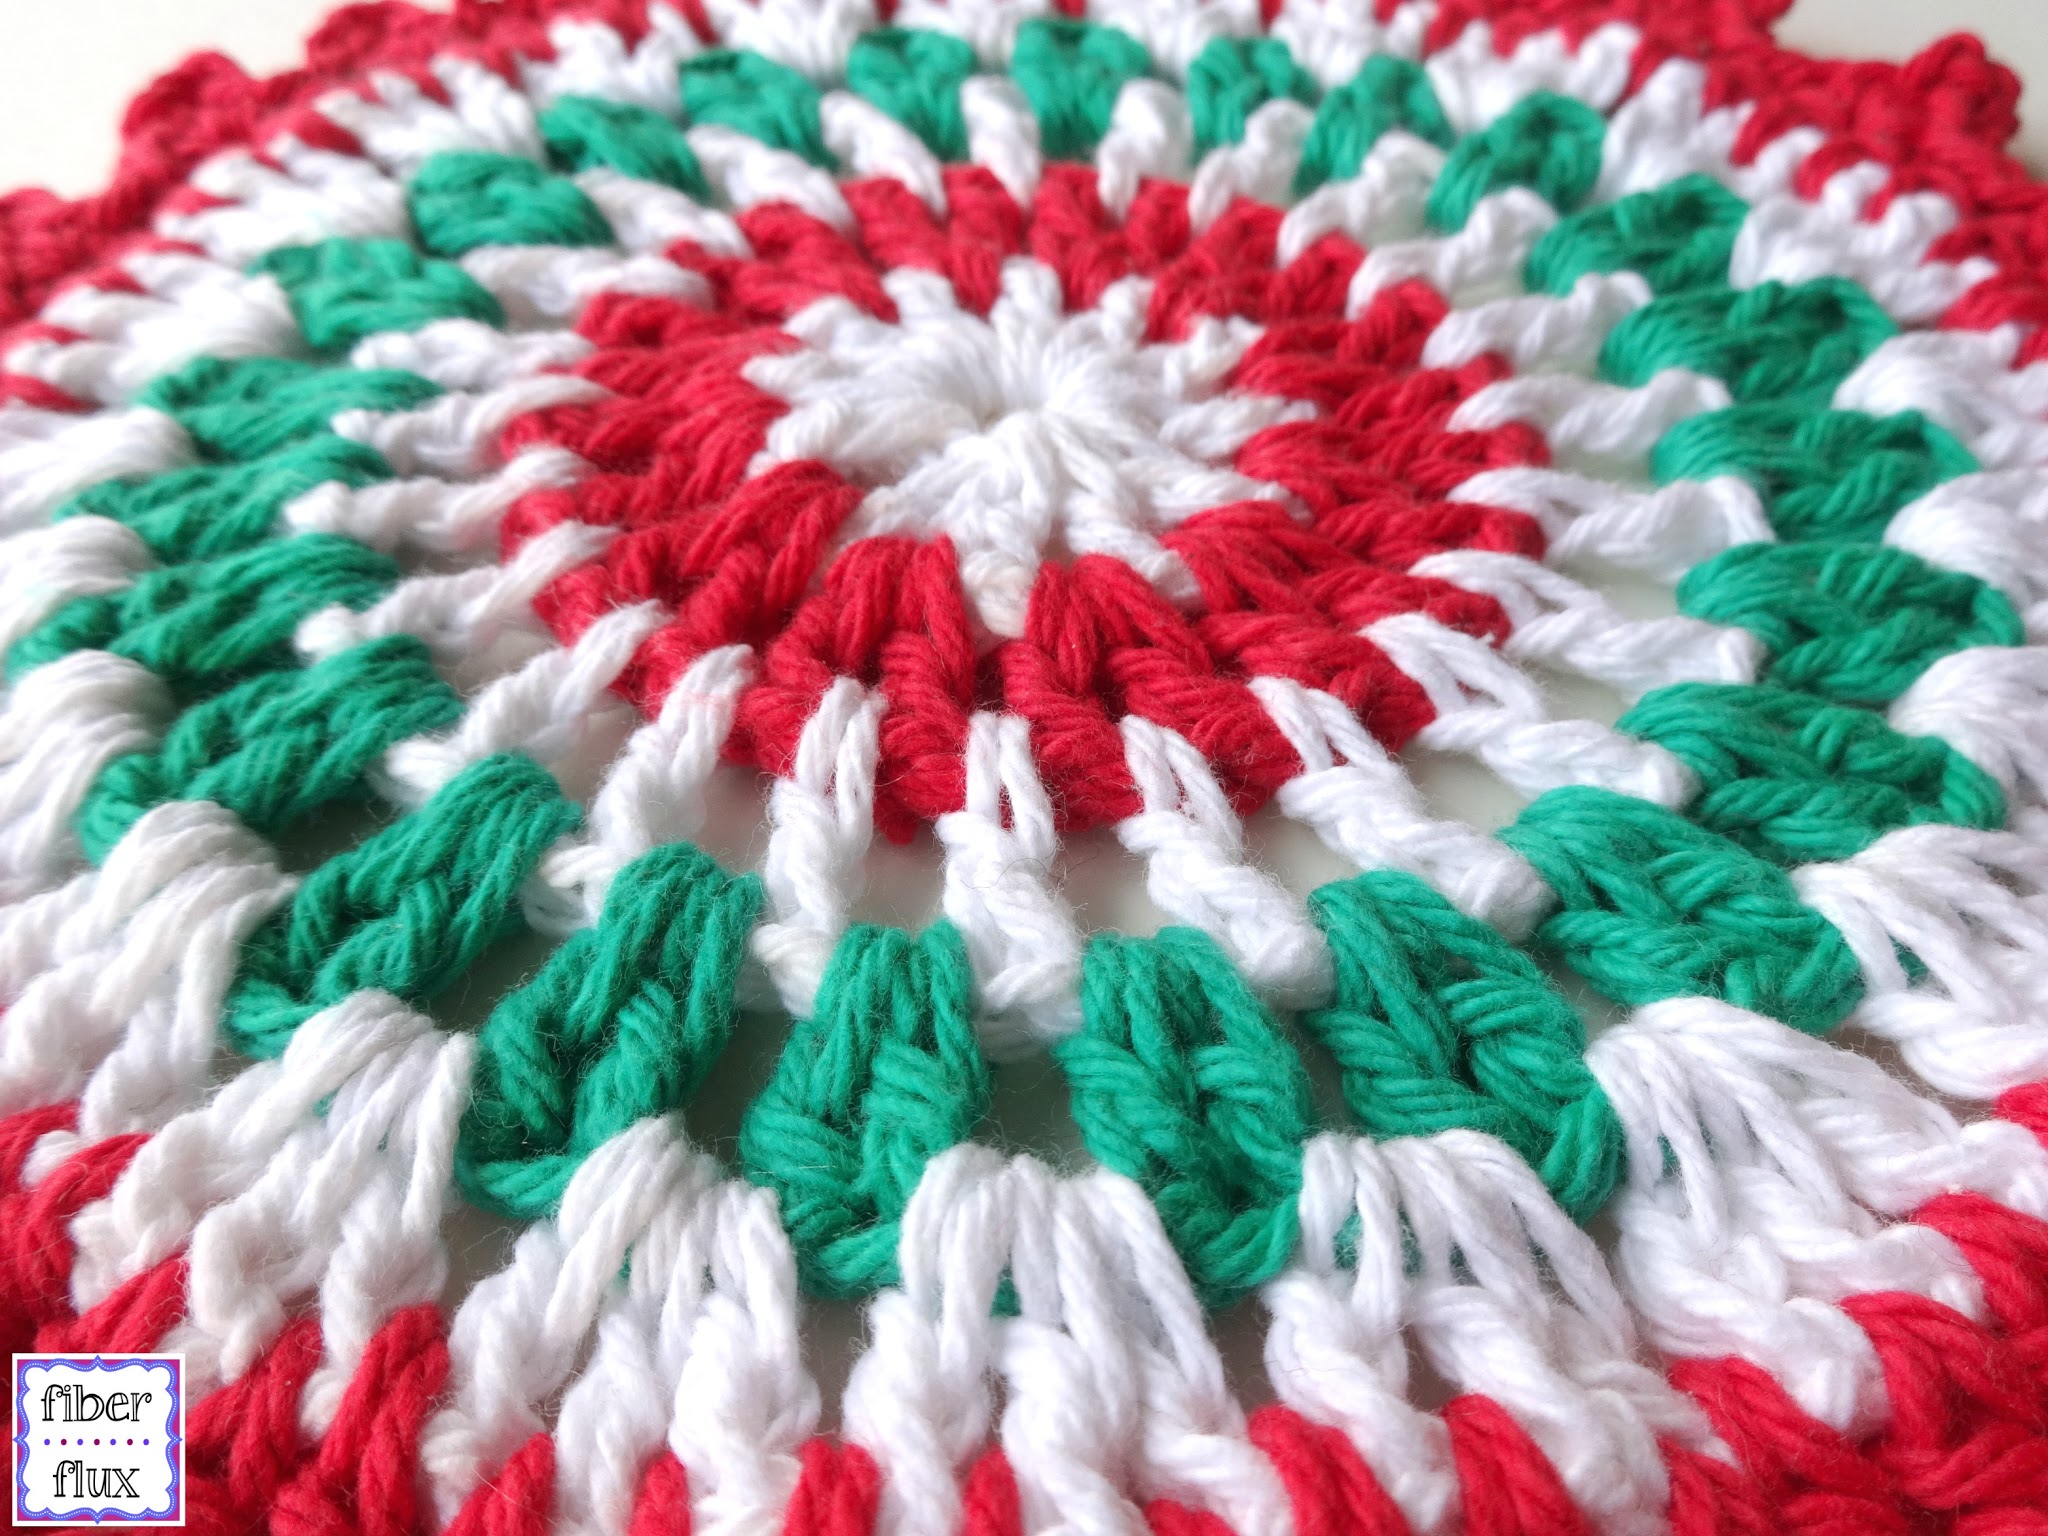
Note: For the basic round, stitches are worked into the spaces (vs. the stitches). Click here for a helpful tutorial for learning how to stitch into the spaces…
(You can work your dishcloth in any colors/striping order you like, but if you want yours as pictured, I’ve indicated what color each round is. When changing to a new color, I simply cut the yarn and tied the new color on, weaving in the ends as I went. If you have a preferred method for joining new yarn, feel free to use any technique you like)
Foundation (worked in white):
Chain 4 and slip stitch into the chain farthest from your hook to form a ring.
Round 1 (worked in white):
Chain 3, then work 11 dc into center of ring, join with a sl st to join round.
Round 2 (worked in red):
Ch 3, then work a dc in the same space, *2 dc into the next space, repeat from * to end of round.
Round 3 (worked in white):
Ch 3, then work a (dc, ch 1) into the first space, then *1 dc into next space, ch 1, then repeat from * to end of round.
Round 4 (worked in green):
Ch 3, work a dc in the same space, then work *2 dc into the next space, then repeat from * to end of round.
Round 5 (worked in white):
Ch 3, work a 2 dc in the same space, then work *3 dc into the next space, then repeat from * to end of round.
Round 6 (worked in red):
Ch 2, then work a hdc in each space all the way around (in between each dc from previous round).
Round 7 (worked in red):
Note: this round is worked in the stitches (not spaces). Work a *sl st in the first st, sl st in the next st, then in the next st, work (sc, ch 3, sc). Repeat from * to end of round. Fasten off.
Finishing:
Weave in all ends and you’re done!
Do you love holiday projects? Get more from my holiday crochet pattern library!


Very pretty! We've just moved to a fixer-upper and won't be doing a lot of decorating this year because of the work being done so I've been making small, festive items to help get in the mood. This is a PERFECT candidate for that!
Thank you for sharing!
Do you have a printer friendly link for this pattern?