
Check out this Fabric Covered Buttons DIY! I present to you my newest obsession…making my own buttons! Aren’t they fabulous? I simply cannot stop making them, I just can’t. I use buttons constantly, and I’m excited to have some new and unique ones to add to my button collection. If you’d like to make your own too, here’s how you can do it in just a few minutes.
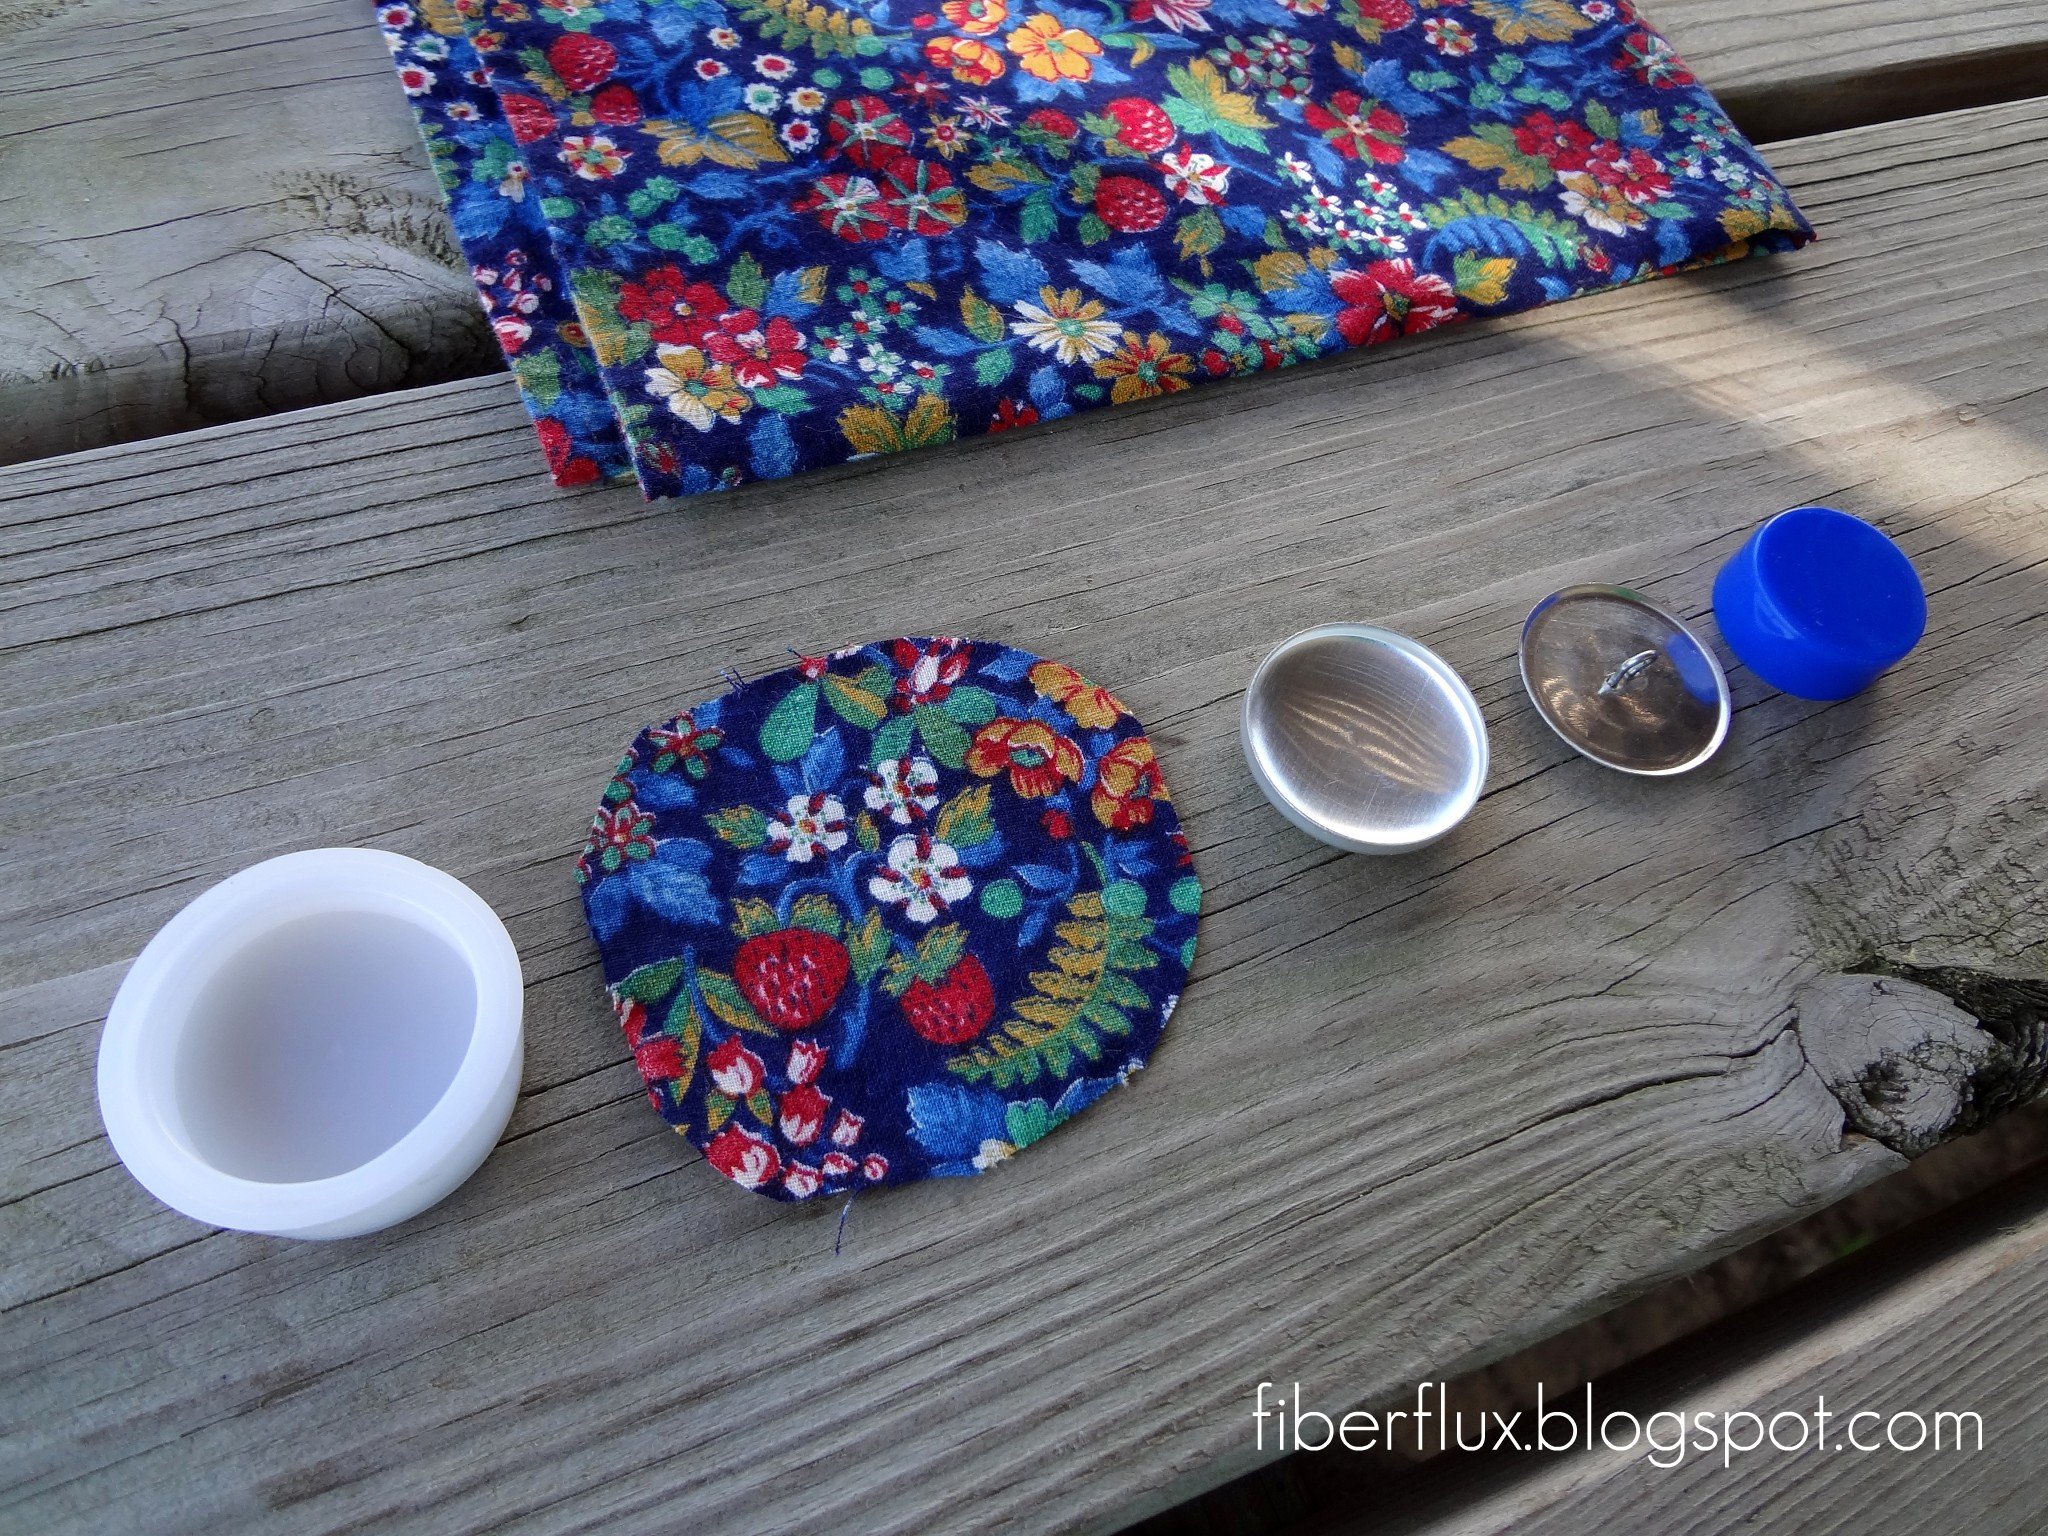
Here’s what you’ll need:
- Small pieces or scraps of fabric
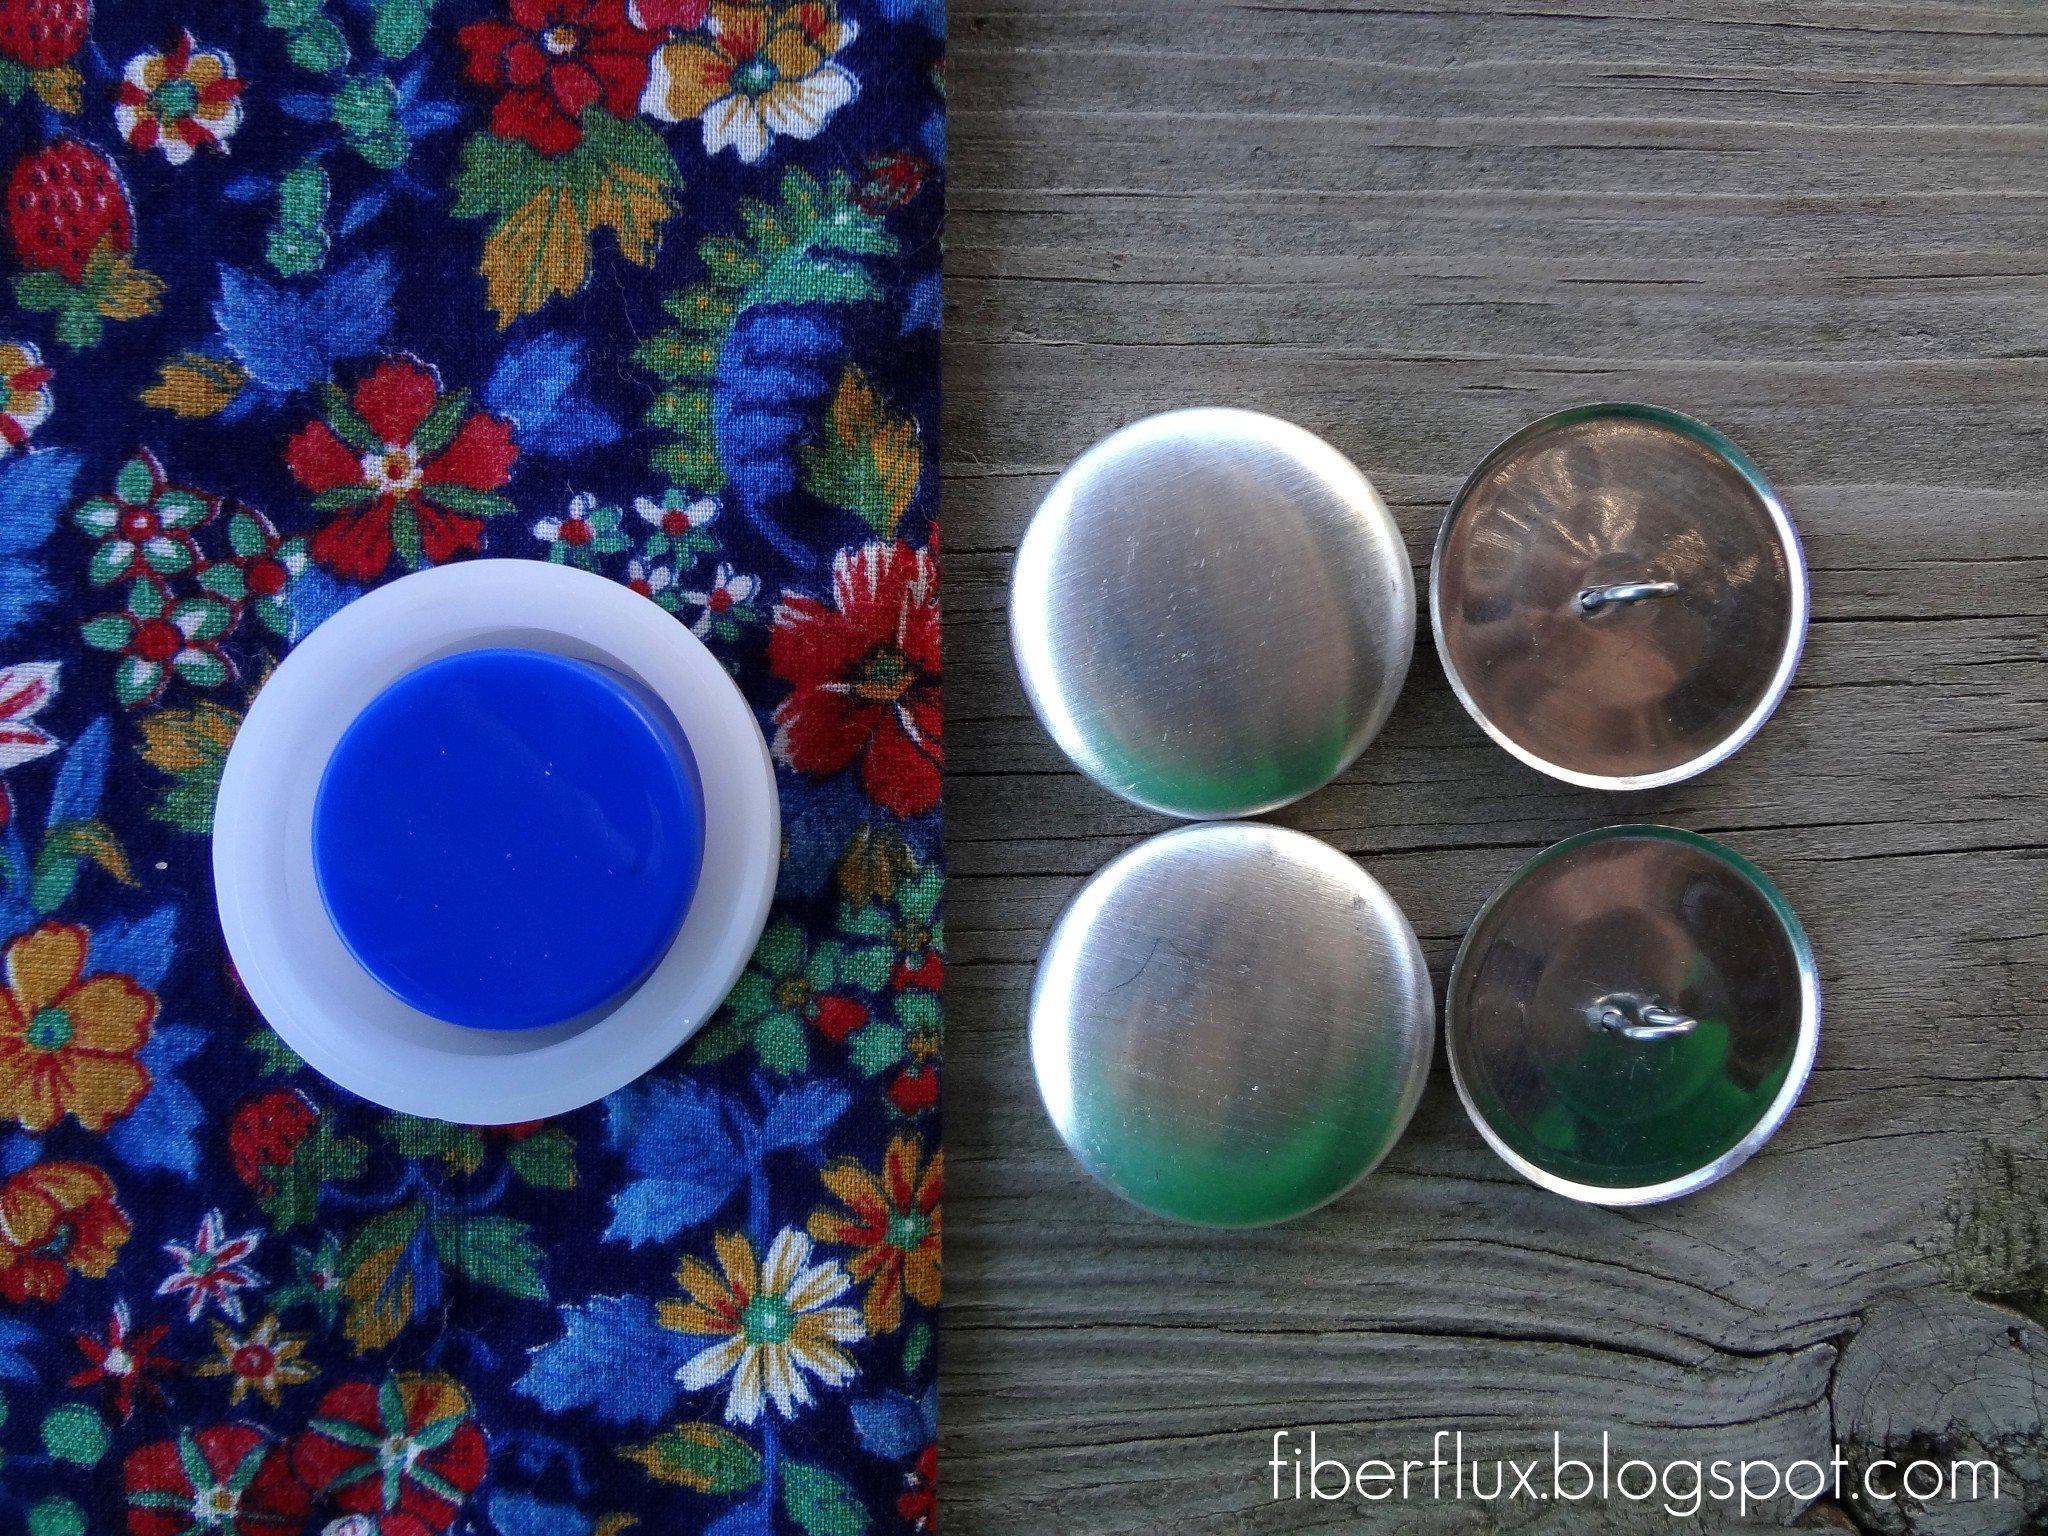
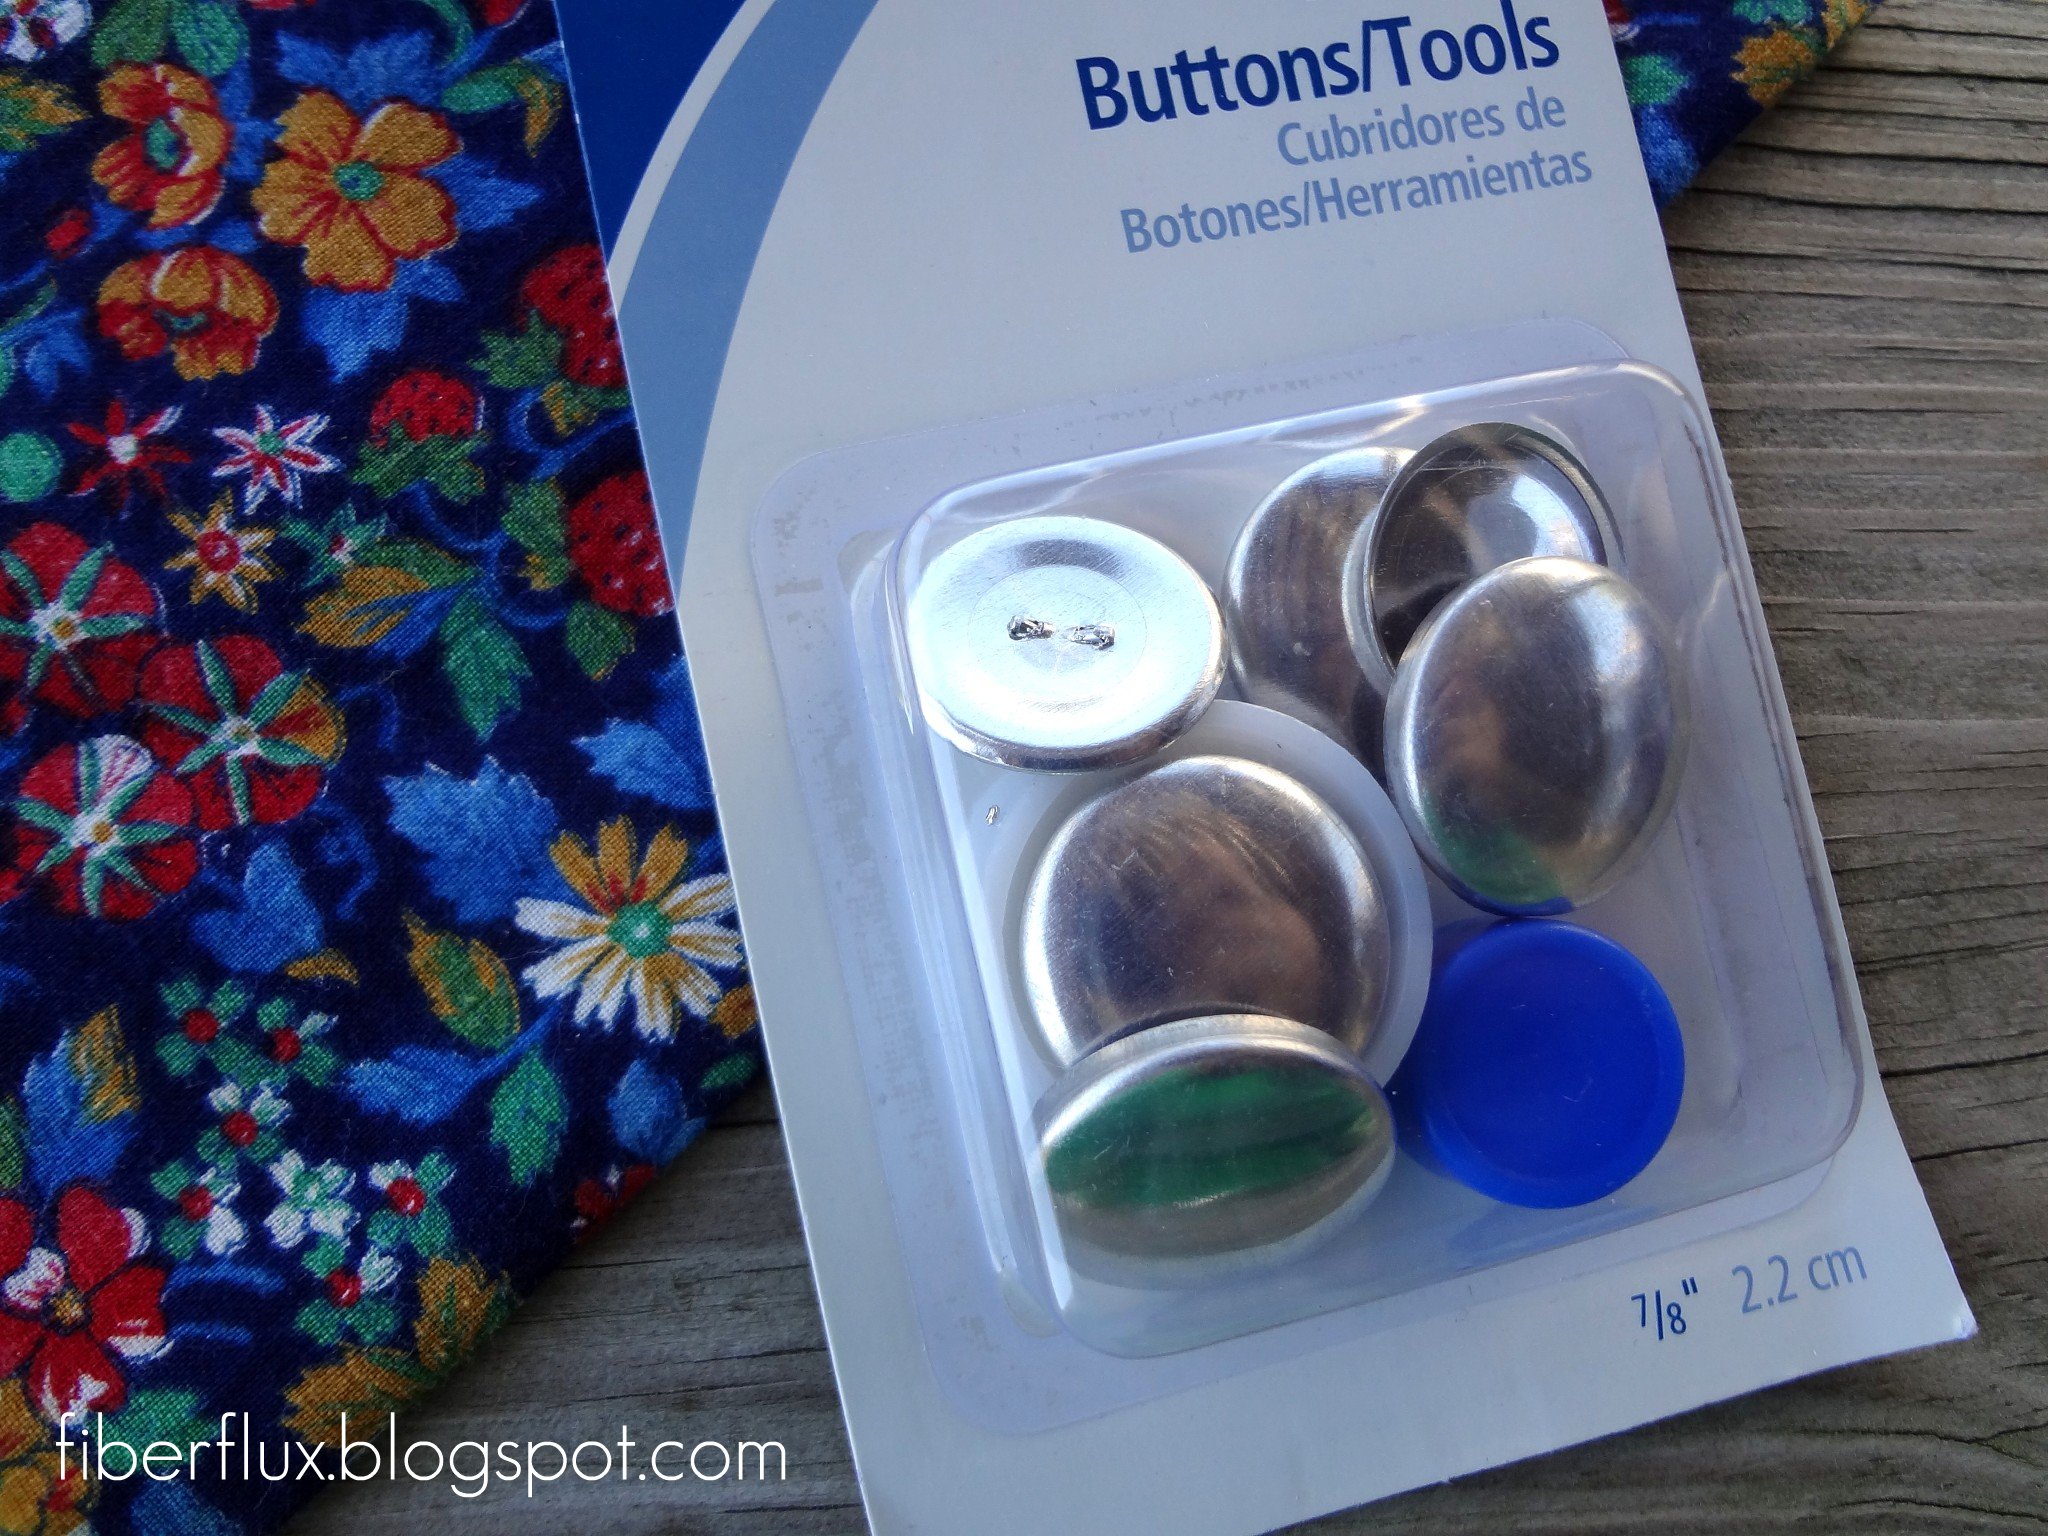
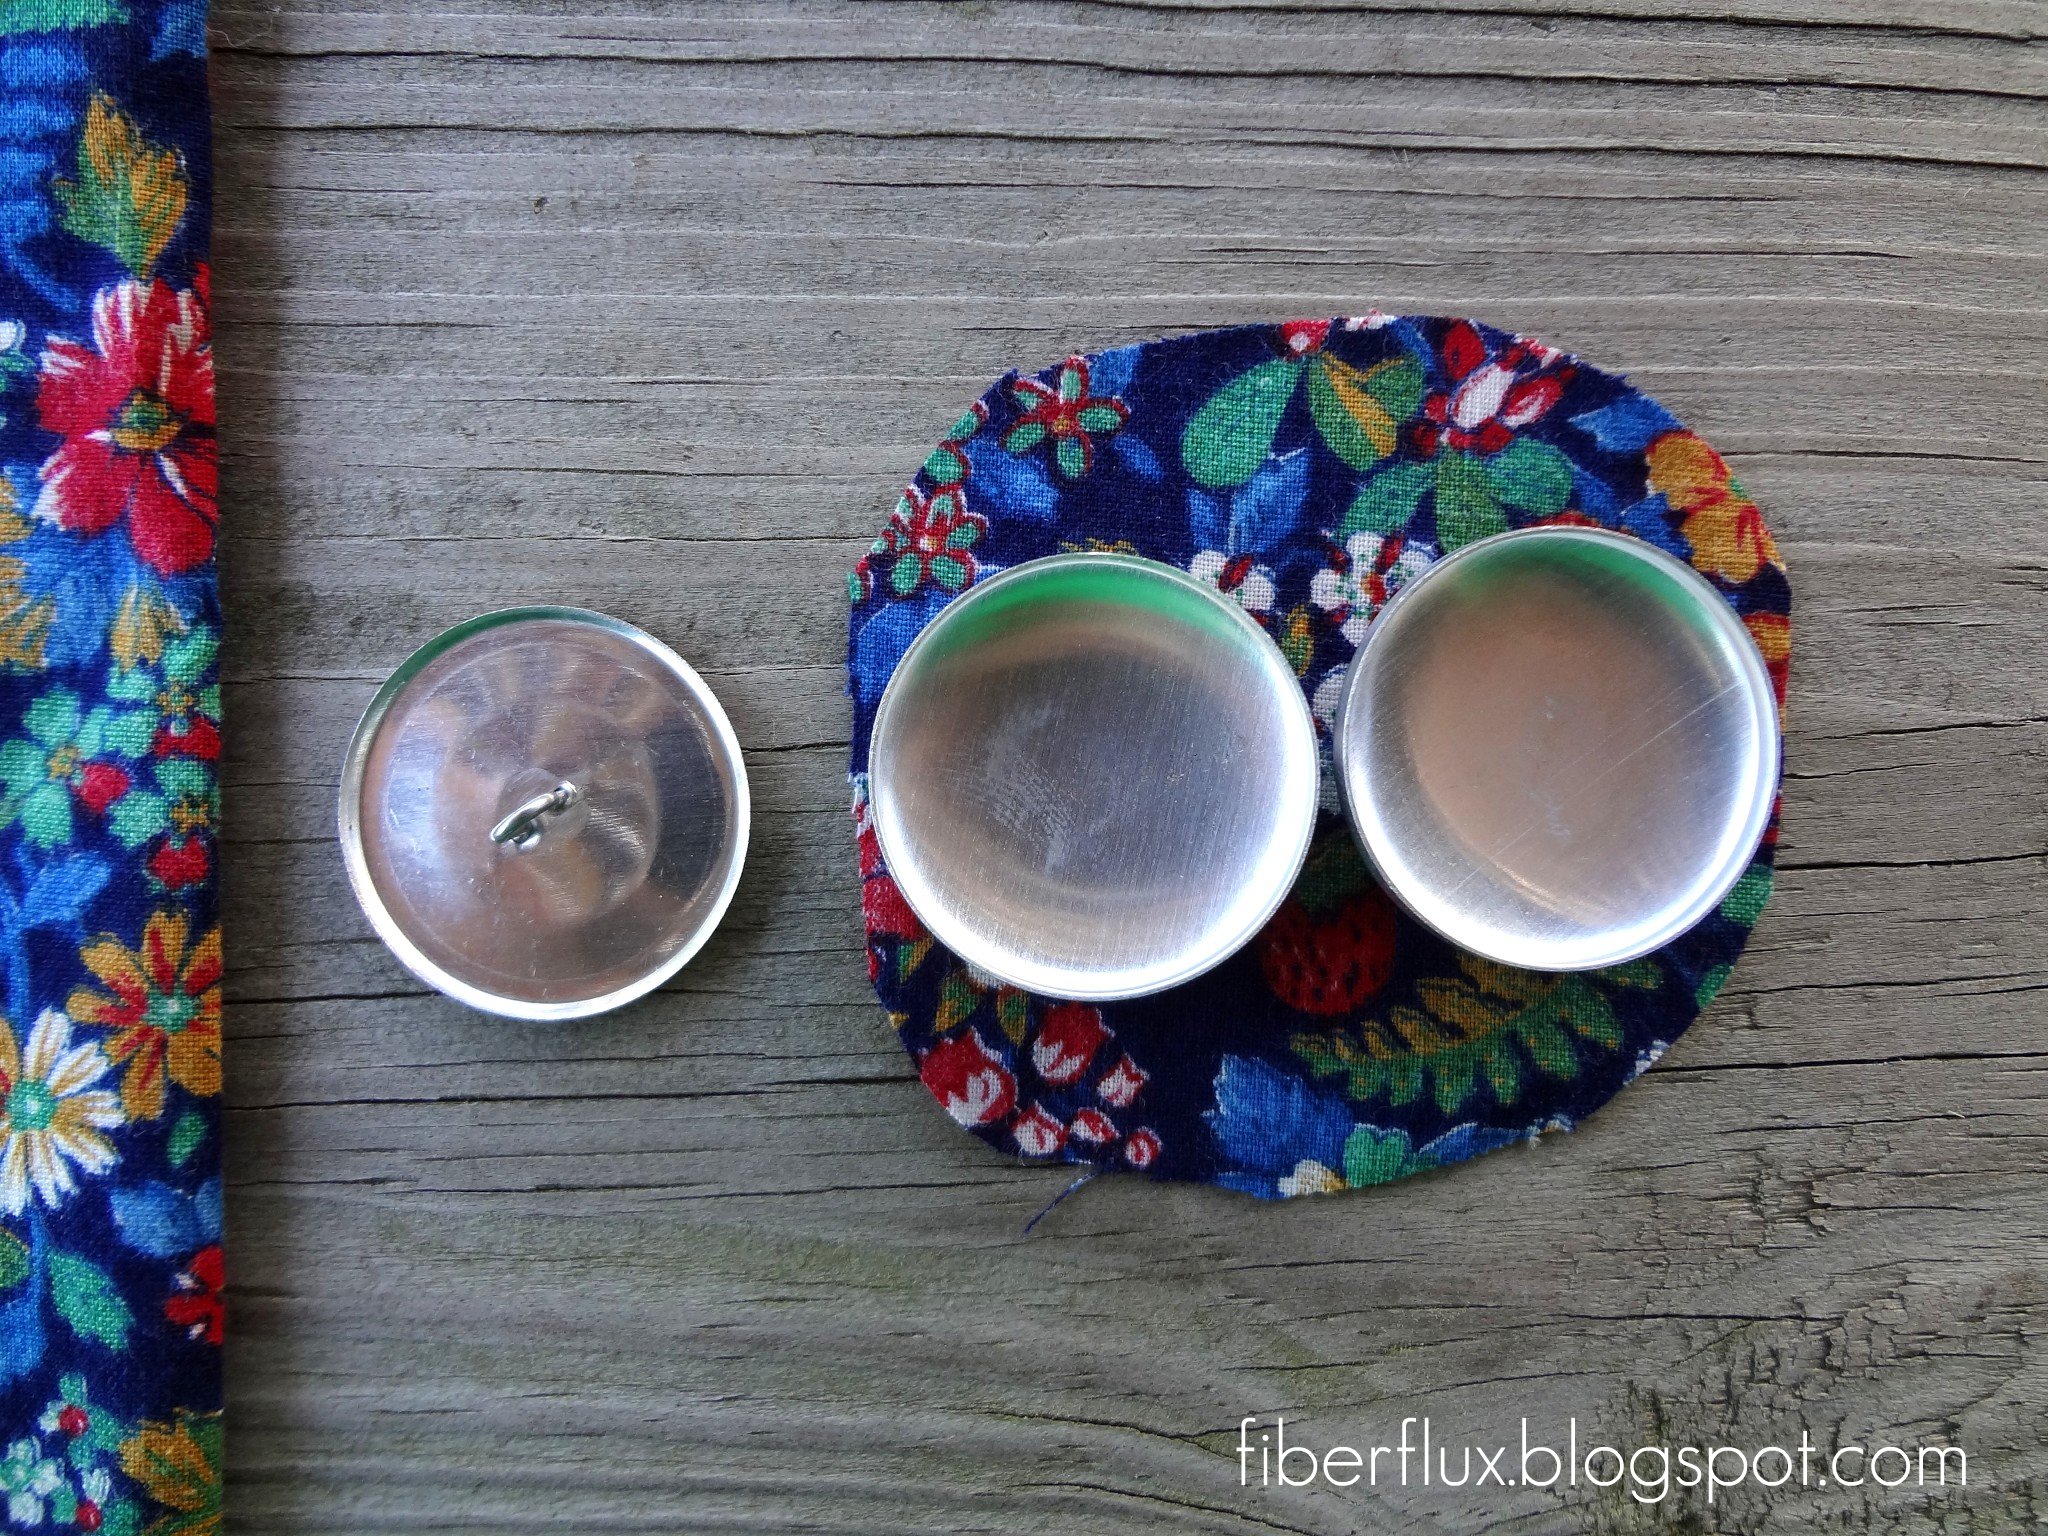
- 2 piece button (button front and back with shank)
- Button tool (They usually come in a small kit along with the button parts like the one in the picture below)
- Scissors
- Template
Start by selecting the size button and fabric you’d like. Solids and smaller prints work well. I find that cotton quilting fabric has an ideal thickness too.
Start by cutting a circle of fabric twice the diameter of the button. You could make your circles several different ways…you could use a die cutter or circle cutter tool to make your own, you could use a template (sometimes one is provided in the button kit, mine didn’t have one), or you could make your own template out of a piece of heavy paper or cardboard. Another super simple way to make the fabric circle is to put two of the button tops side by side (making it twice the diameter) and cut your circle that way, like this:
Next you’ll want to get your tools ready. I like to line them up in order of operations,
First take the bottom (white) part of the button tool and place the fabric in it. Be sure the outside is facing down, because that will be the outside of the button. Next, place the metal button top (sometimes called the “shell”) as shown below:
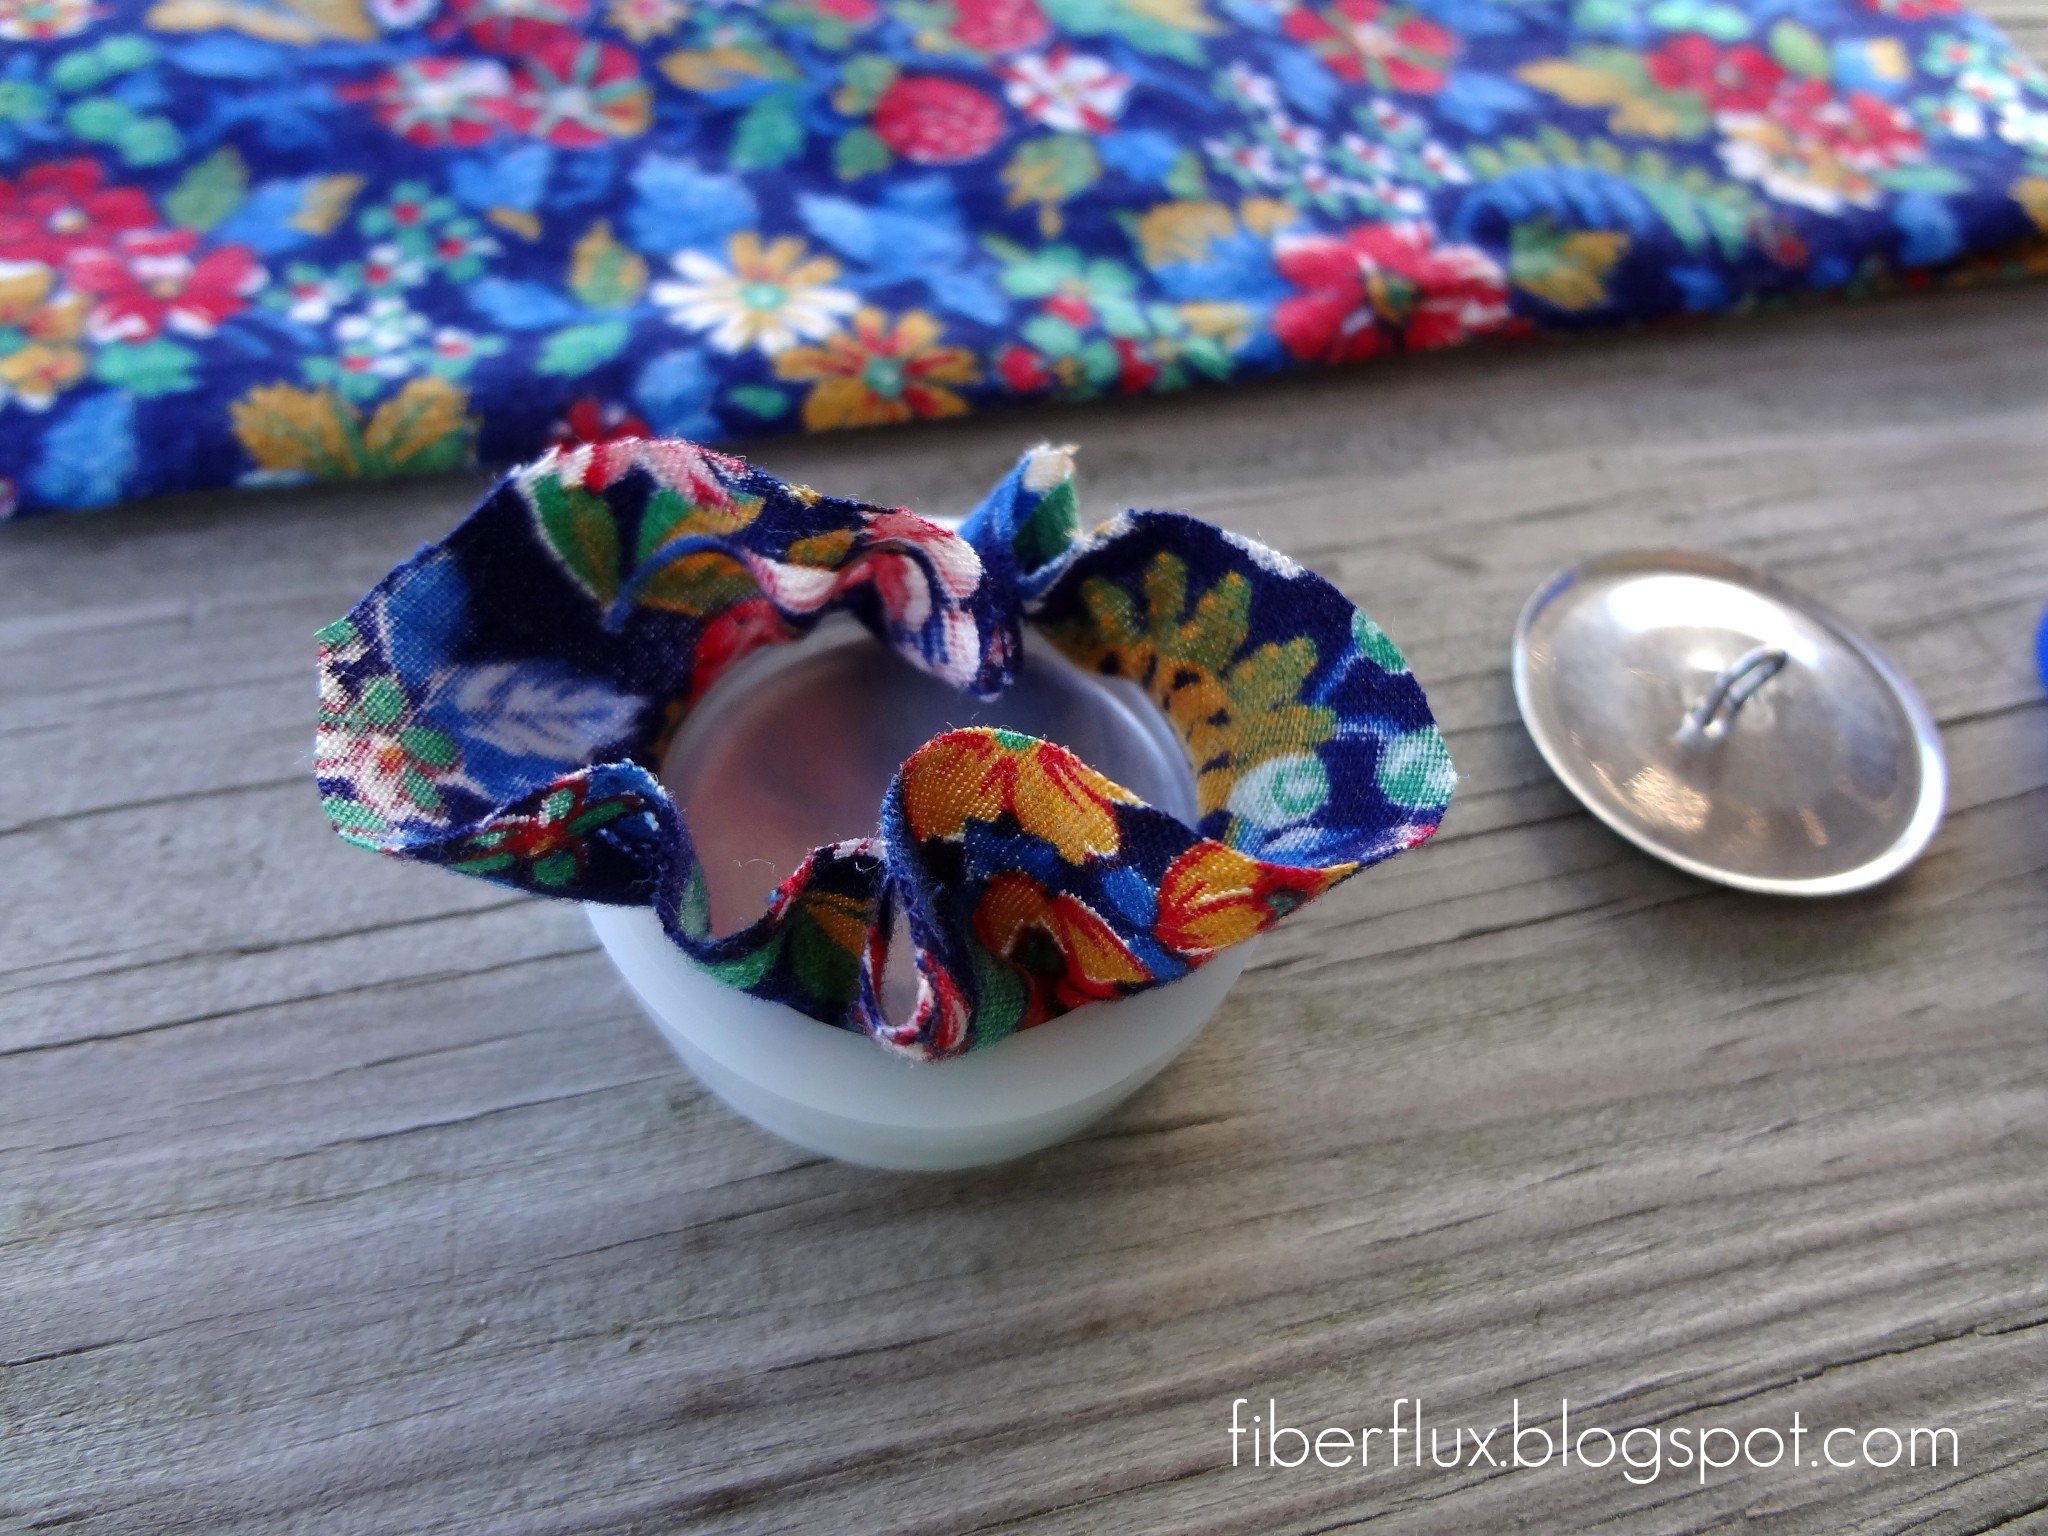
Fold the fabric inward,
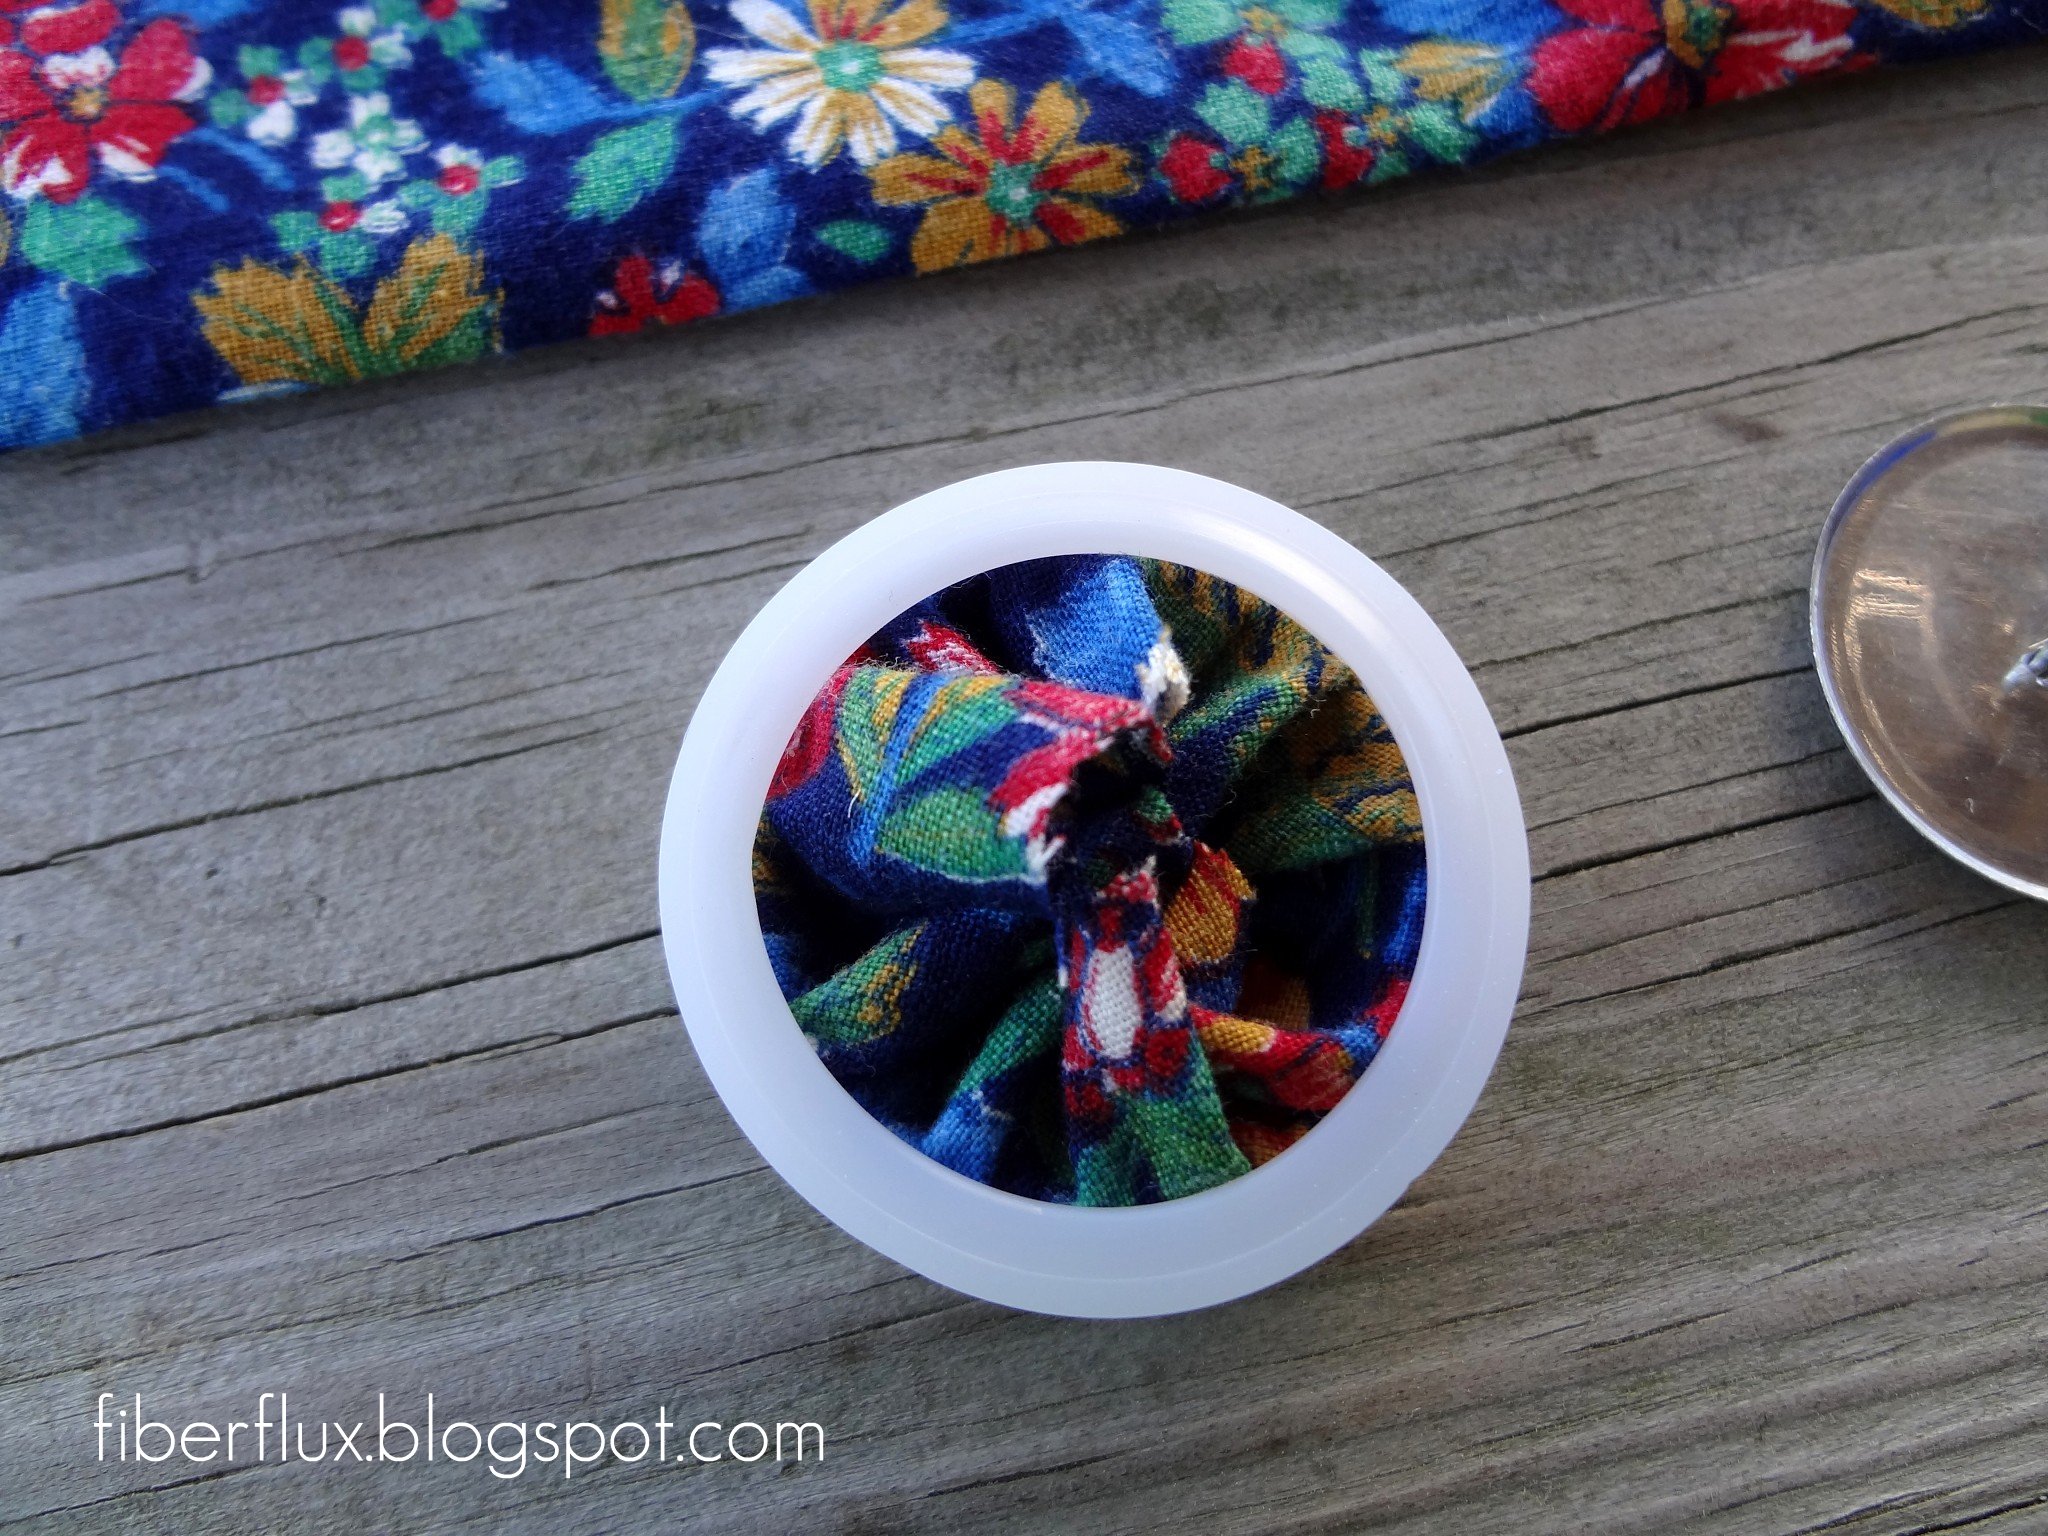
And place the button backing (also called the shank) like this,
Place the blue part of the tool on top and press down and squeeze it together firmly. I was able to get a sufficiently tight fit with my hands, but if you need to tap it in with hammer, that’s OK too. I found that picking it up and squeezing made it easier.
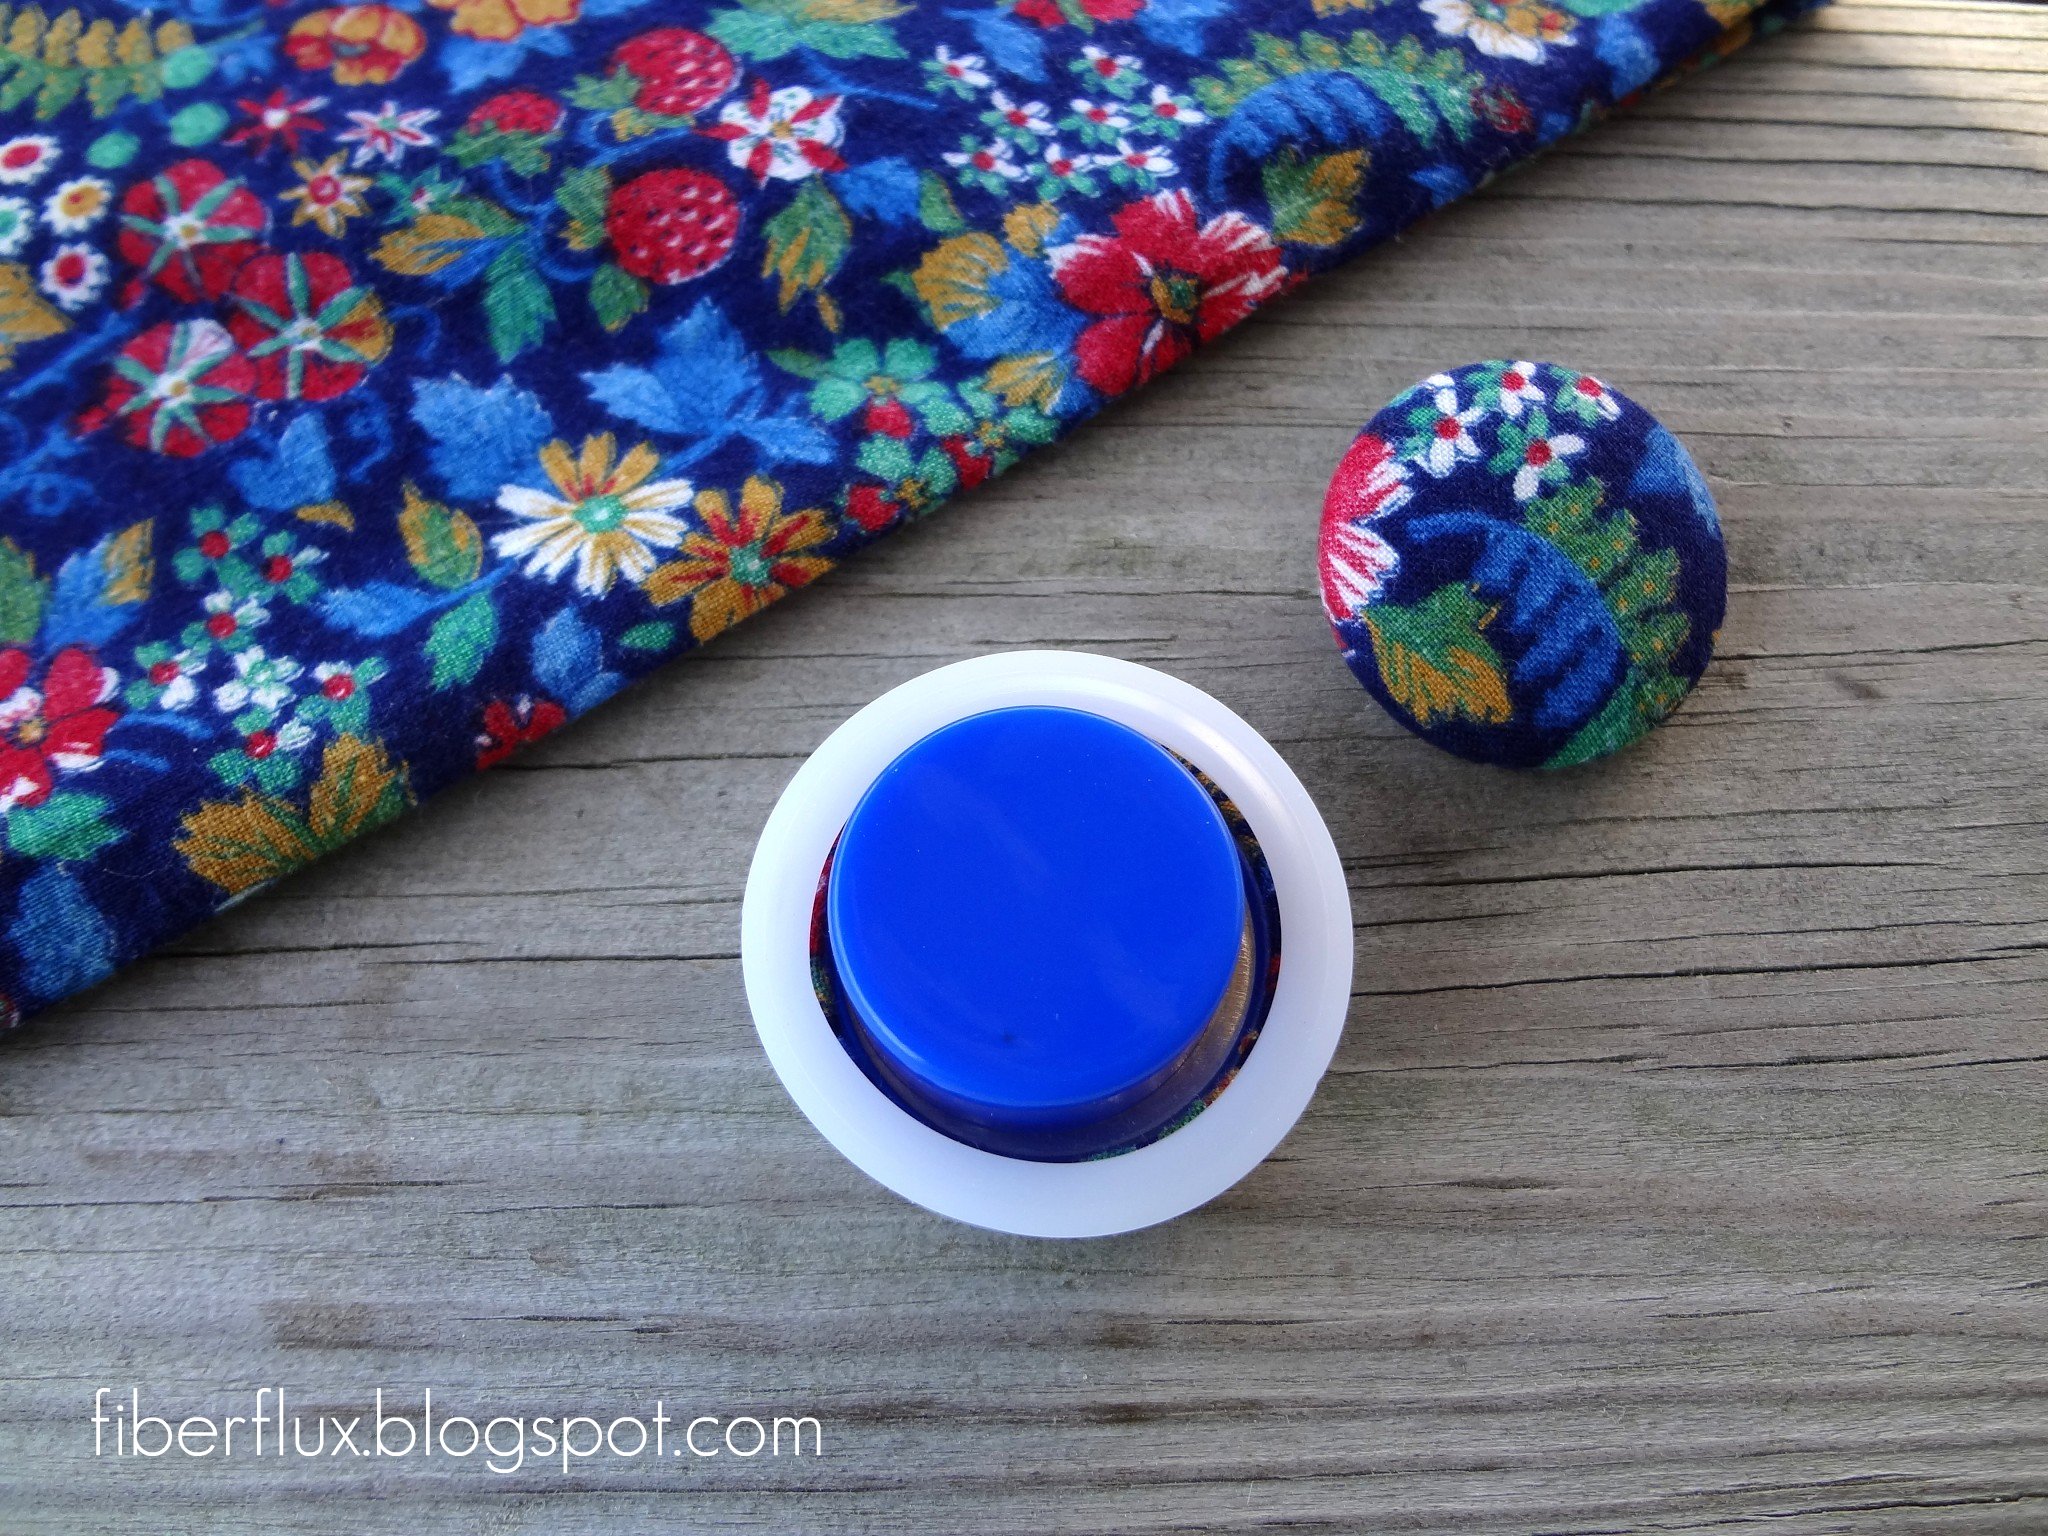
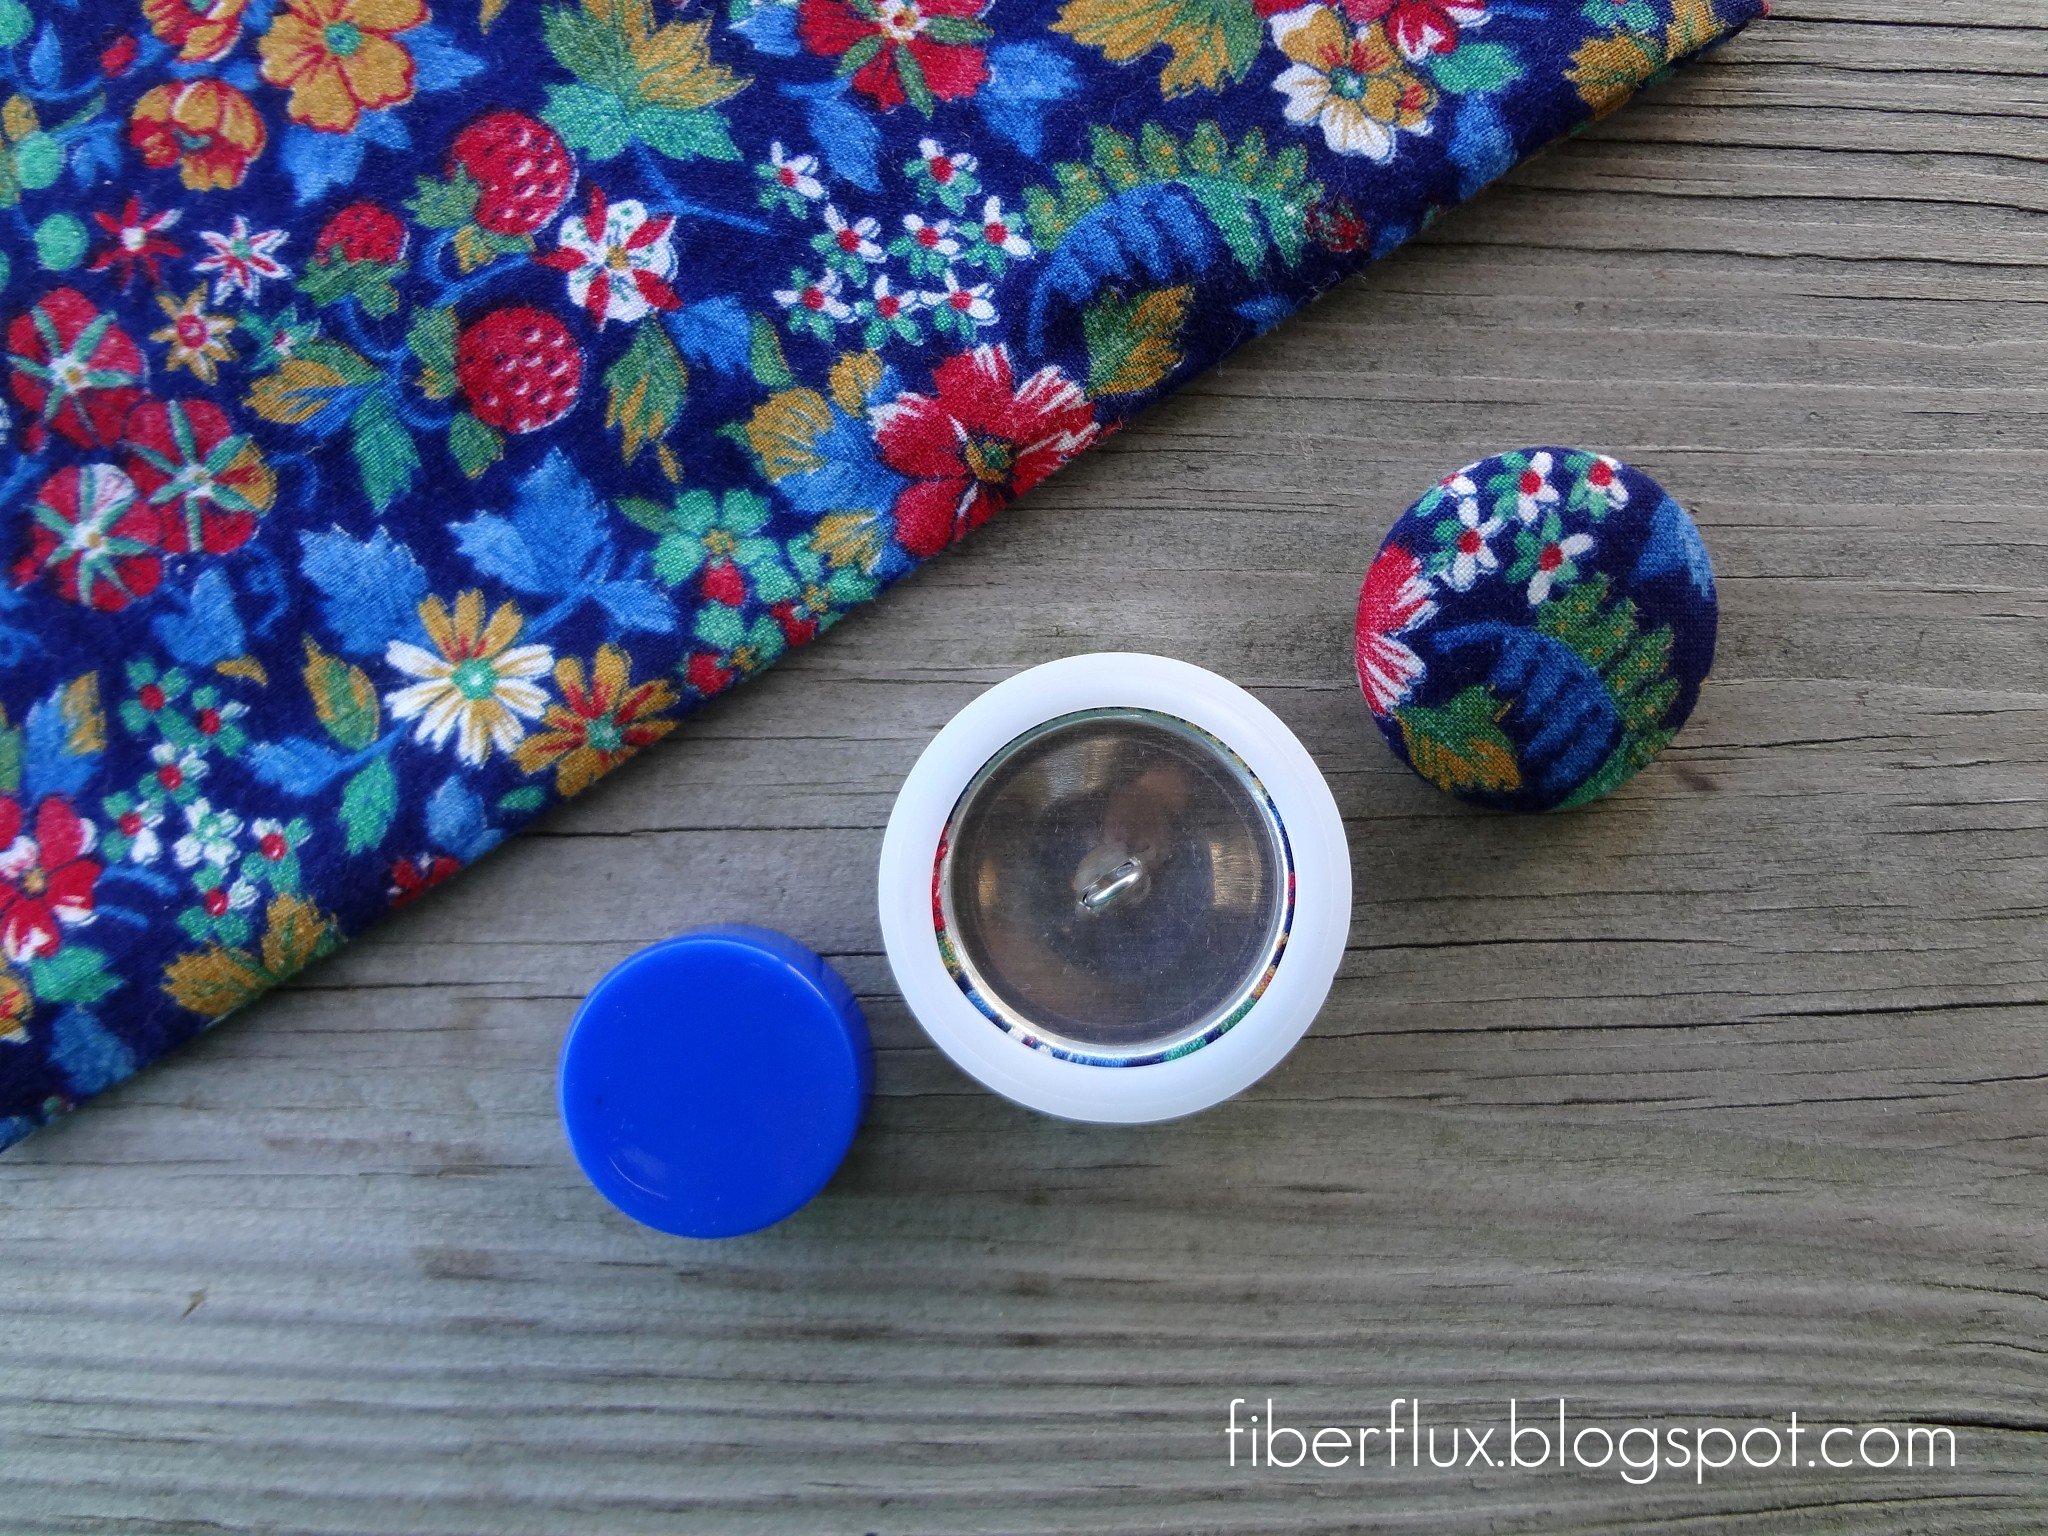
Now remove the blue part,
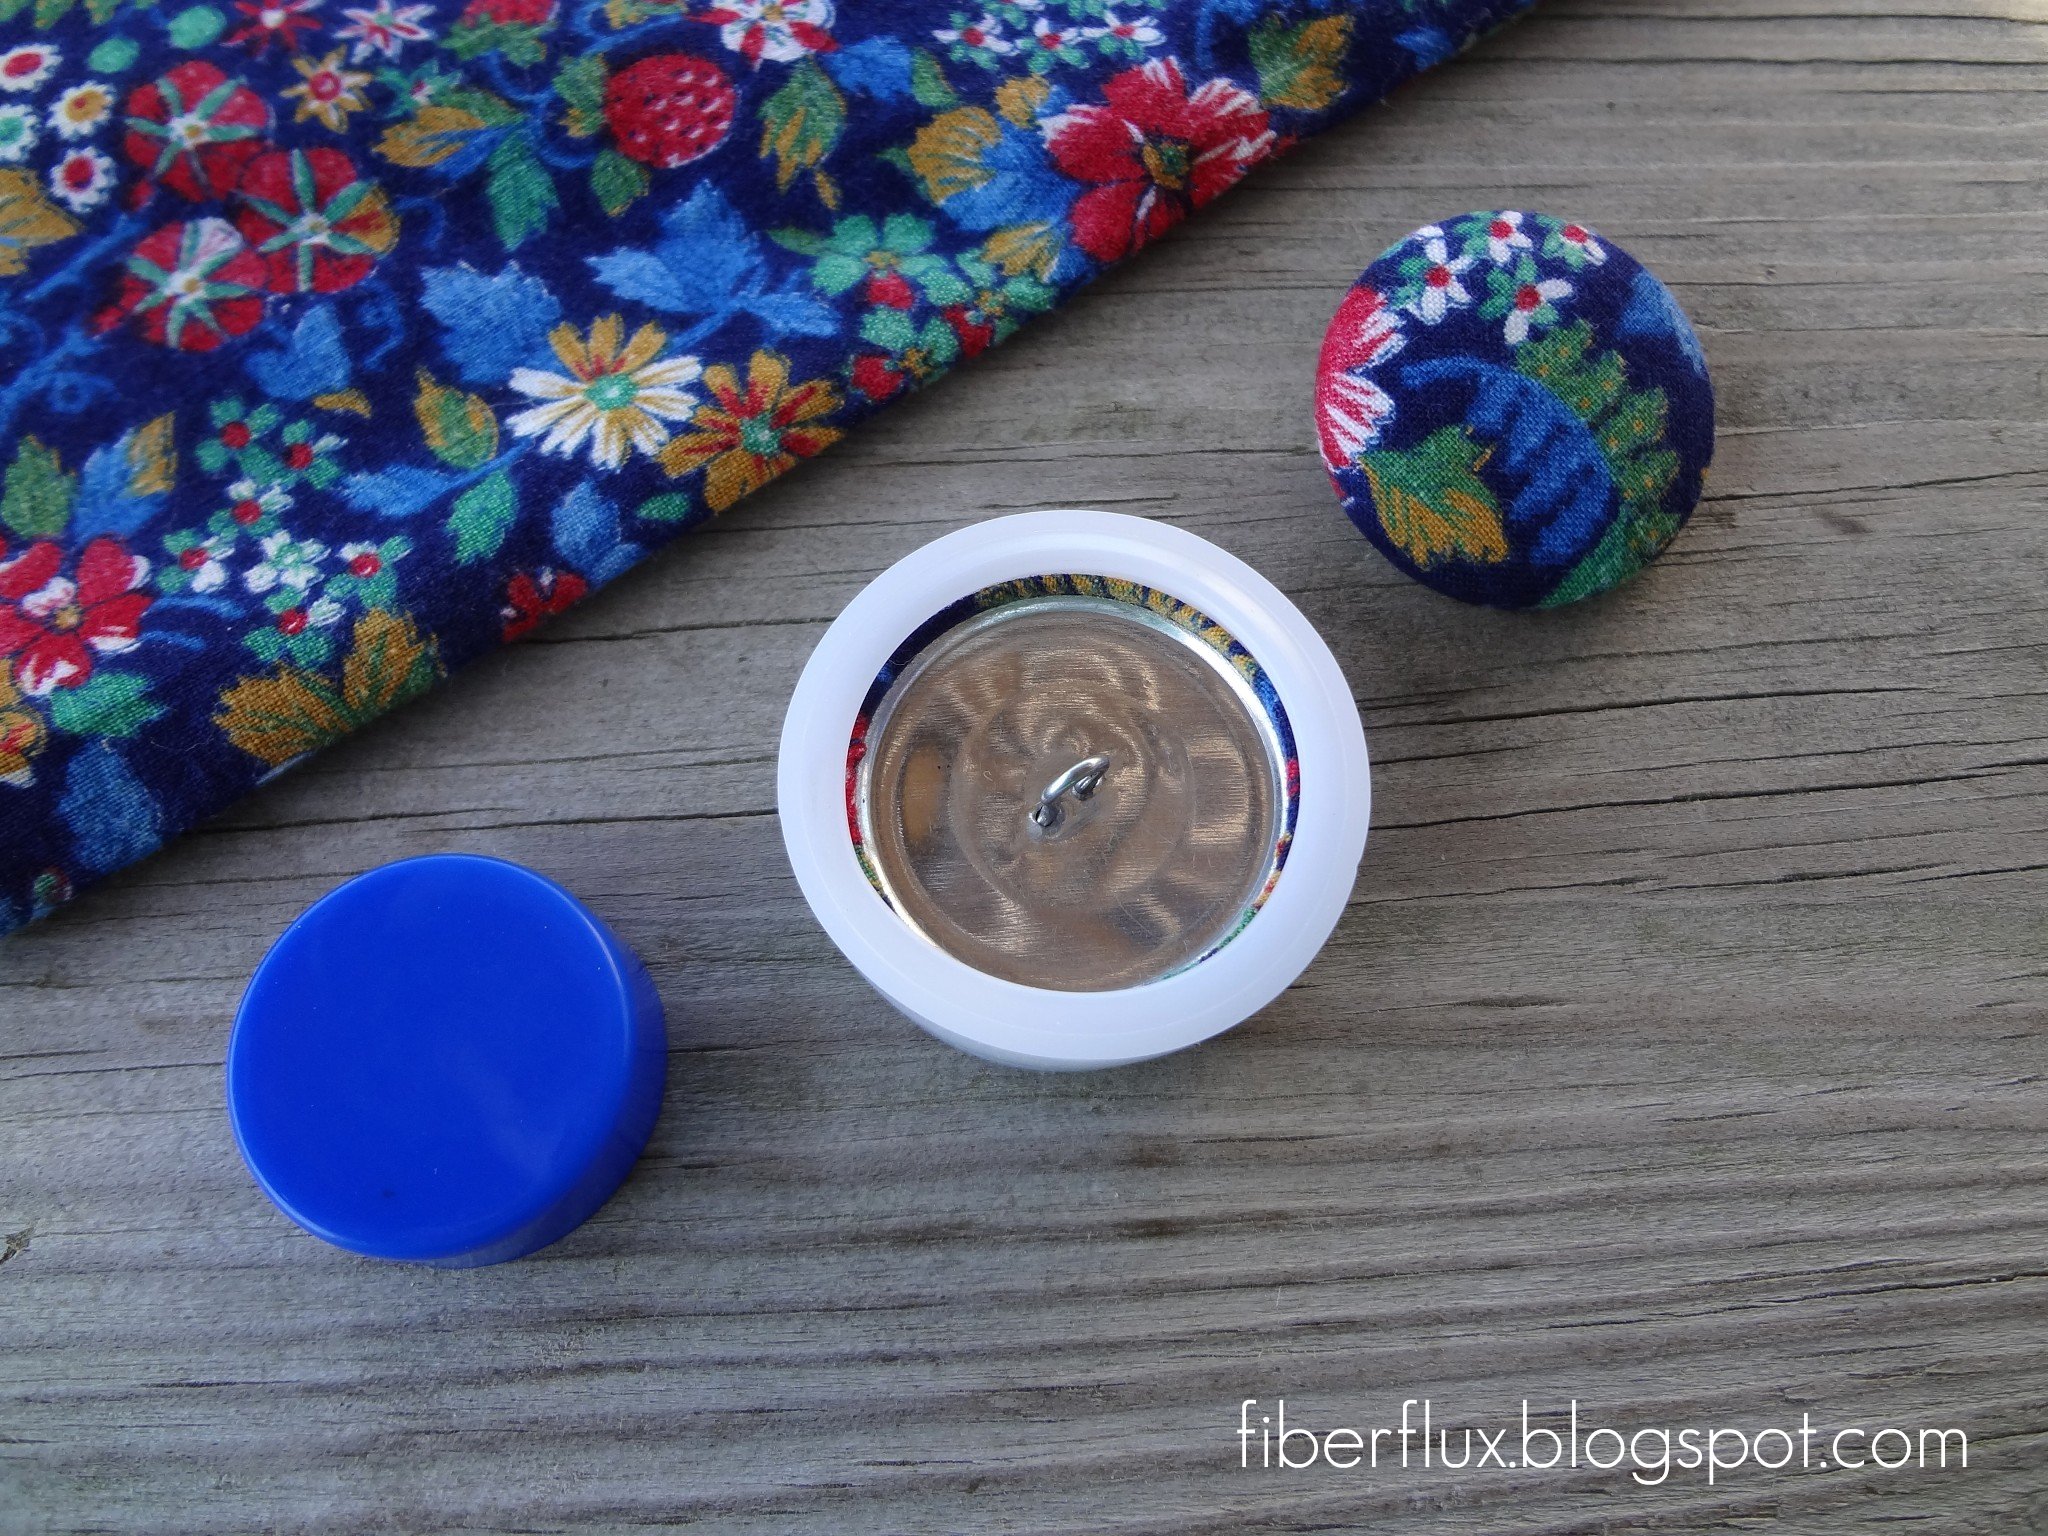
And pop the button out,
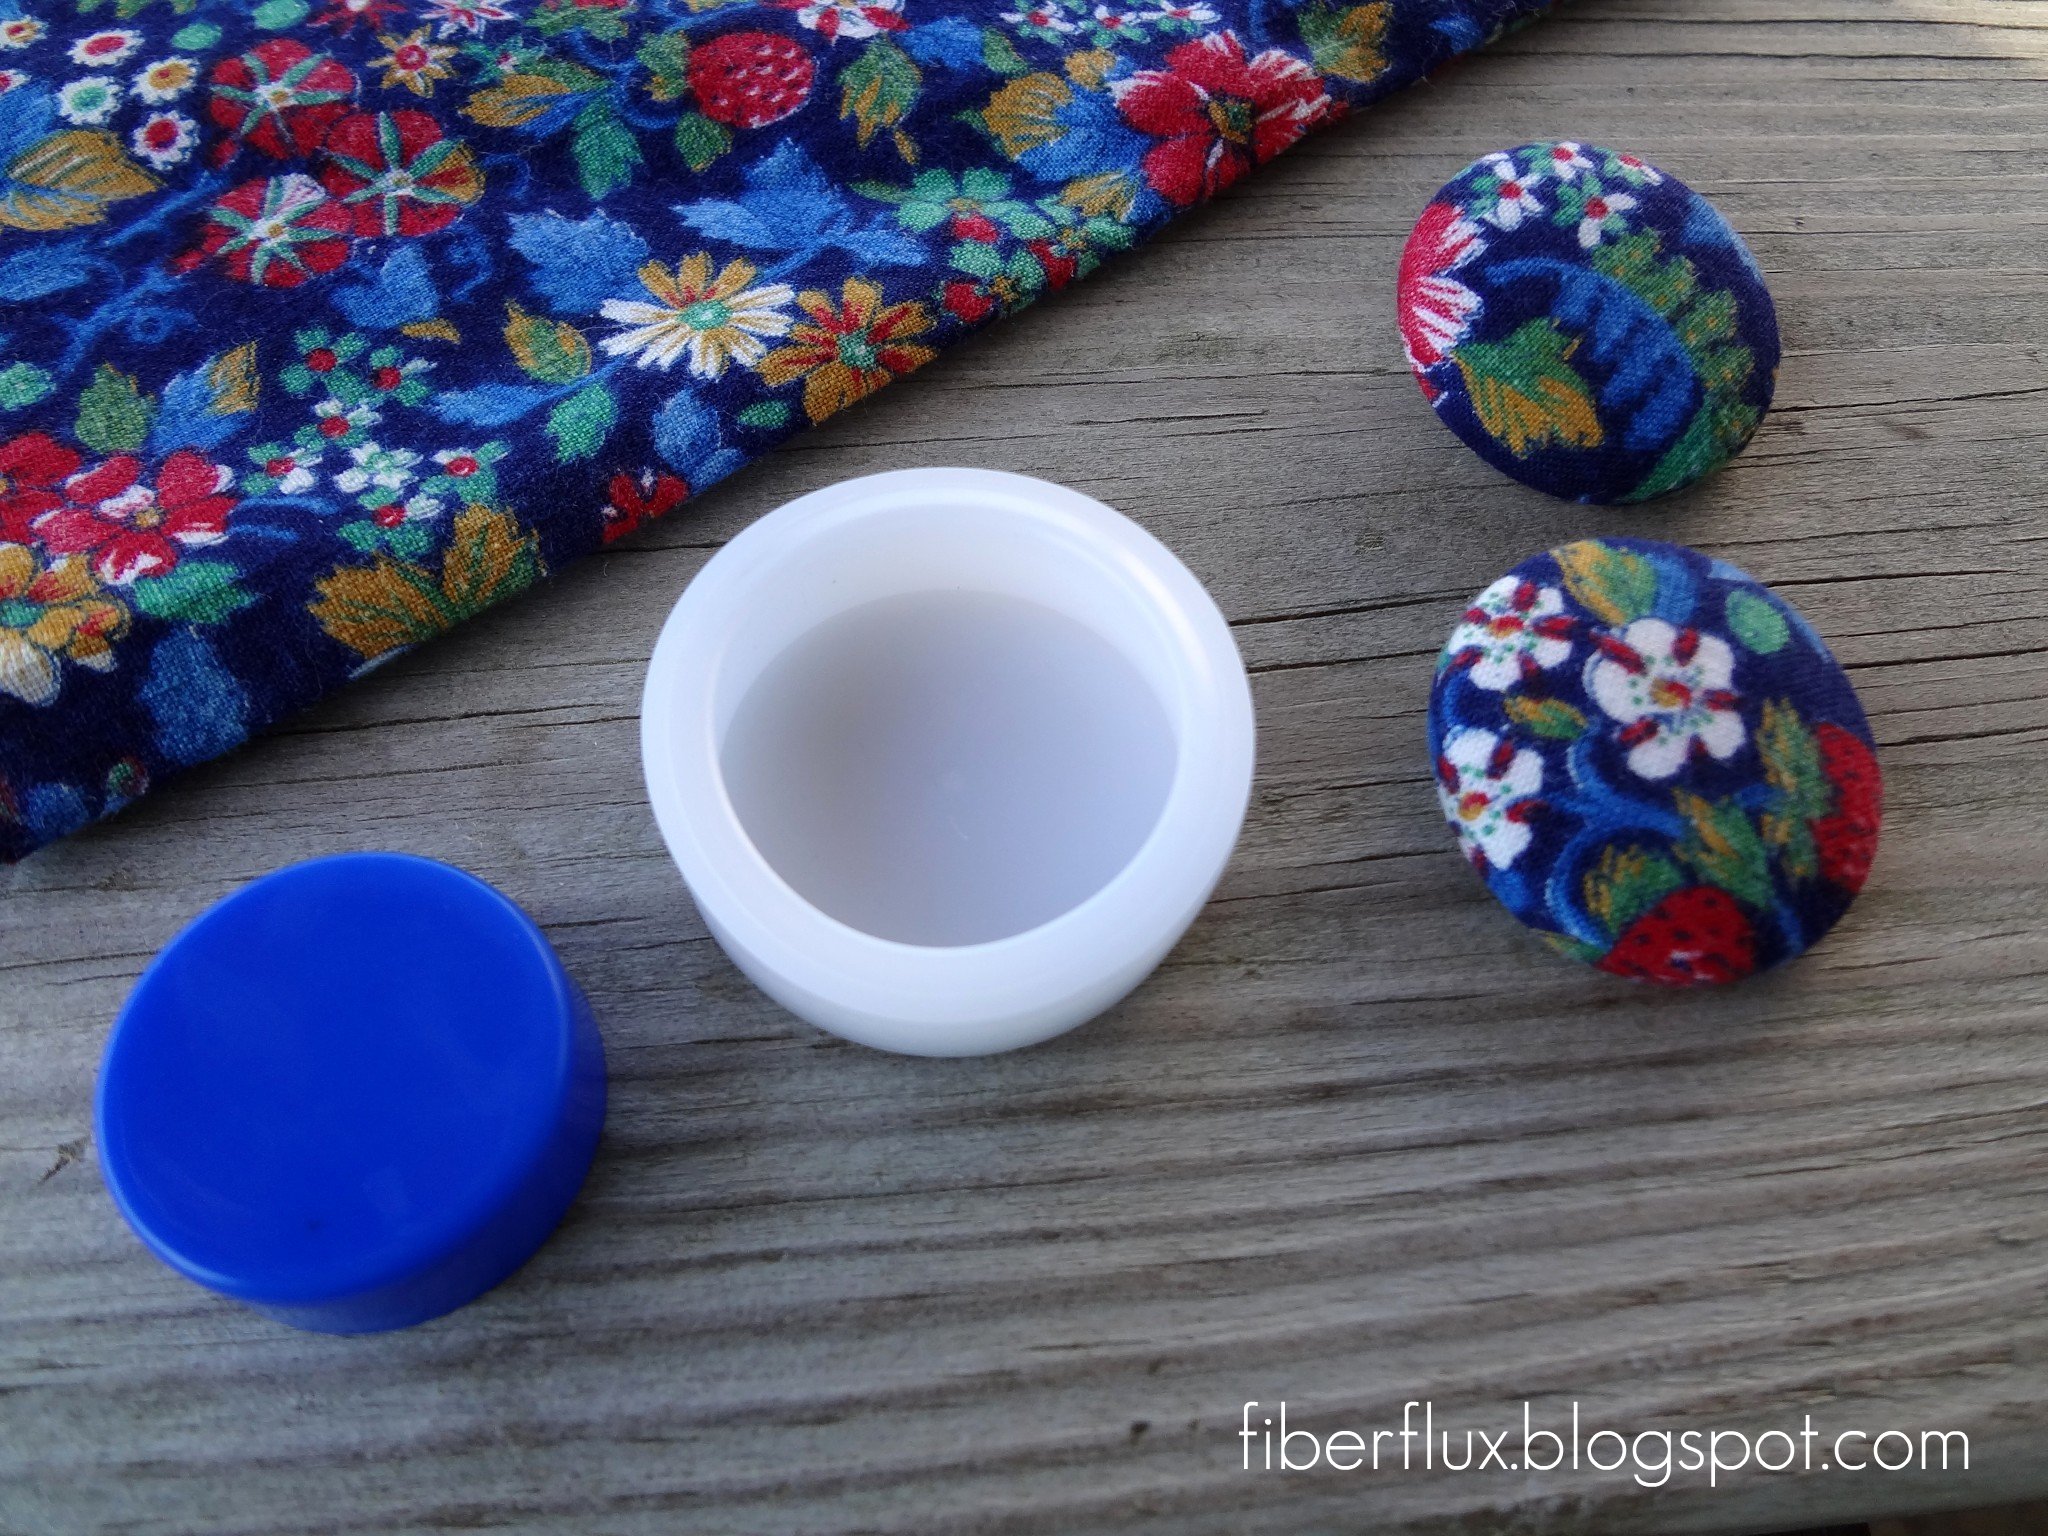
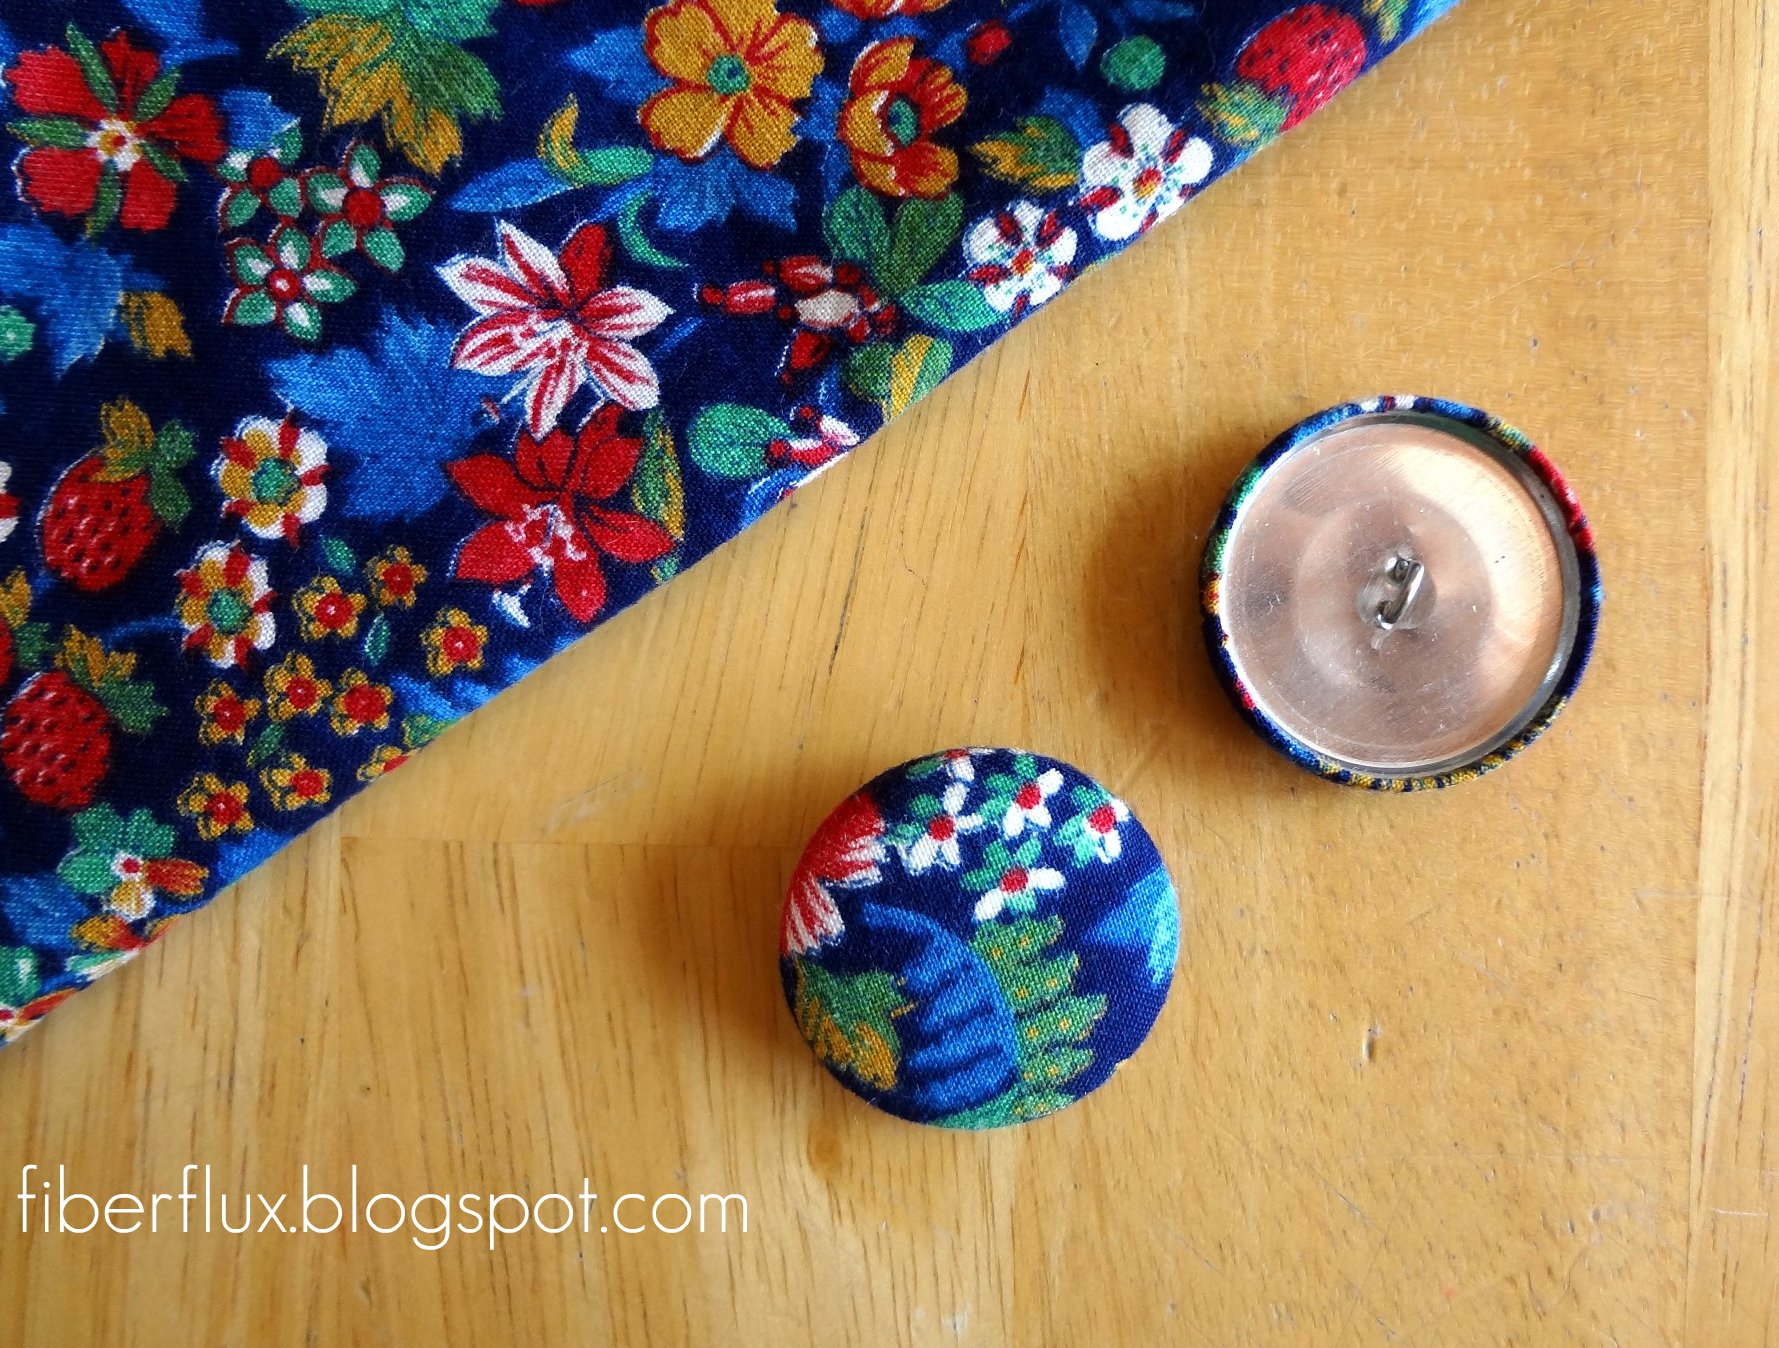
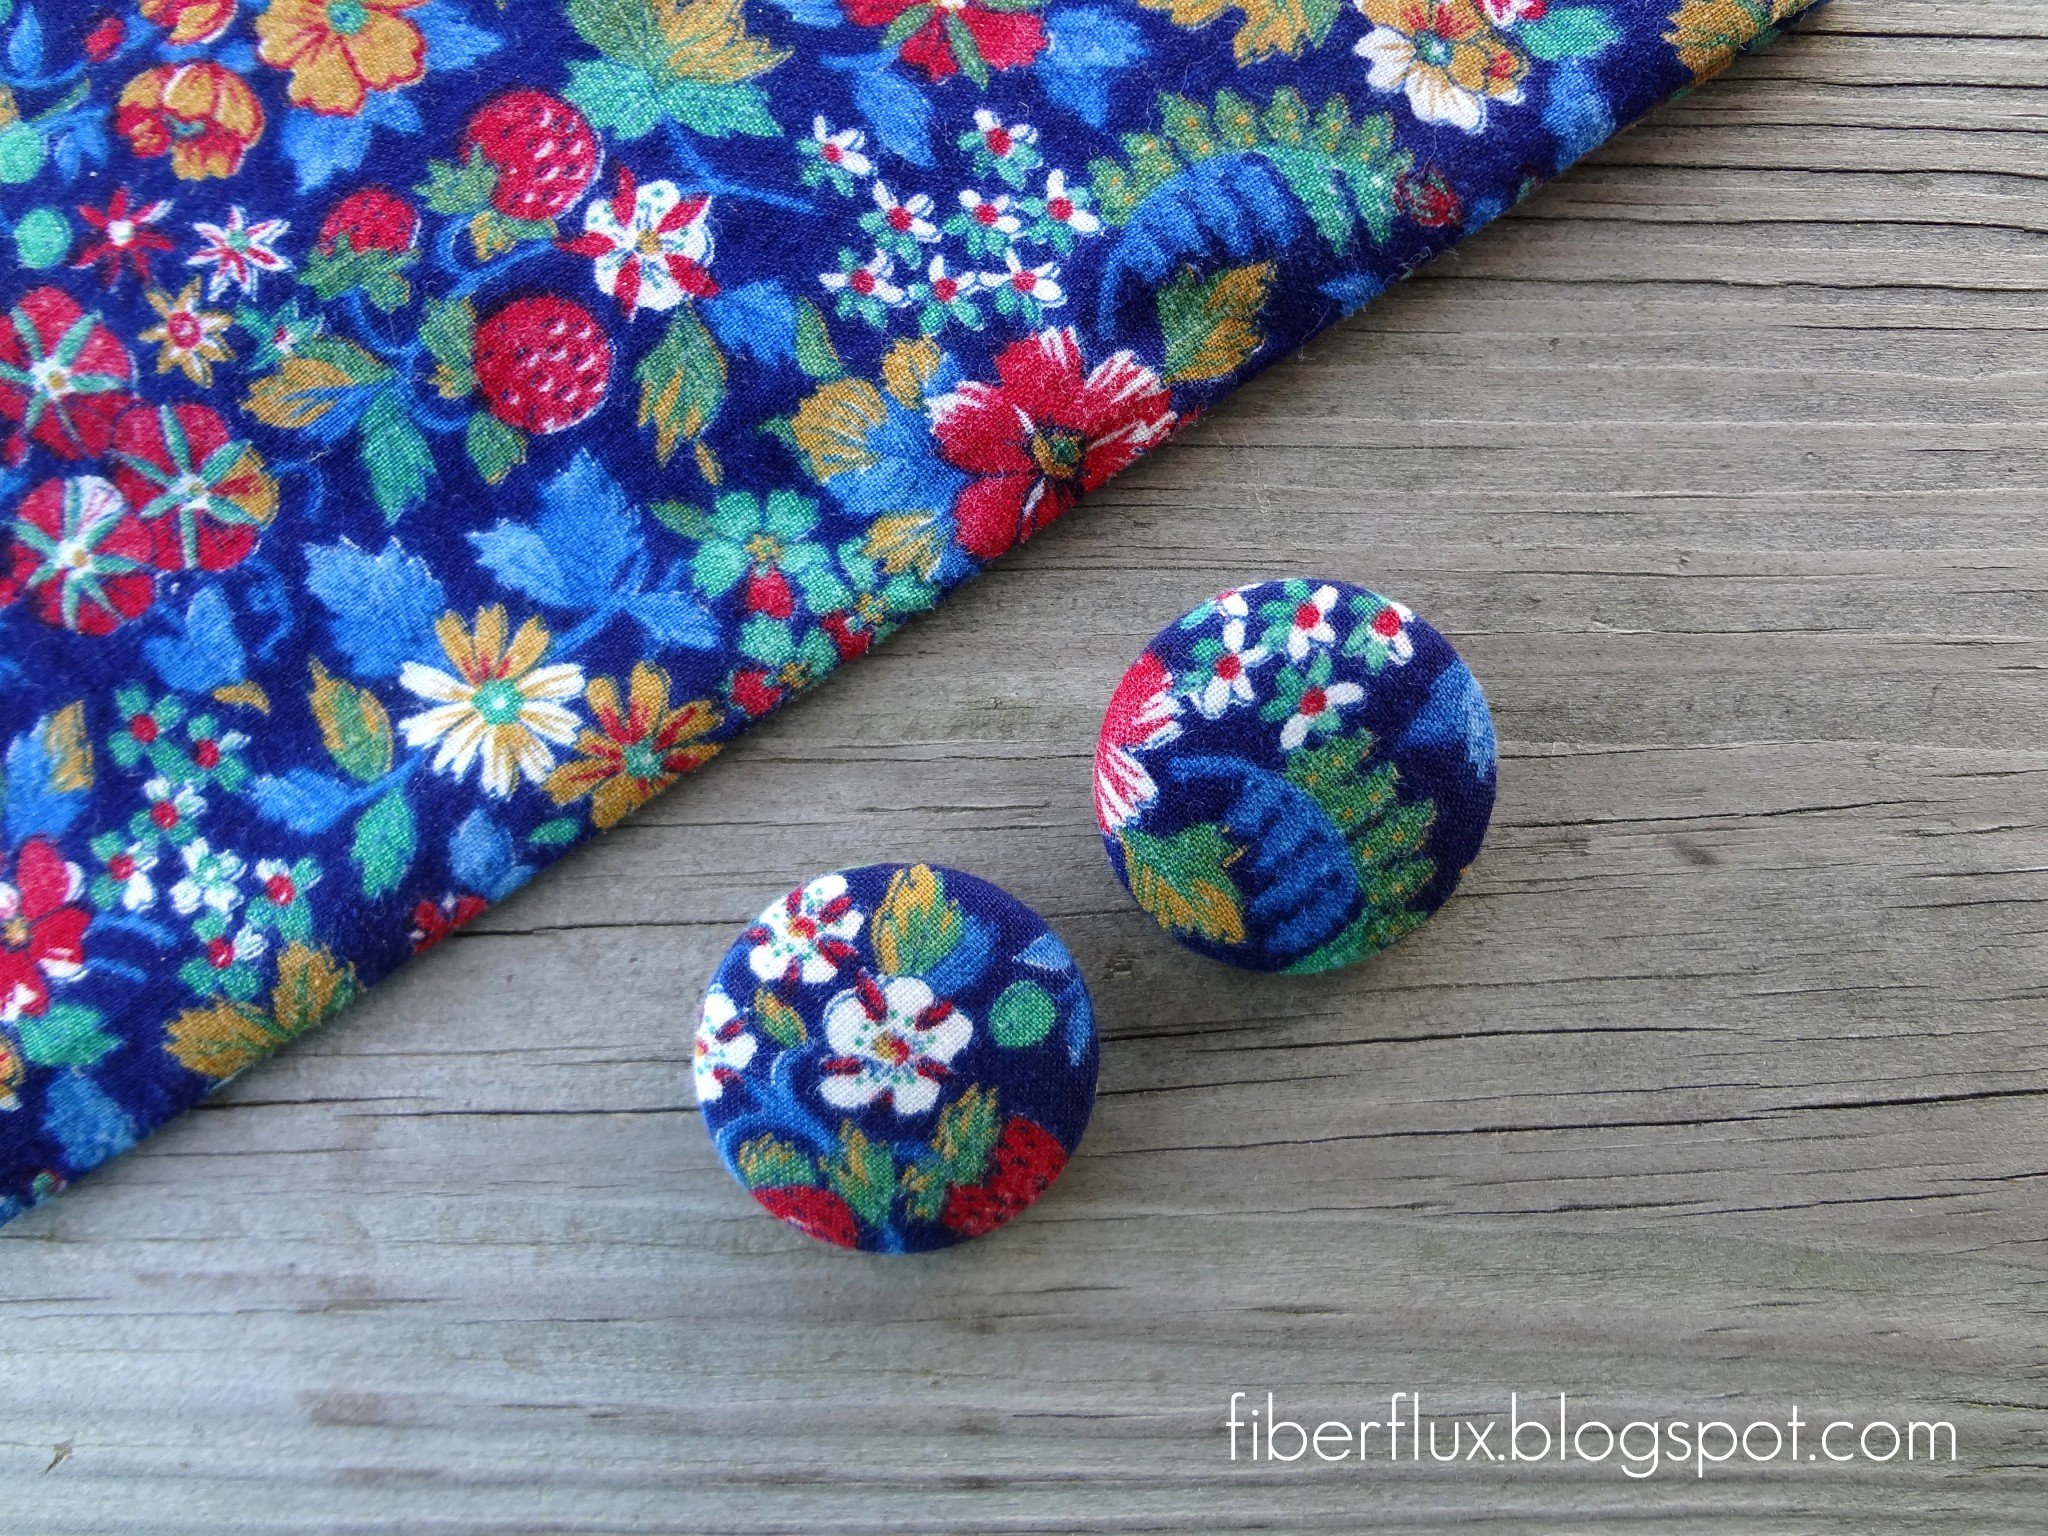
Perfect! Super cute handmade buttons!
Here’s what the finished backs look like too…
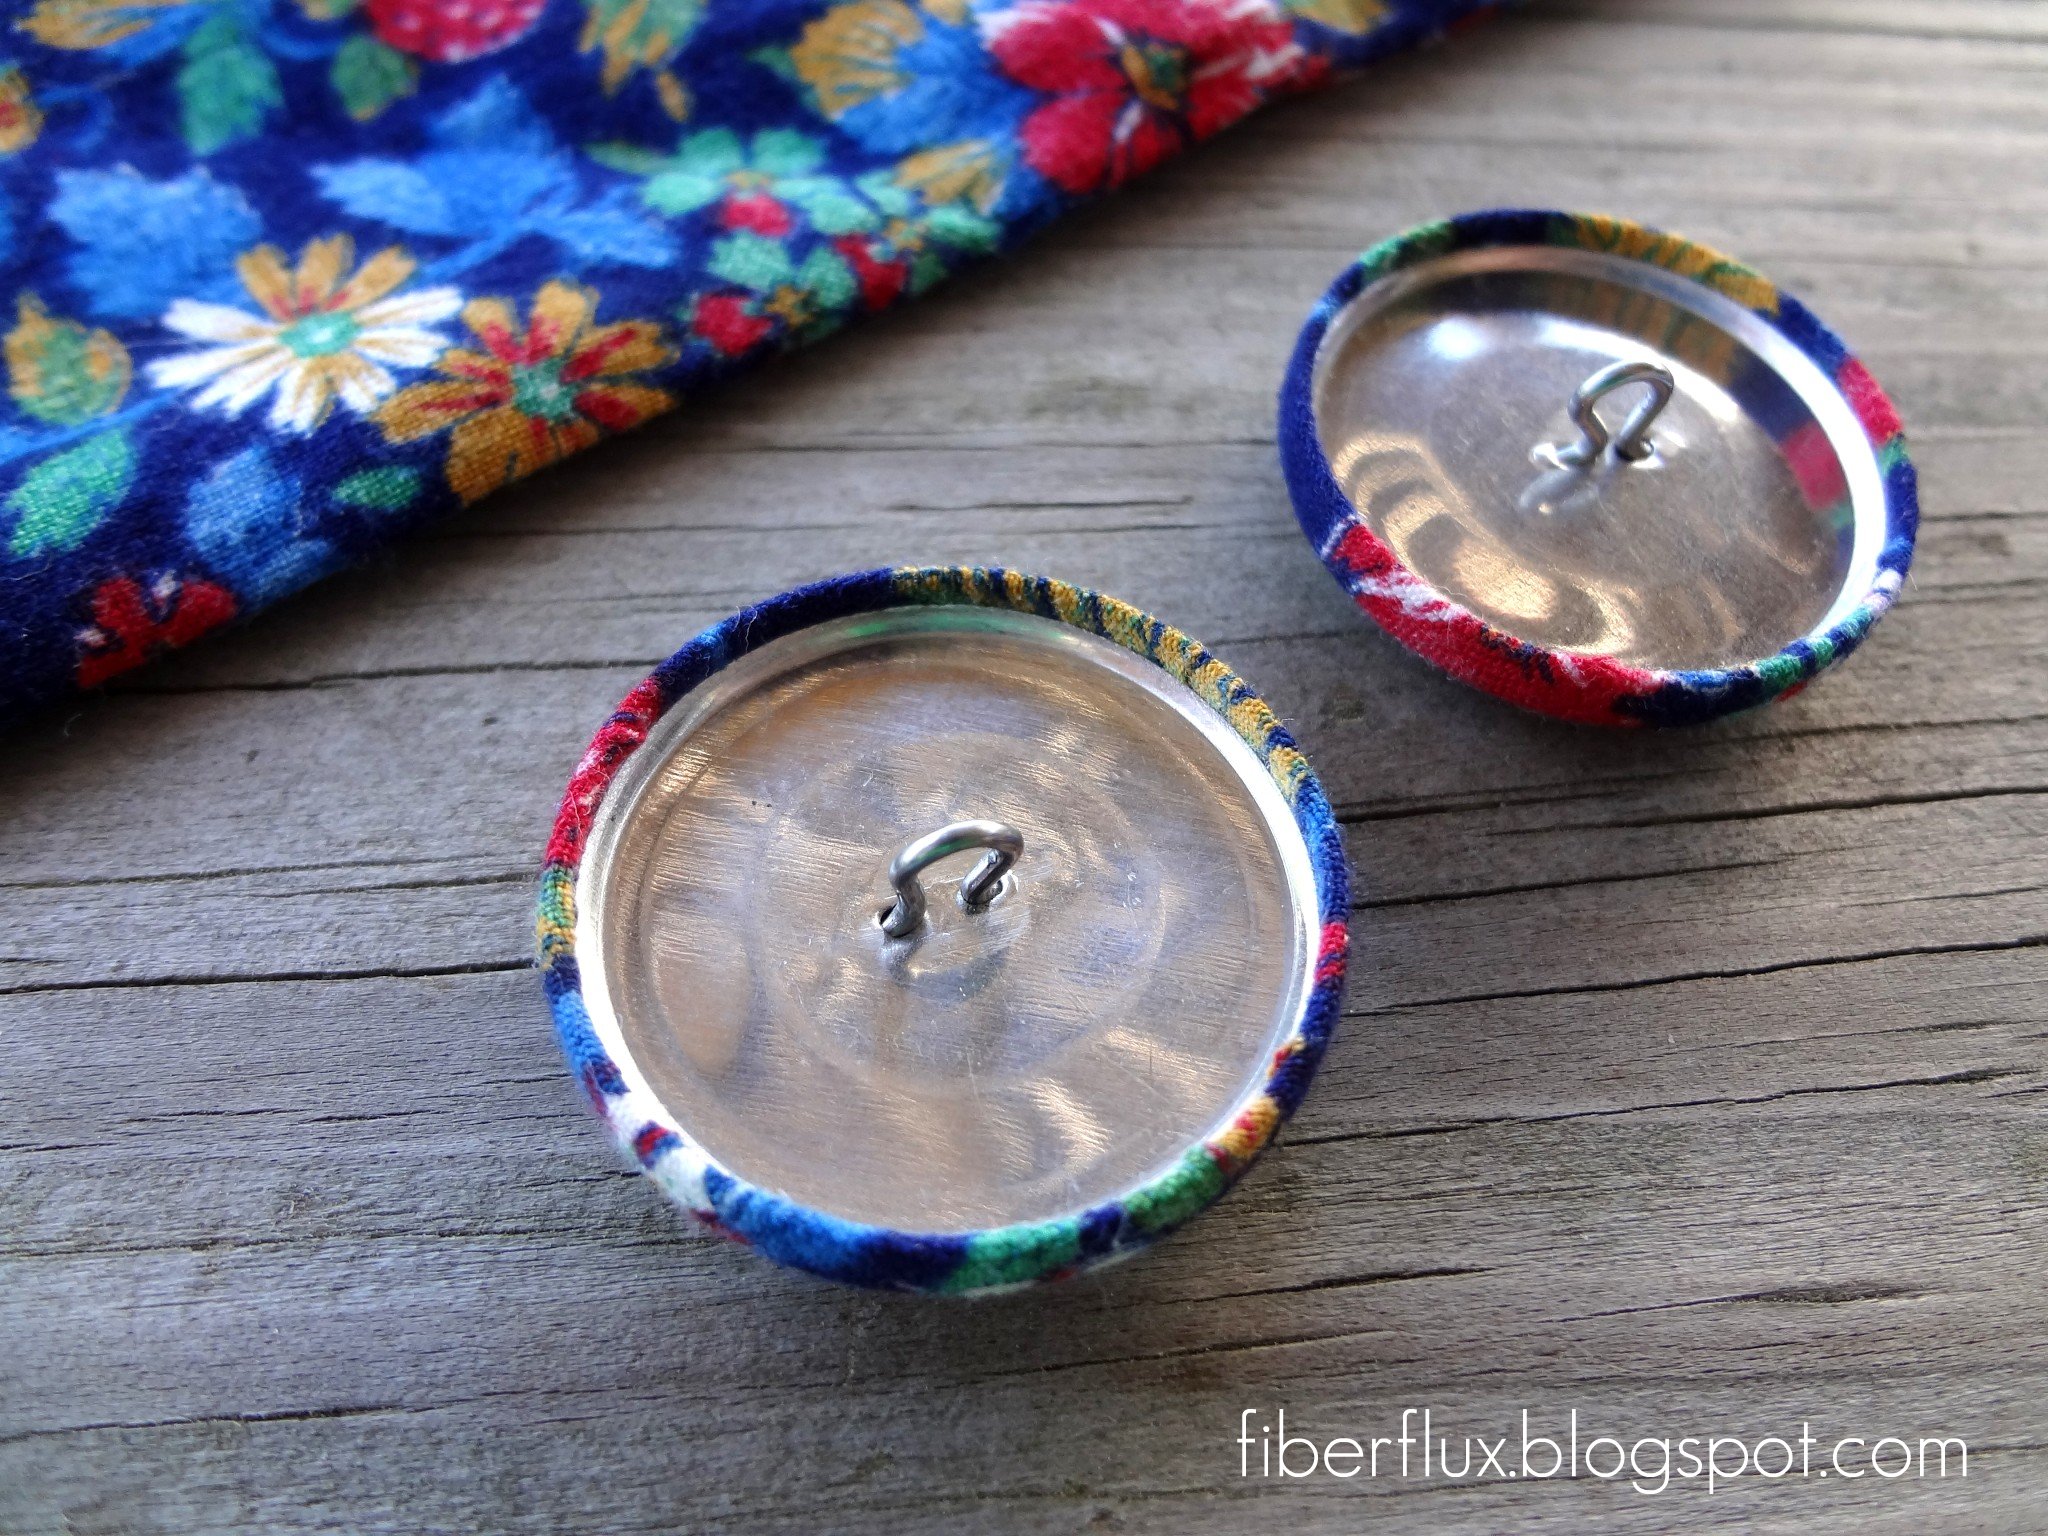

These are lovely! There is something very rewarding about making your own buttons!
Amazingly, this is one technology that has not changed! When I first began sewing 50 years ago, we made covered buttons to match the dress or blouse we were making. I agree, it is lots of fun. I still have a button-covering kit and it's just like yours, only the blue part for pushing the shank into the button is not blue! Whoever designed this process got it right the first time!
So cute! I would love to try this, i may have to invest in a button making tool!
The little kit with the button parts comes with the tool, and it is all for just a few dollars…yay! 🙂
Can you tell me where to find this kit. Is it available on Amazon?
This comment has been removed by a blog administrator.
This comment has been removed by a blog administrator.
This comment has been removed by a blog administrator.