
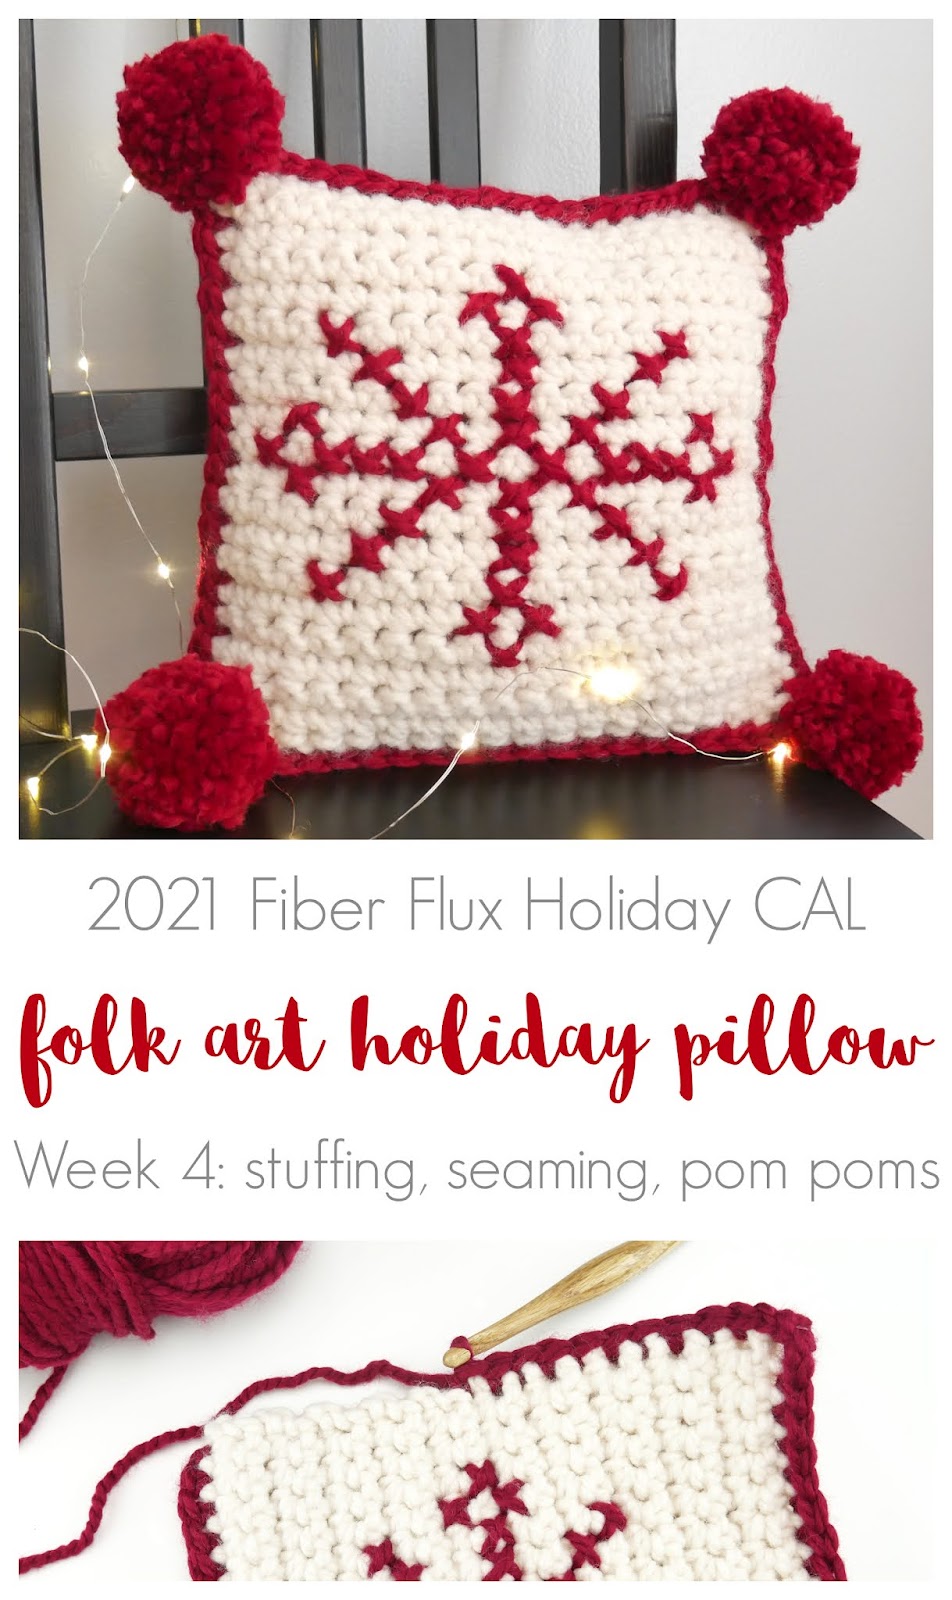
Welcome to the 2021 Fiber Flux Holiday Crochet Along…hooray! Today marks week four of the CAL and today we’ll be assembling the pillow, including seaming, stuffing, and adding pom poms to our pillow! This is a quick item you can make for your home, a quick gift, or as accompaniment to a gorgeous matching afghan too!
We will be going over a few things today to begin:
- Assembling all of the parts
- Seaming the panels
- Stuffing the pillow
- Weaving in ends
- Adding pom poms
- Schedule of the CAL
- Where to connect with other makers

Be sure to scroll down for the schedule with actual dates and what we’ll be doing on each day/week.
*This is a self-paced project, so definitely go at the speed you feel most comfortable. The instructional videos and posts will be up forever and you will always be able to go back and watch again and again!
Click here to queue up on Ravelry!
Here is a quick video introduction to the CAL and more information about supplies too:
Here is this week’s video:
Can’t see the video? Click here!
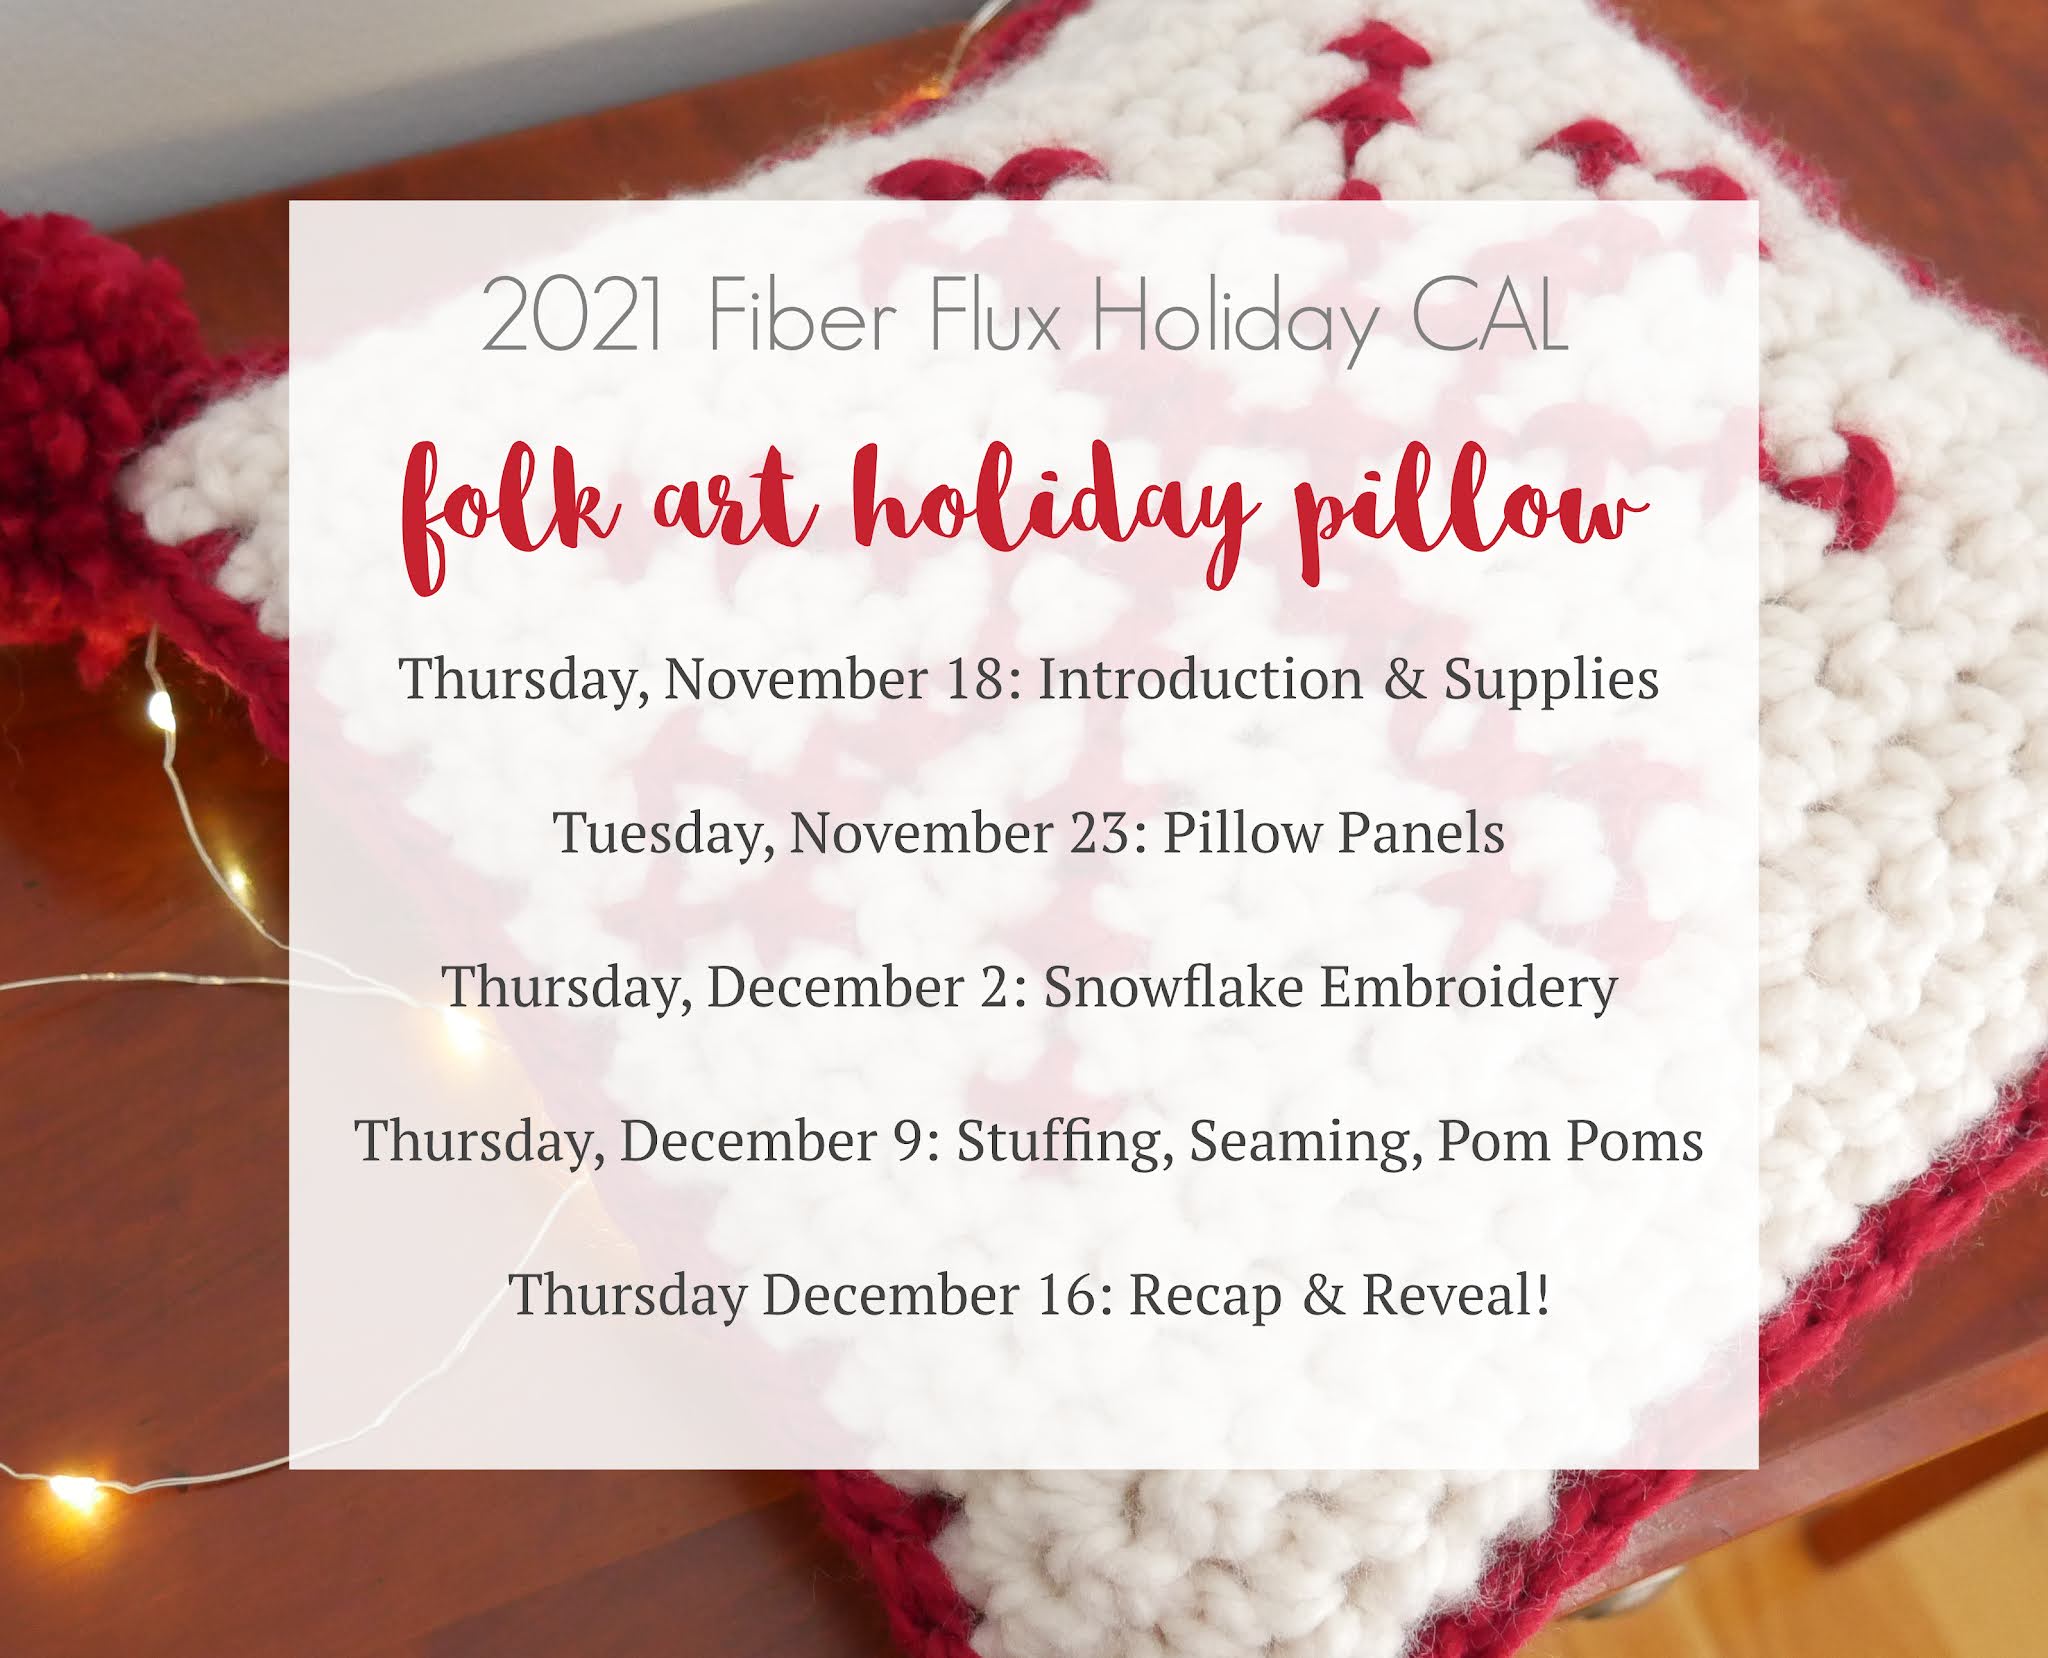
Here’s our CAL schedule below for easy reference:
- Thursday, November 18: Introduction & Supplies
- Tuesday, November 23: Pillow Panels
- Thursday, December 2: Snowflake Embroidery
- Thursday, December 9: Stuffing, Seaming, Pom Poms
- Thursday December 16: Recap & Reveal!
Ok let’s get started!
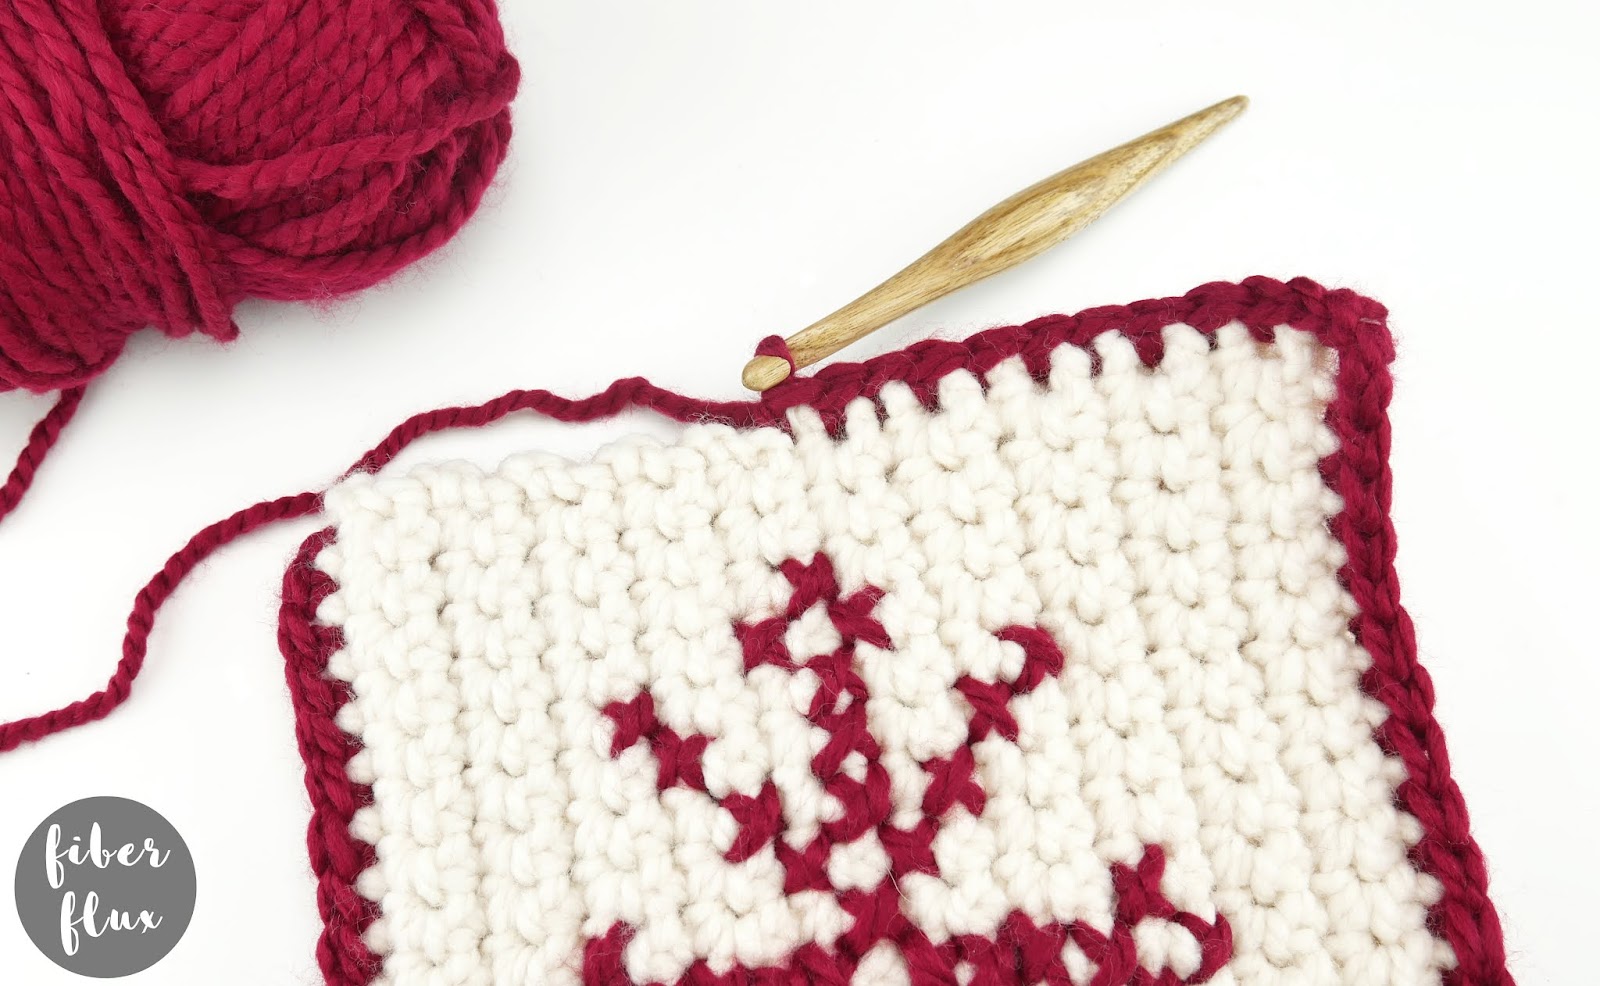
For today’s tutorial, you’ll need your two pillow panels plus the yarn you’ll be using to seam and make pom poms with. You’ll also need your pillow stuffing/pillow form.
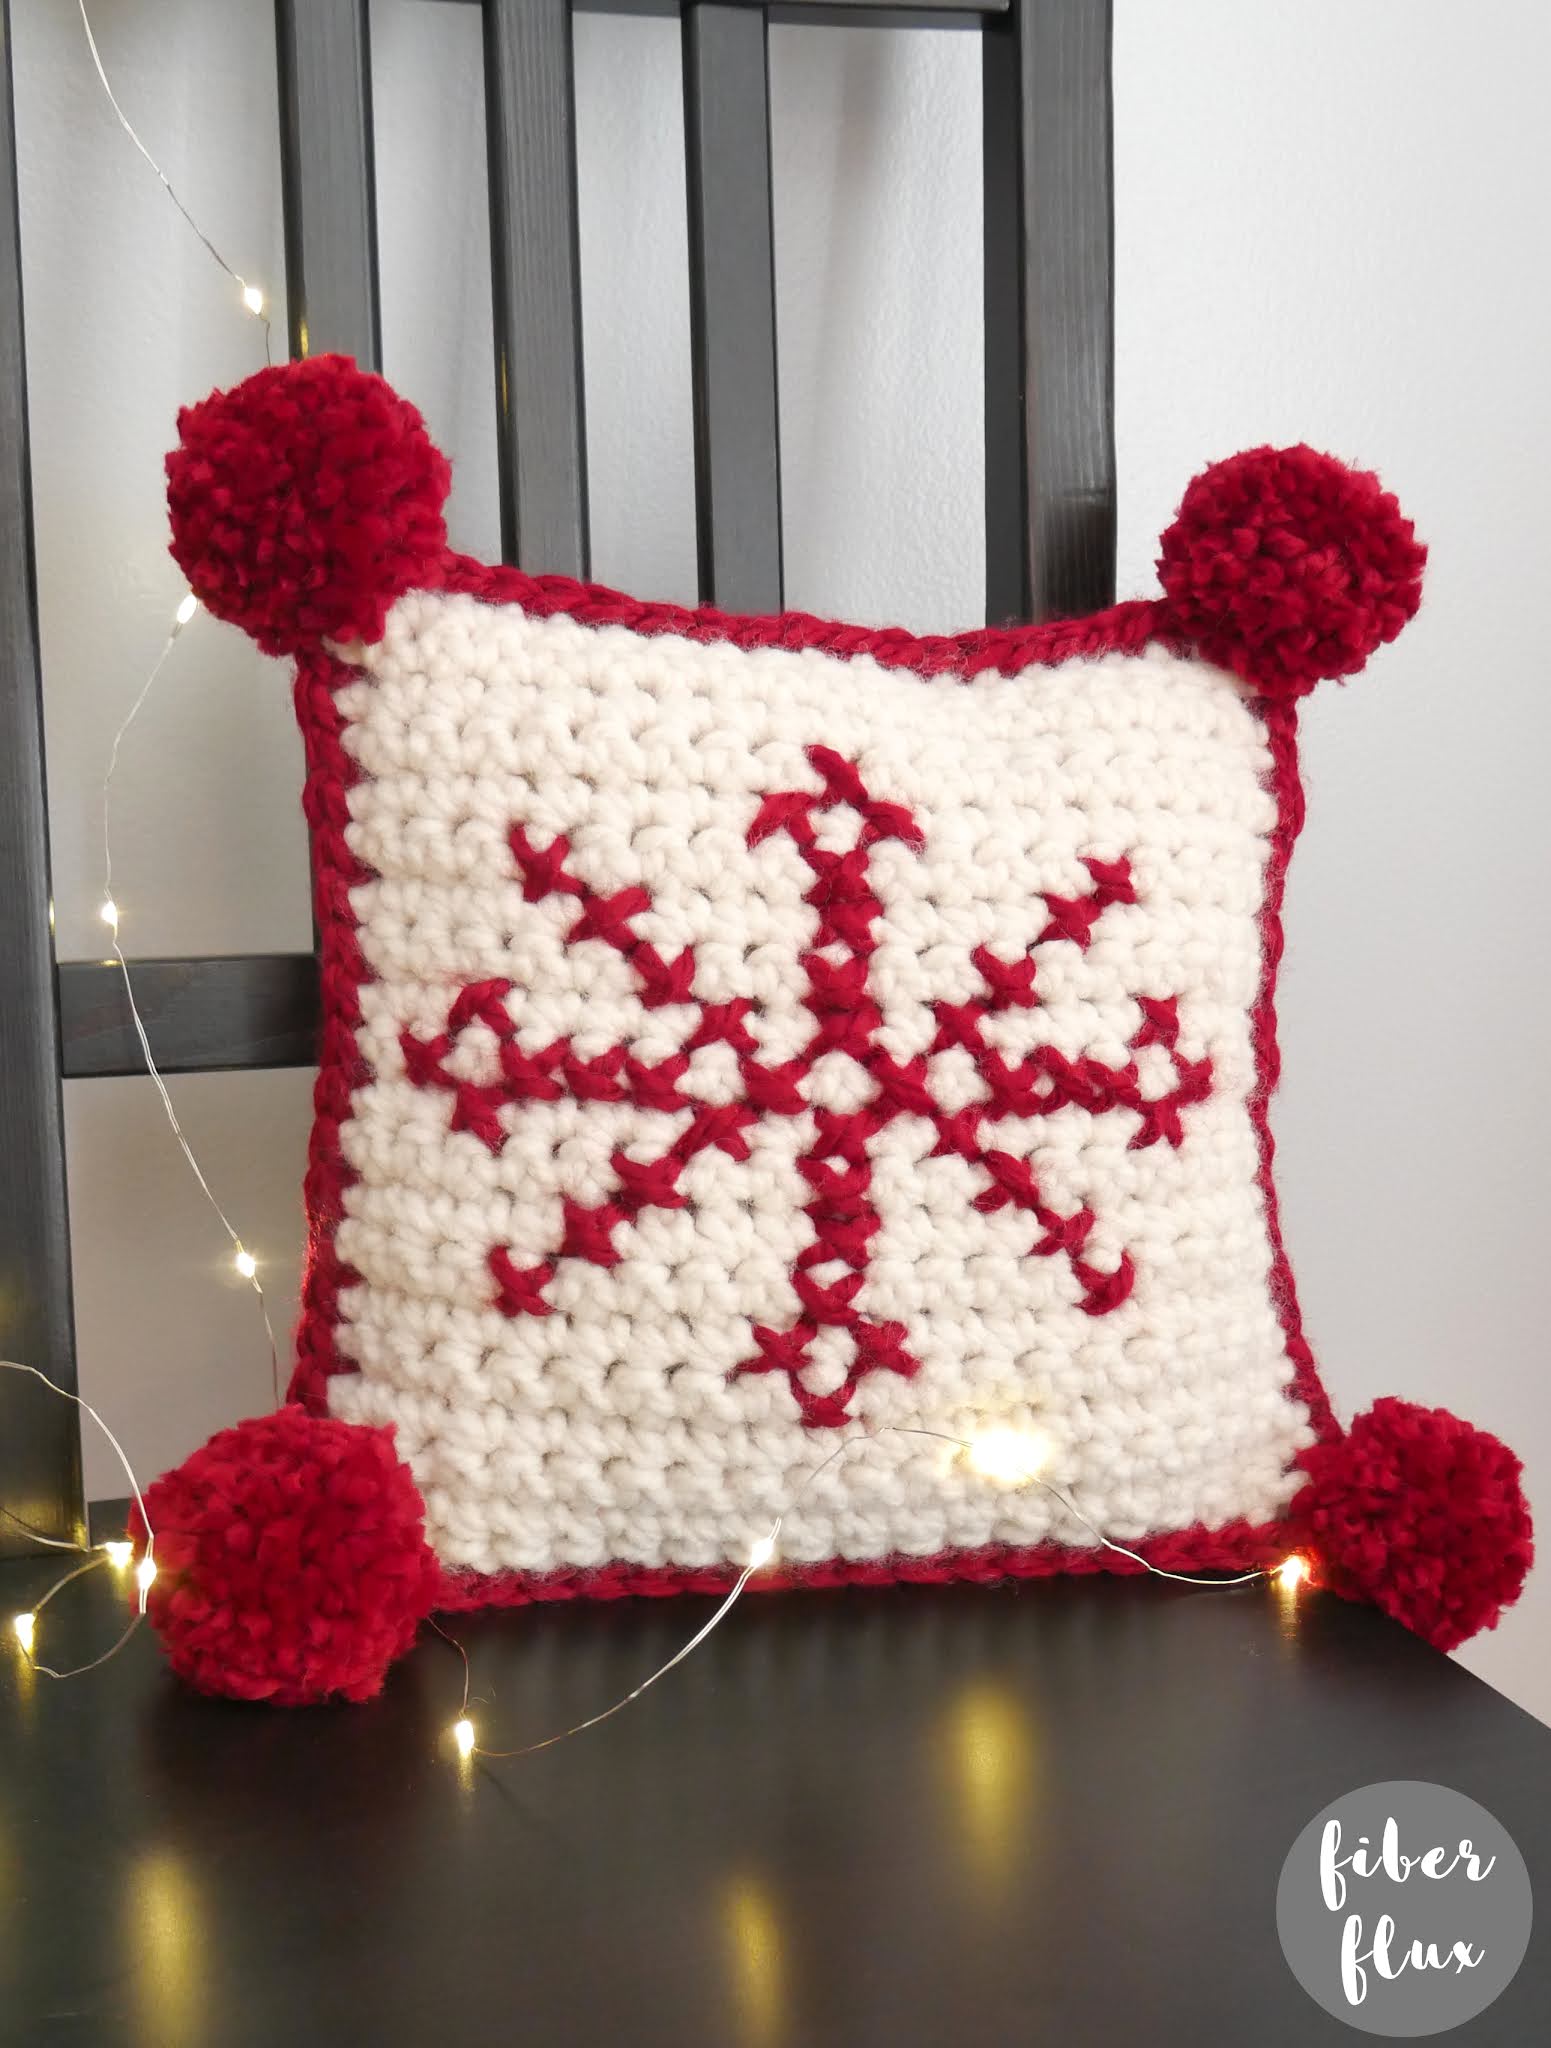
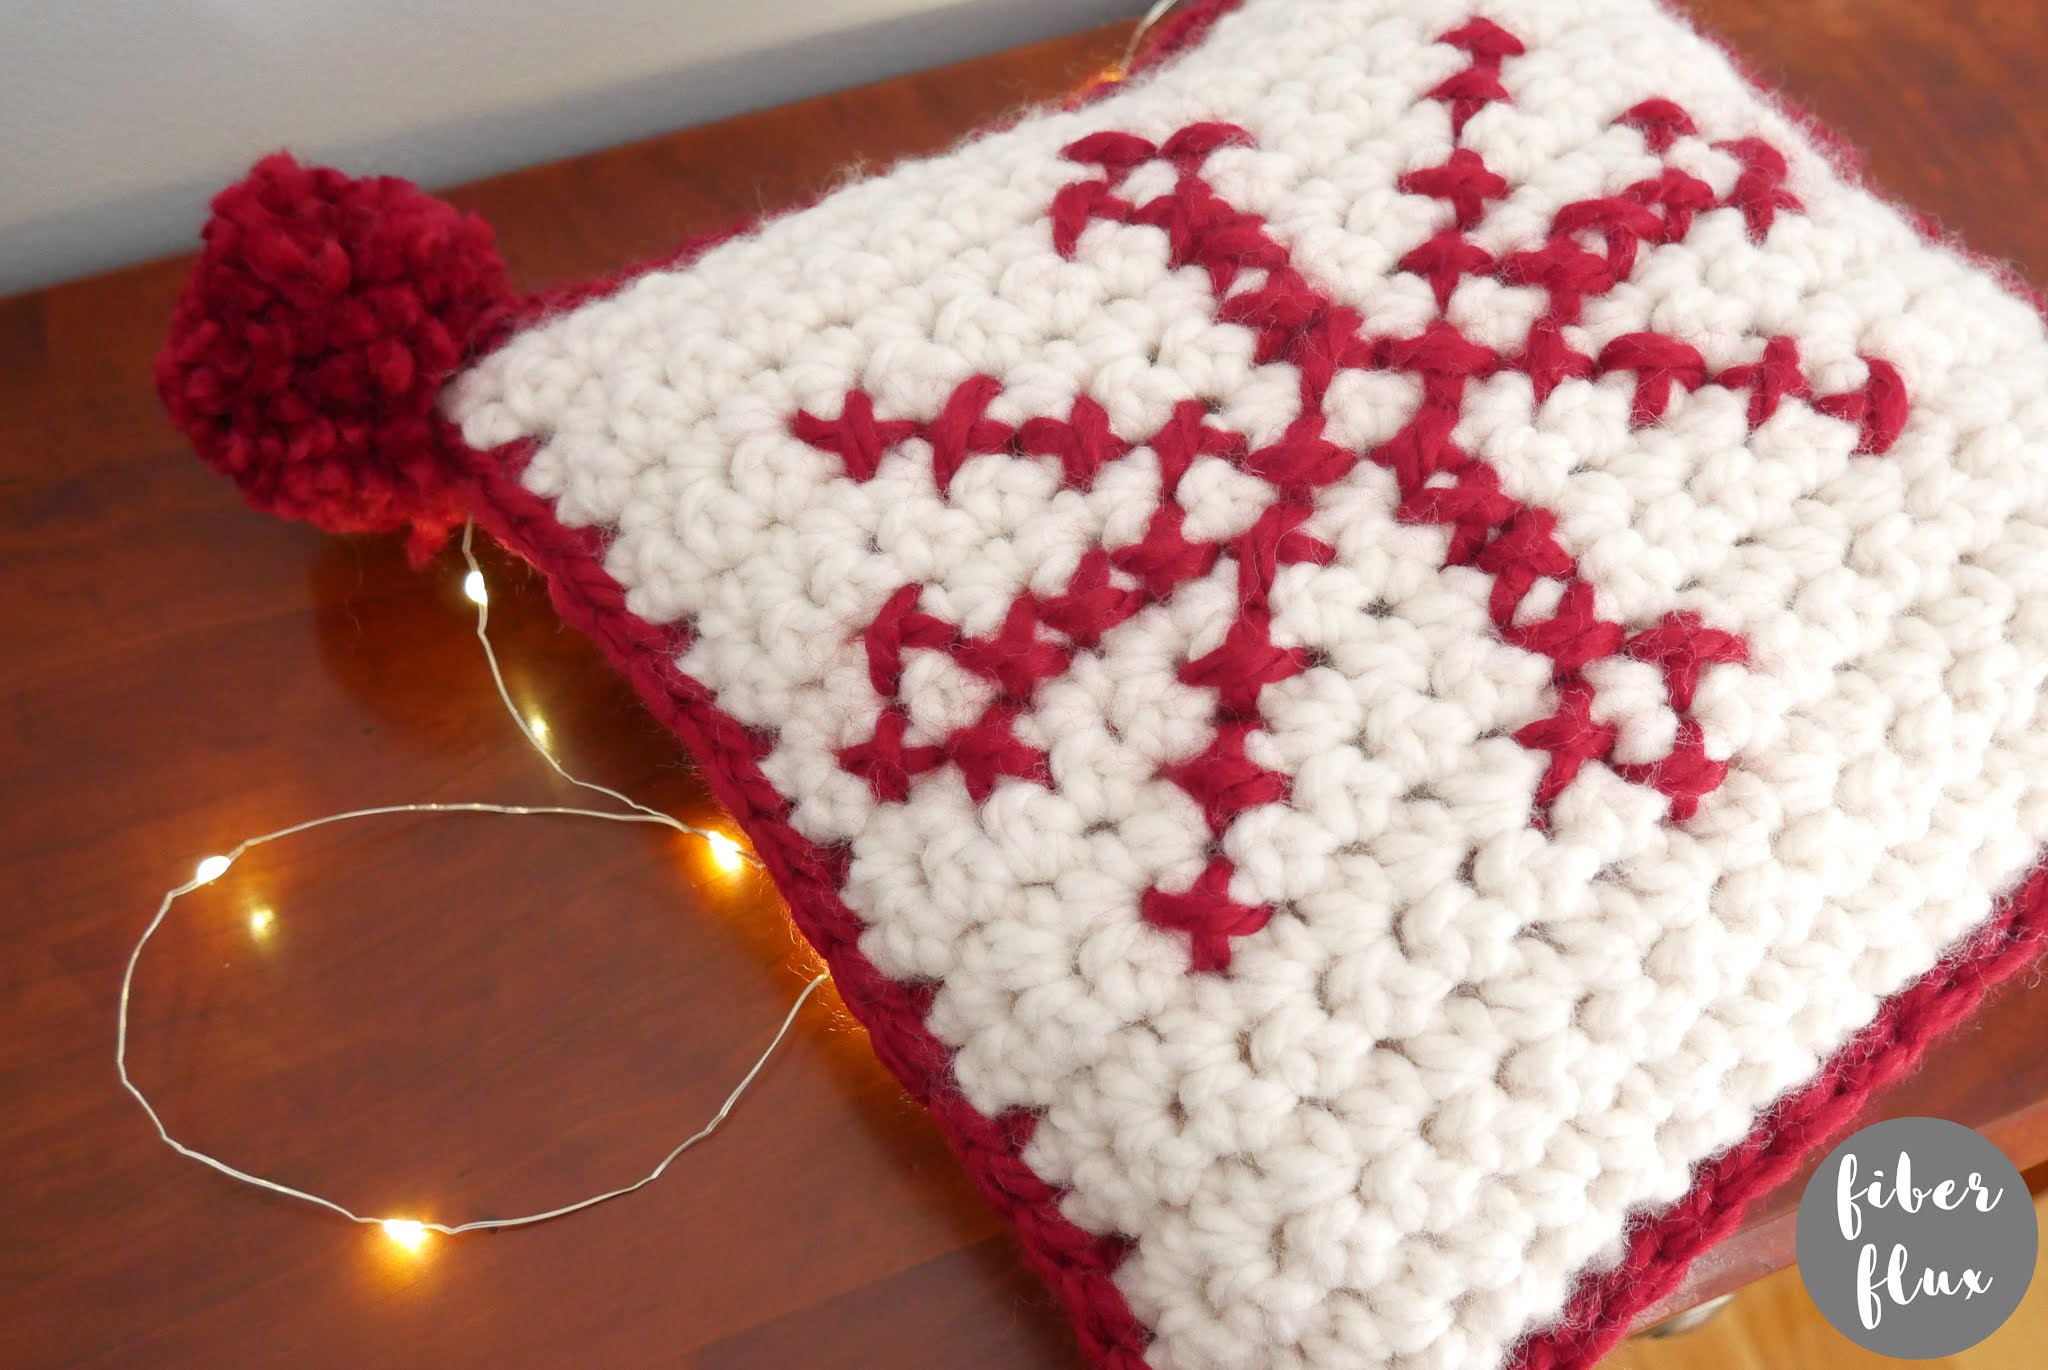
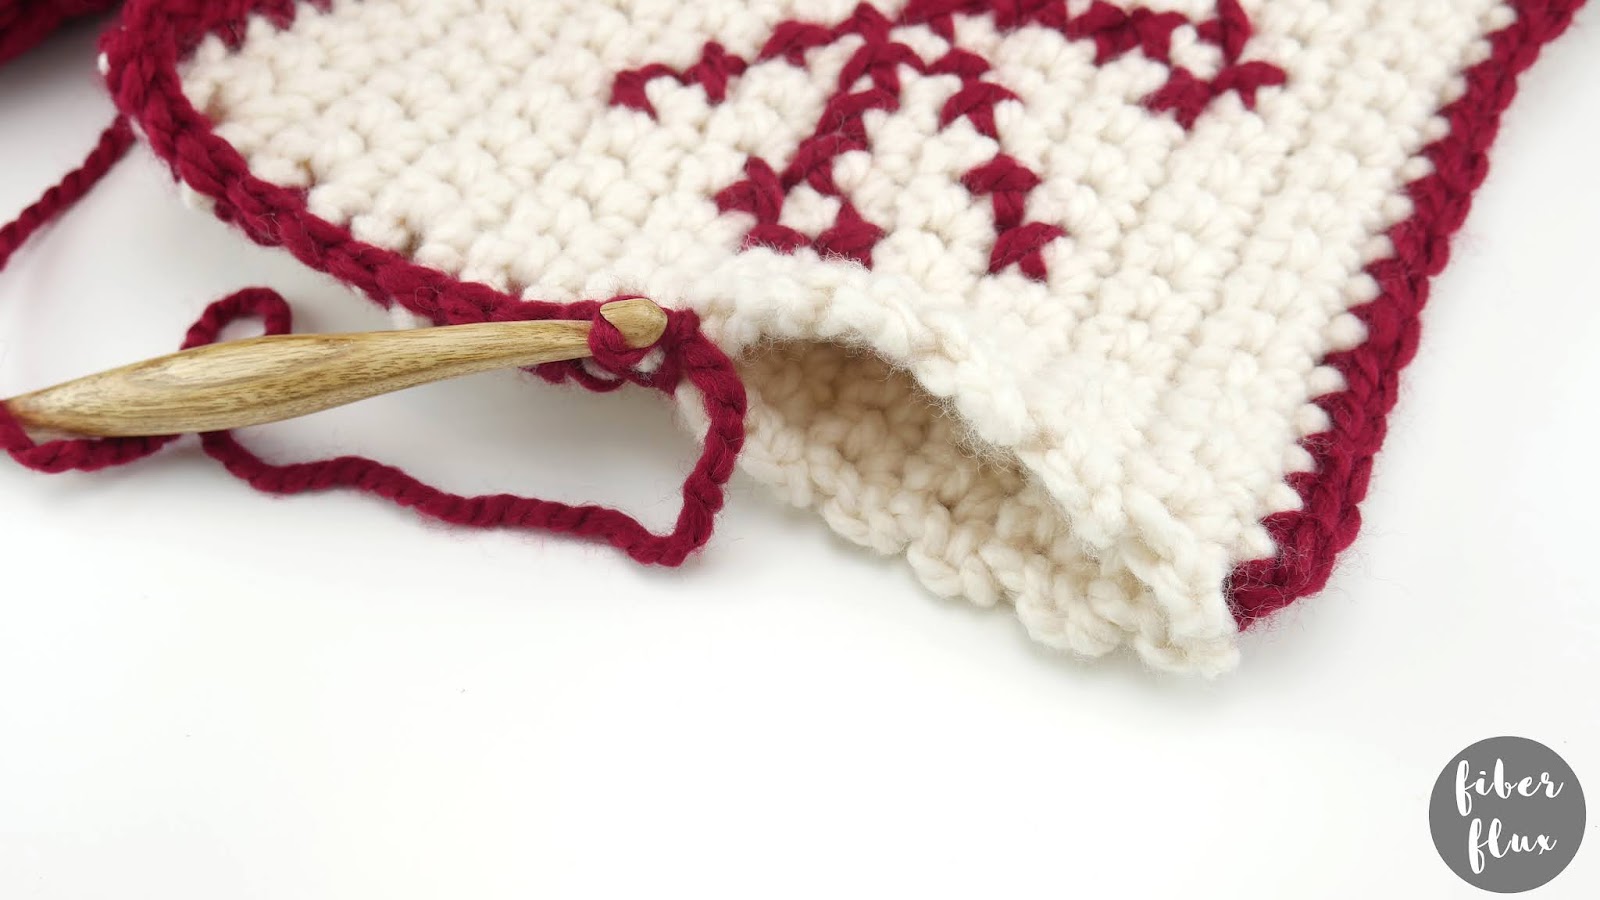
Begin by sandwiching two pillow panels together and tie yarn into the upper left corner of both panels. Chain 1, then work 3 single crochet into the corner space/stitch. *Work a sc into each stitch along the edges of both panels seaming them together, then work 4 sc into the corner. Repeat from * around the square until about halfway across the last side as shown:
Next stuff the pillow and any tails into the pillow and crochet the rest of the way closed. Fasten off and weave that last tail in.
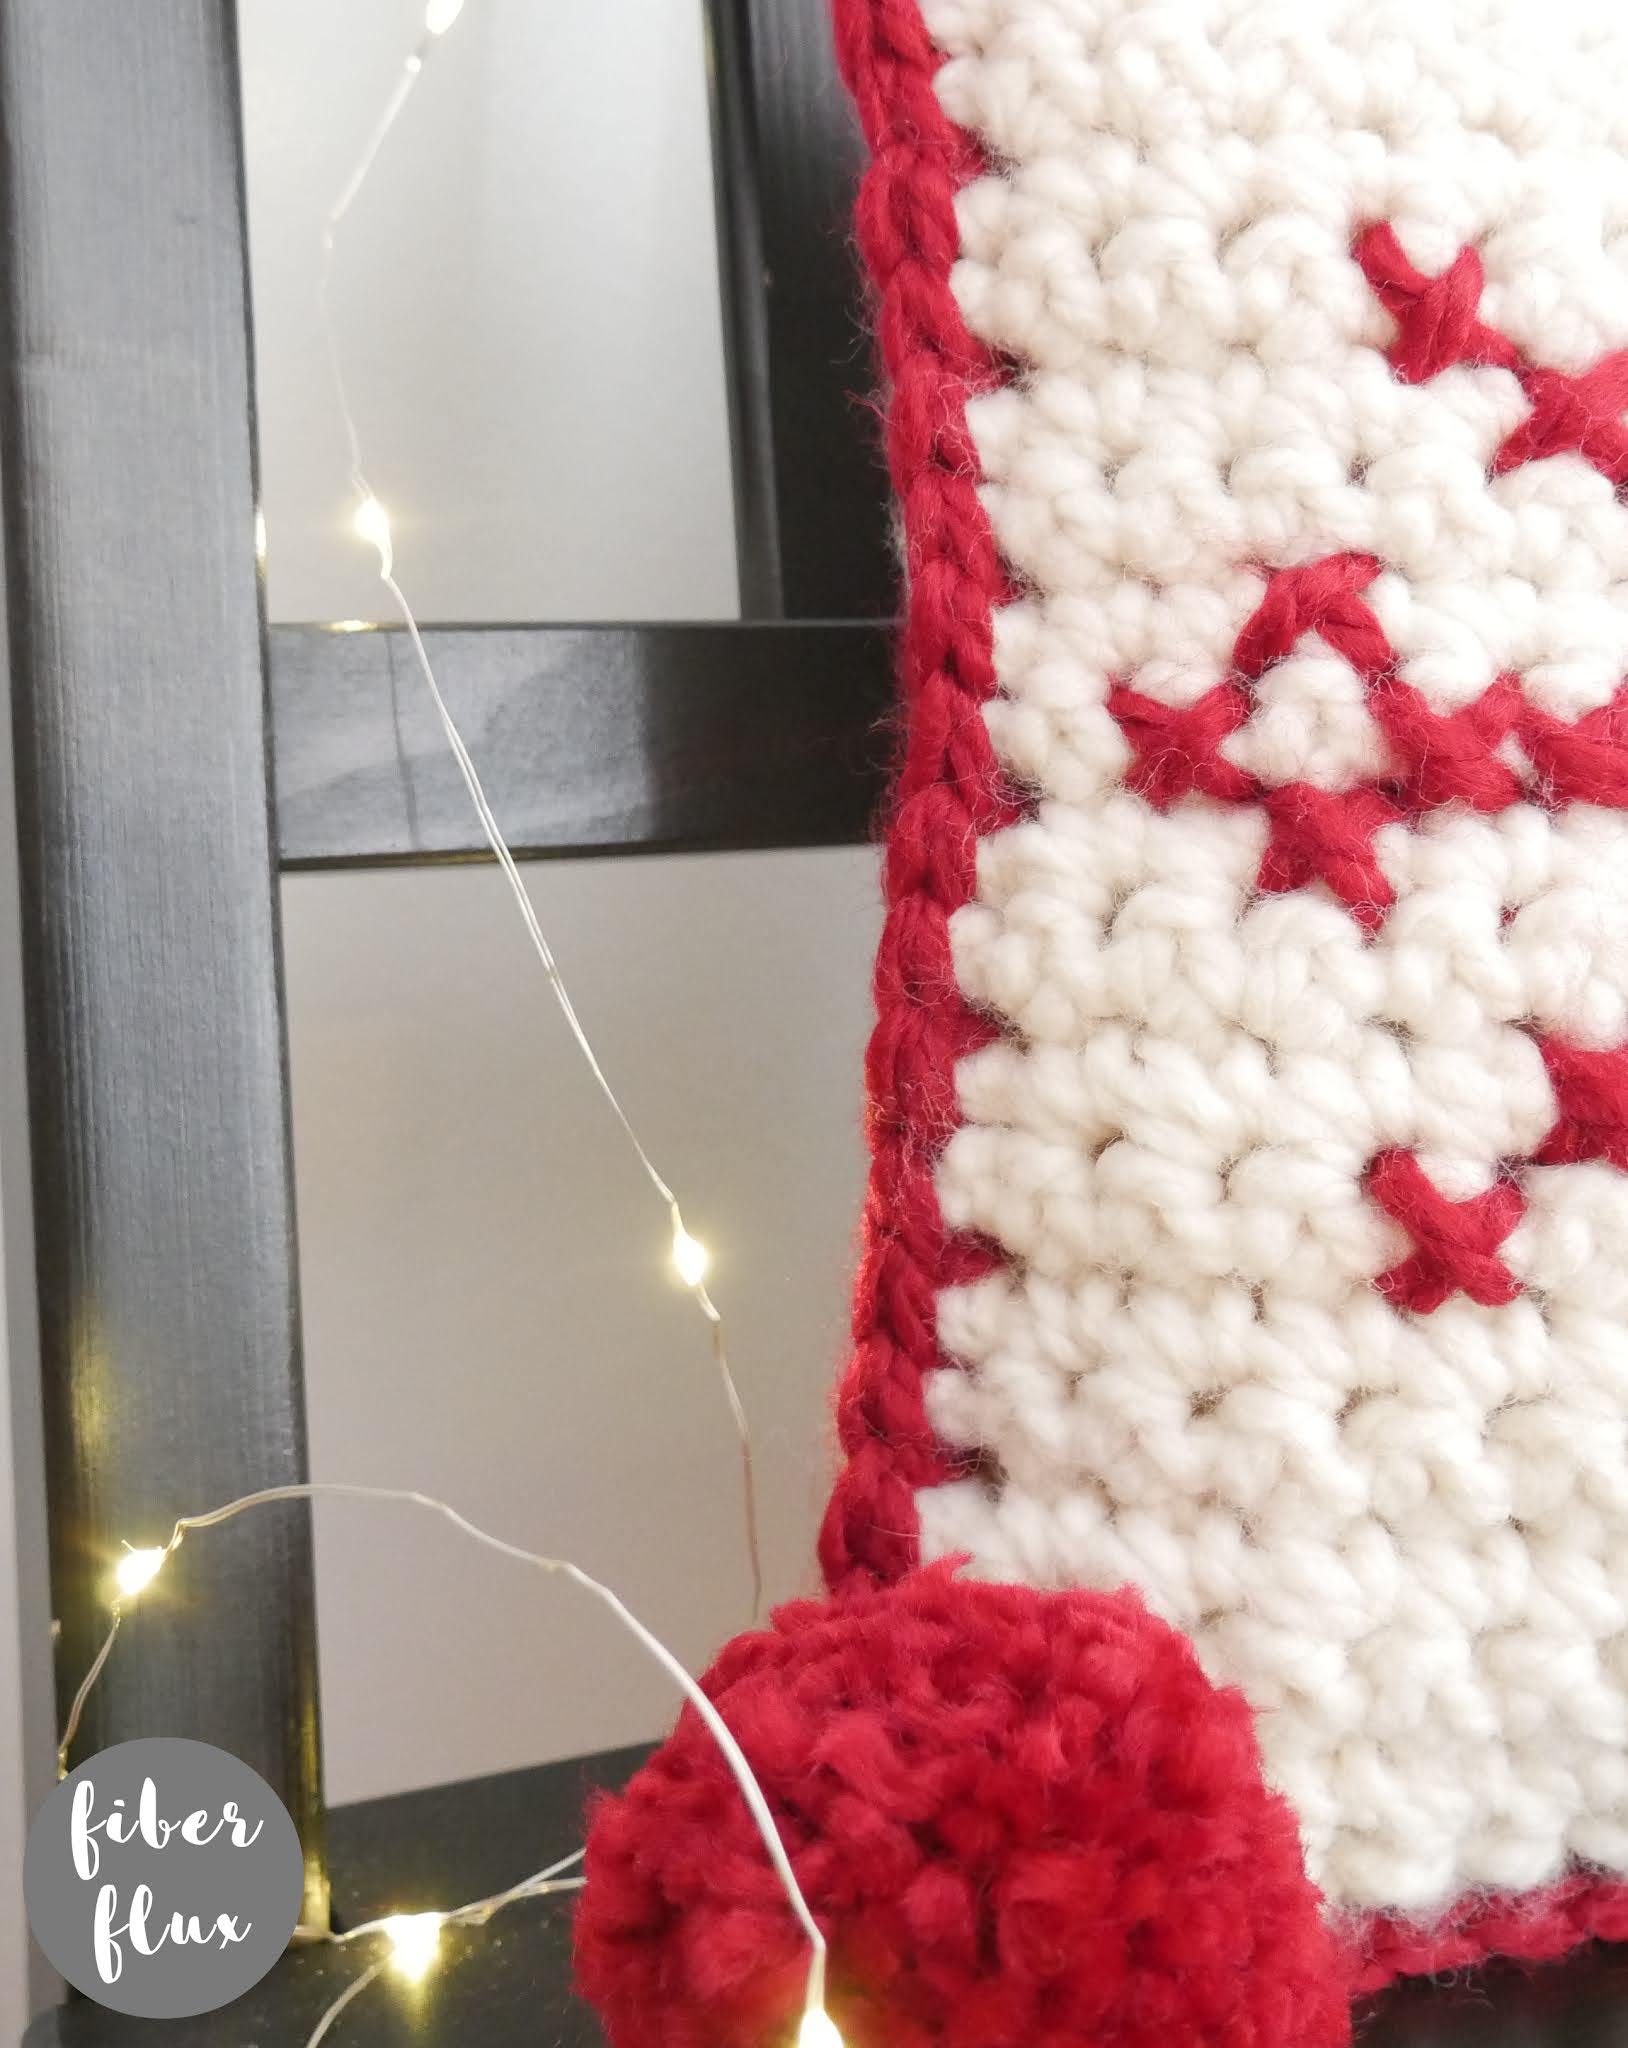
Last, you can add an optional pom pom to each pillow corner if you like. To make a pom pom, cut a piece of yarn about 12-18 inches long. Wrap yarn about 45 times around your hand. Tie tightly in the center of the “bundle” and cut all loops, keeping the two ends long (to attach to pillow corner later). Trim ends to give your pom pom a “hair cut” until the pompom is more compact and neat looking. Repeat for a total of 4 pom poms. Tie a pom pom into each corner and weave any ends that remain.
Last part…let’s connect! You can connect at any of the social media platforms below, and don’t forget to use the hashtag #fiberfluxcal


Also we have two special communities for our CAL makers! Each has a welcome area/thread, so please hop on and introduce yourself. You can get info, ask questions, help each other, see what everyone is doing, and show off your work too!
Click HERE to join the Facebook group!

Click HERE to visit and join the Ravelry group!
Also, don’t forget to tag me and use the hashtag, #fiberfluxcal to share your work on social media!
I can’t wait to see all of your gorgeous projects…please share those pictures and above enjoy, take some time to relax with your hook, and have fun! That’s all for today lovelies, see you next week for part two!!
© Fiber Flux/Jennifer Dickerson 2021

For more fun projects and pretty patterns, be sure to follow Fiber Flux on Facebook, Instagram, Twitter, and Pinterest for the latest updates!

Love PDF patterns? Join our Fiber Flux Gold Pattern Club on Patreon!

Click here to see my stitchy favorites in the Fiber Flux Amazon store!

